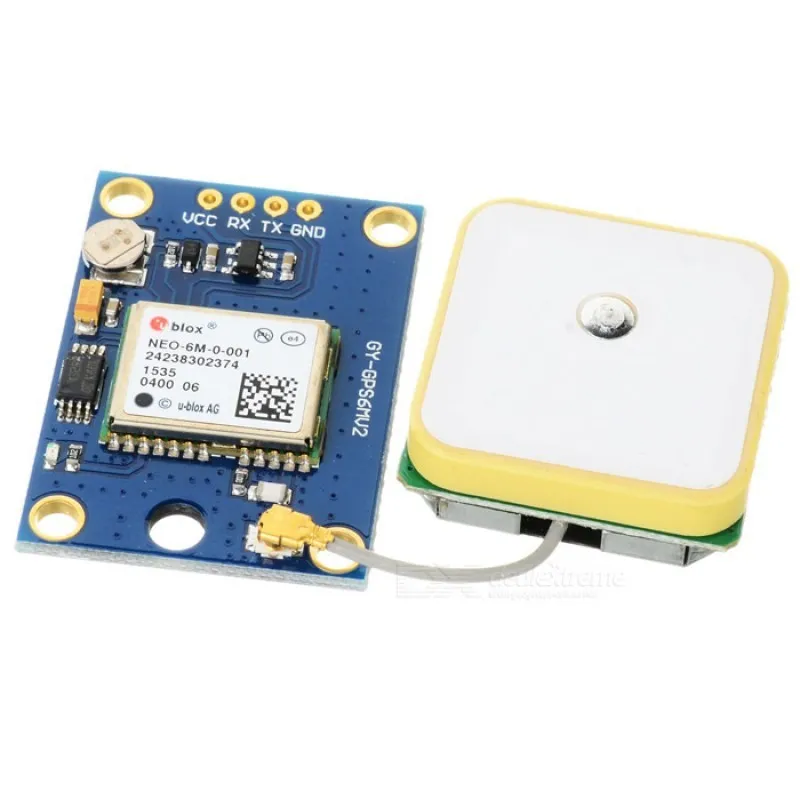
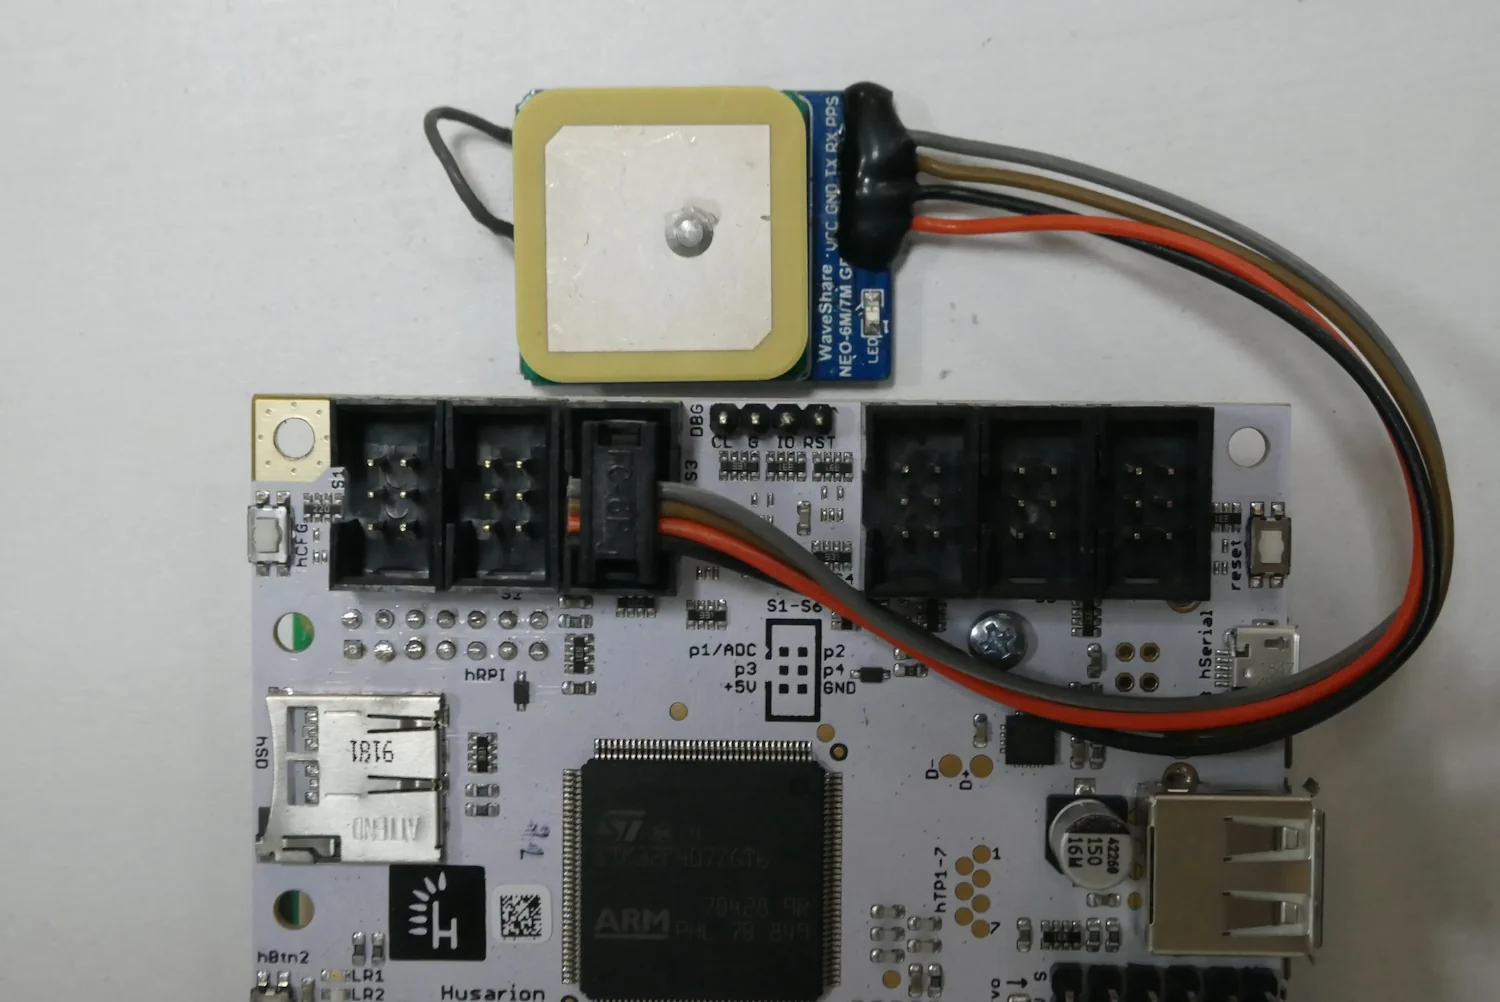
U-blox NEO-6m GPS module
U-blox NEO-6m GPS module is only supported in Leo Rover versions prior to 1.8. Therefore we are no longer supporting this integration.
If you are looking for GPS module for Leo Rover v1.8 check this tutorial:
This integration is not compatible with Leo Rover v1.8. It is kept on site for legacy purposes.
Here you'll learn how to add an of-the-shelf GPS module to the Rover functionalities.
Prerequisites
The first step is to choose an appropriate GPS module. Before you make a decision, make sure your GPS sensor can communicate via a serial interface and can sending data in NMEA format. In the tutorial, we apply the u-blox neo-6m GPS module. Link to the datasheet.
U-blox NEO-6m GPS module
- Power requirements: 2,7 V - 5,0 V; 80 mA
- Communication: NMEA, UART 4800, 9600 (default), 19200, 38400, 57600, 115200, 230400 bps
- Positioning accuracy: 2,5 m
- Sensitivity: -161 dBm
- Max. update rate: 5 Hz (default 1 Hz)
- Internal EEPROM
- Cold / Warm start: 27 seconds / 1 second
- Internal antenna and u.FL connector for additional external antenna
More info:
GPS connection
To connect the GPS module to the Core2ROS driver, use the hSense port 3.
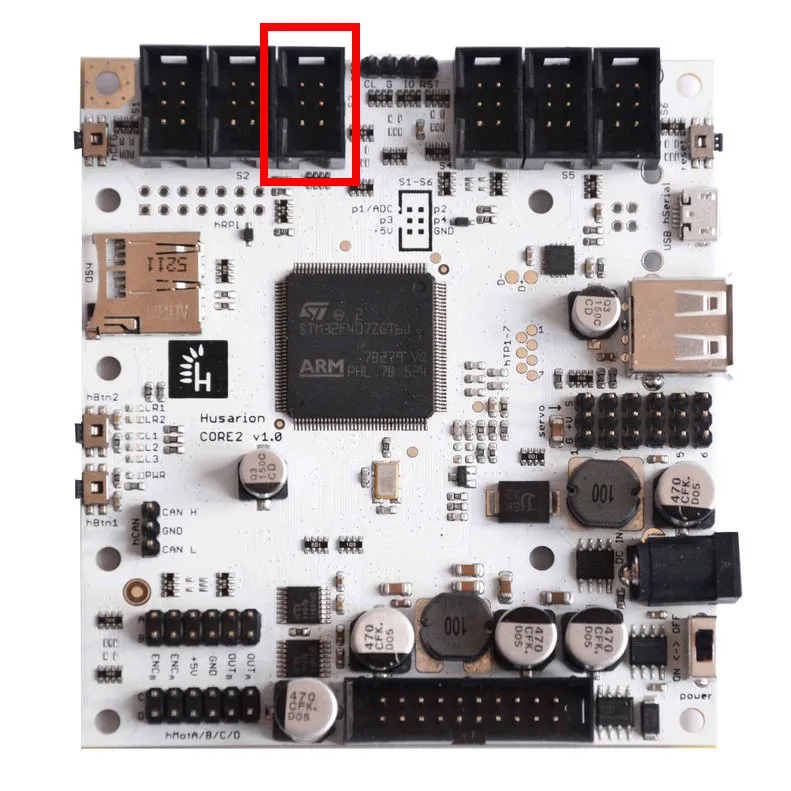
Connect the GPS module according to pin description below. The easiest way to connect GPS module to the controller is to use IDC connector and four jumper cables.
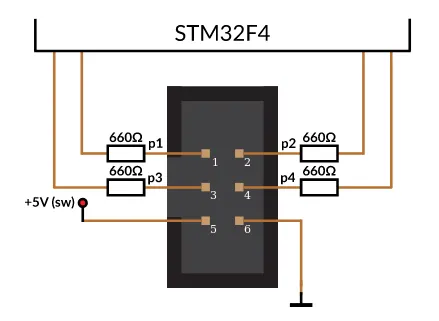
| hSense pin | GPS pin |
|---|---|
| 1 | floating |
| 2 | floating |
| 3 | UART_RX |
| 4 | UART_TX |
| 5 | +5V |
| 6 | GND |
Mounting the GPS module on the top of Leo Rover
The best way to get clear GPS data from the module is to mount it as far from Leo Rover's electronics as possible. We recommend mounting it on the top of the rover so the module is shielded from its bottom and has clear 'view' to the satellites.
First you need to route the module cables out of the main electronics box (MEB). The easiest way is to use one of Dev-Covers that we prepared for such projects.
We didn't prepare any 3D-model of the module support yet. You'll need to be more creative sourcing or designing your own.
Enable GPS functionality
Make sure your rover is up-to-date. GPS functionality was added to the default firmware in the v1.0.0 release.
Enable GPS
Open a new remote terminal session on the Rover:
Enable the GPS functionality by calling the service to /core2/set_gps
rosservice call /core2/set_gps true
Restart the board to apply changes.
You can restart the board by calling the service core2/reset_board
rosservice call /core2/reset_board
Check if it works
Check if the GPS module is configured properly by listing available topics. You
should see the new topic /gps_fix.
rostopic list
To check if GPS is publishing data correctly, type:
rostopic echo /gps_fix
There will be coordinate data occurring only if GPS found its position.
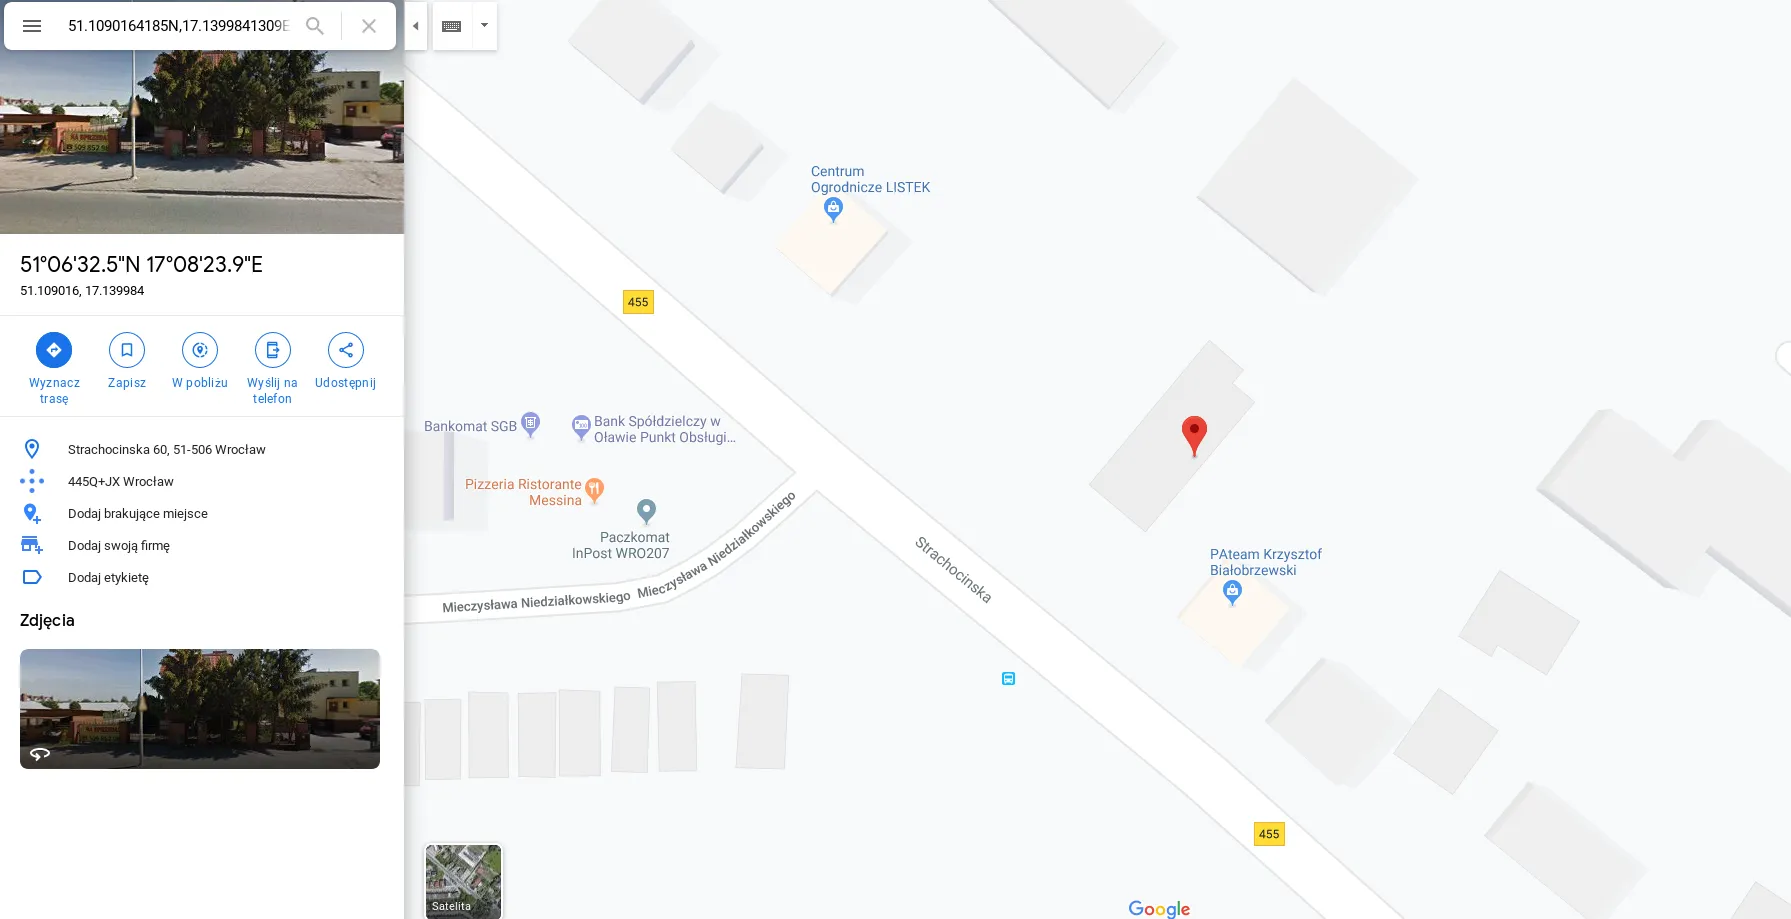
Check if the coordinates obtained are correct in Google Maps.