Getting started with Rapha Rover
Rapha Rover is still in beta and not available for sale at this time.
Rapha Rover is a versatile platform designed for a wide range of robotic projects, from inspection to agriculture and construction. Built to integrate with custom payloads and operate in diverse environments, it's perfect for both indoor and outdoor applications. (Note: Beta version is limited to indoor use only.) This guide will help you get started with everything you need to know, including setup, charging, internet connectivity, and SSH access for a seamless experience with your new rover.
Unboxing
What's in the box:
- 1 x Rapha Rover
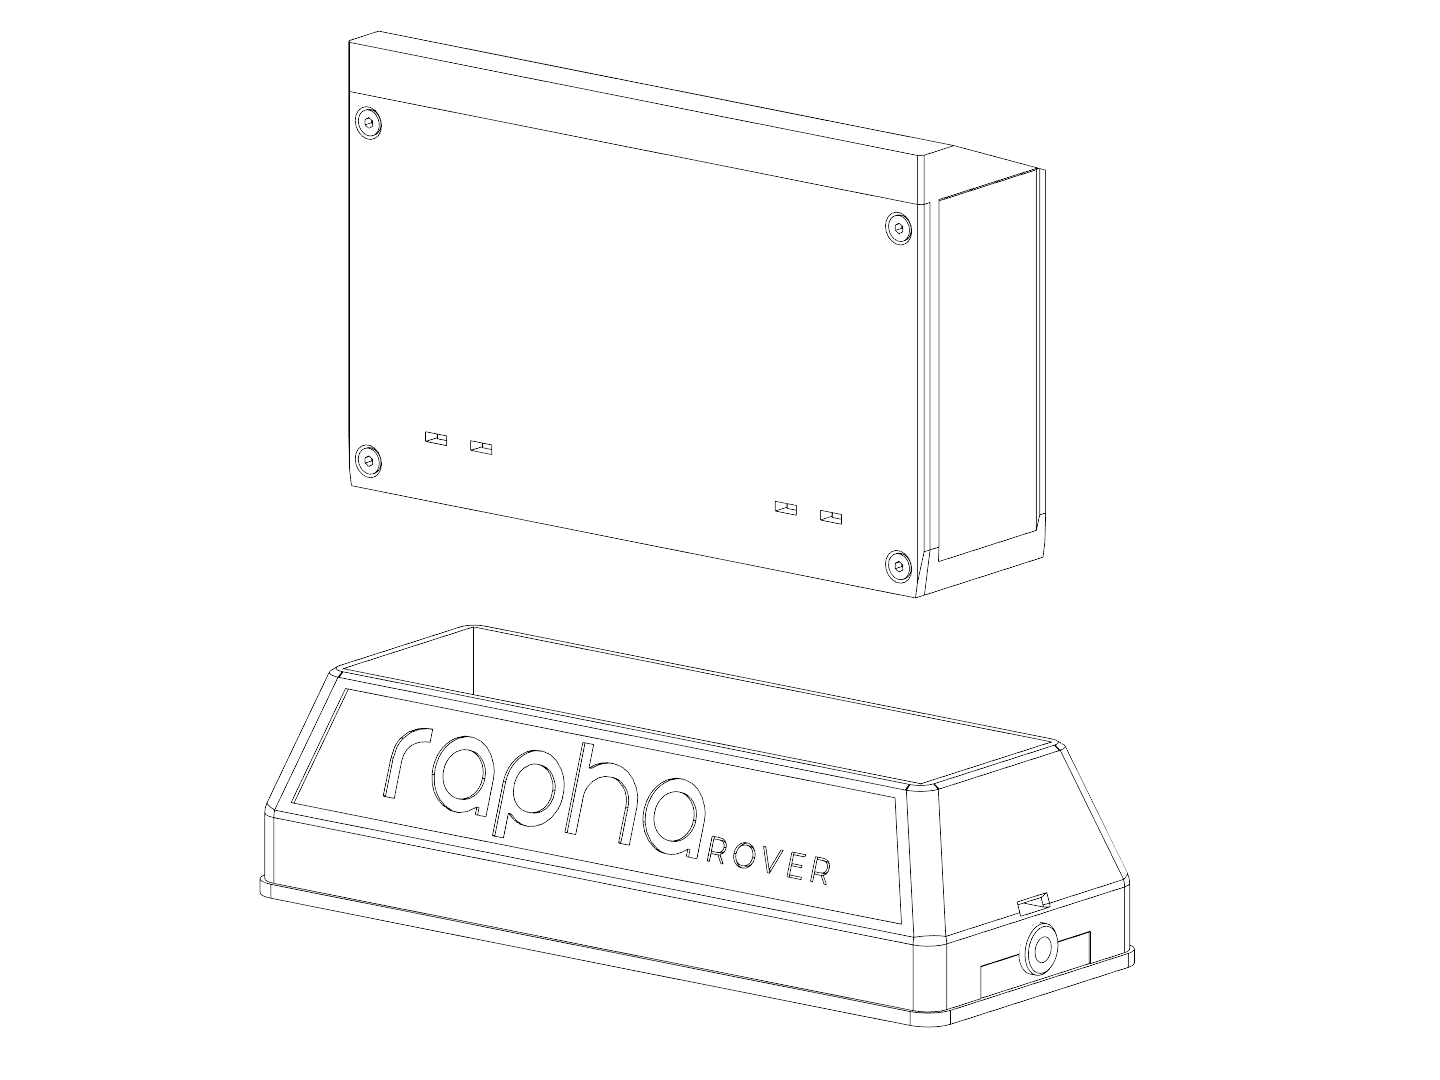
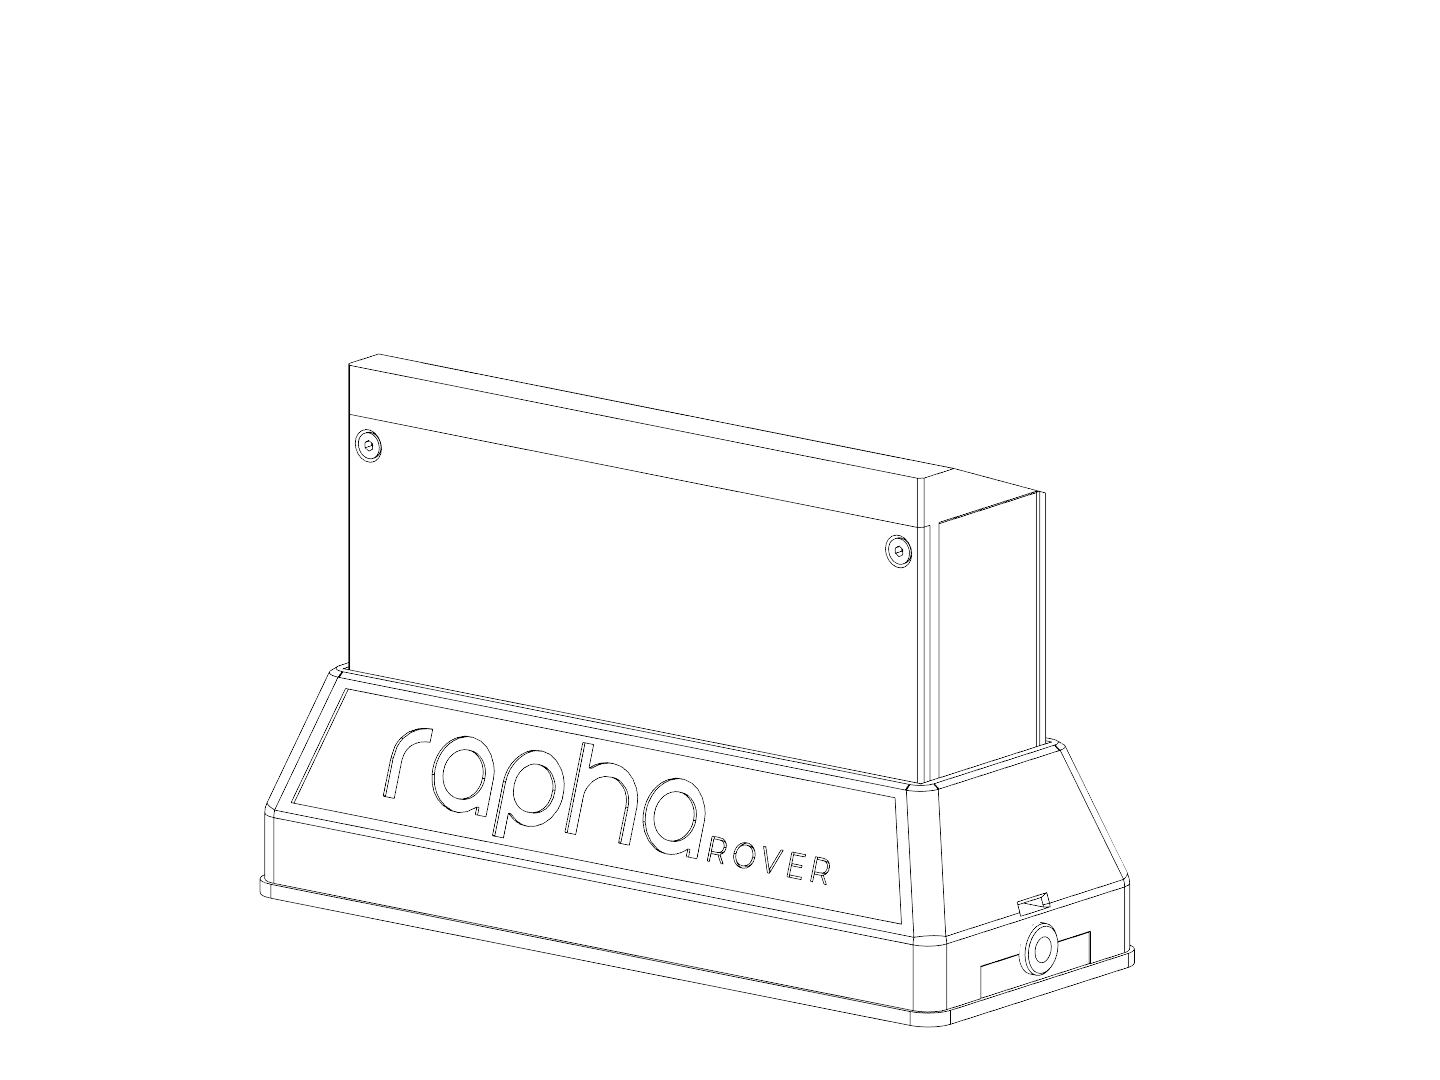
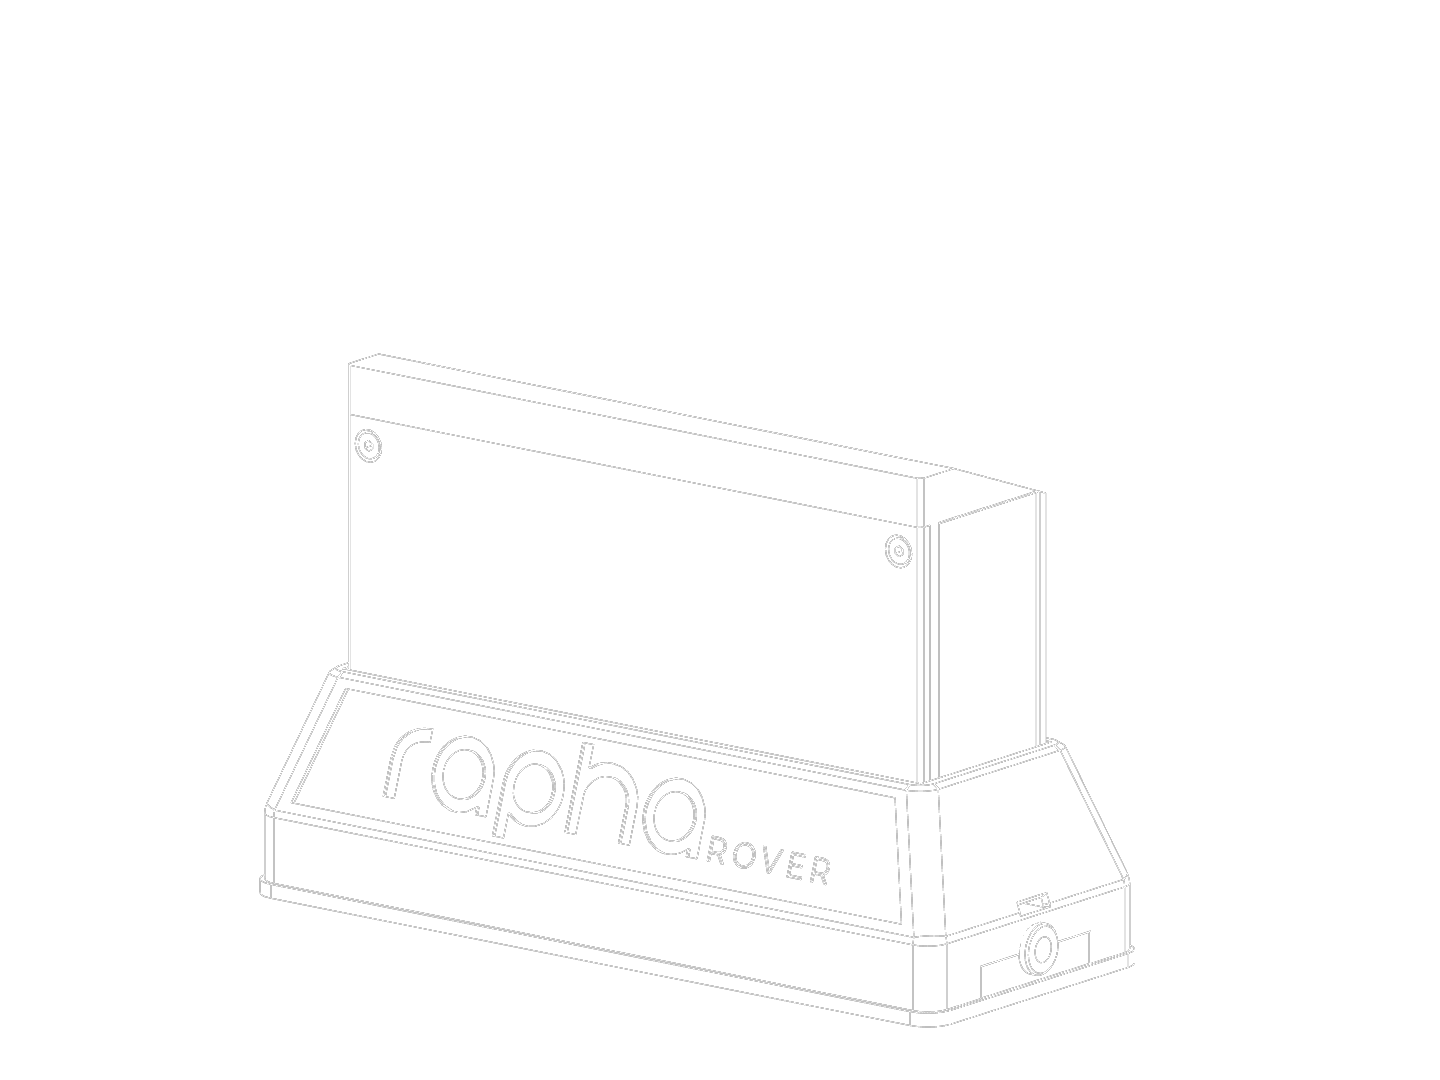
- 1 x Rapha Rover battery dock
- 1 x 24V Li-Ion charger
- 2 x 24V battery pack
- 1 x Additional mounting plate
- 1 x Extended additional mounting plate
- 8 x M5 x 40 distances for mounting plates
- a little surprise
Connecting the battery
Each Rapha Rover is equipped with two dedicated 24V Li-Ion battery packs.
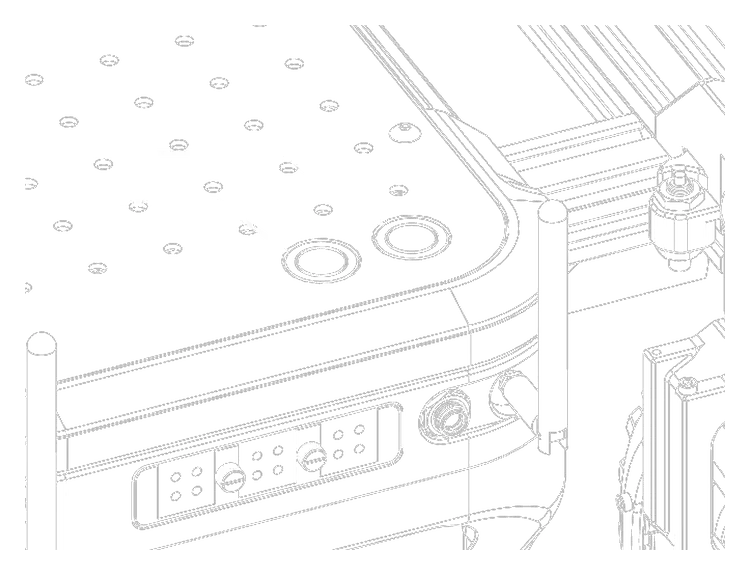
Make sure that there is no debris inside the slots or in the battery connectors!
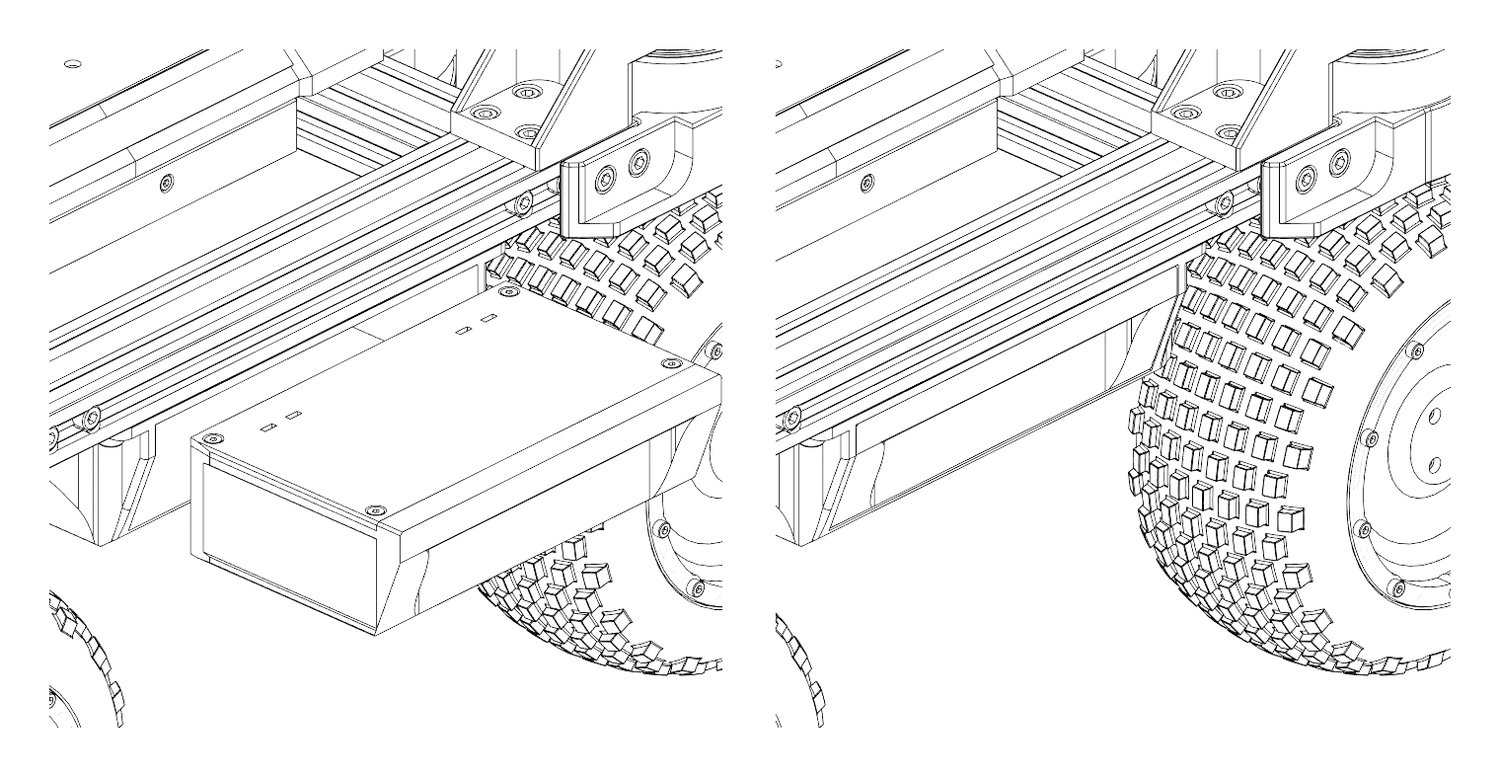
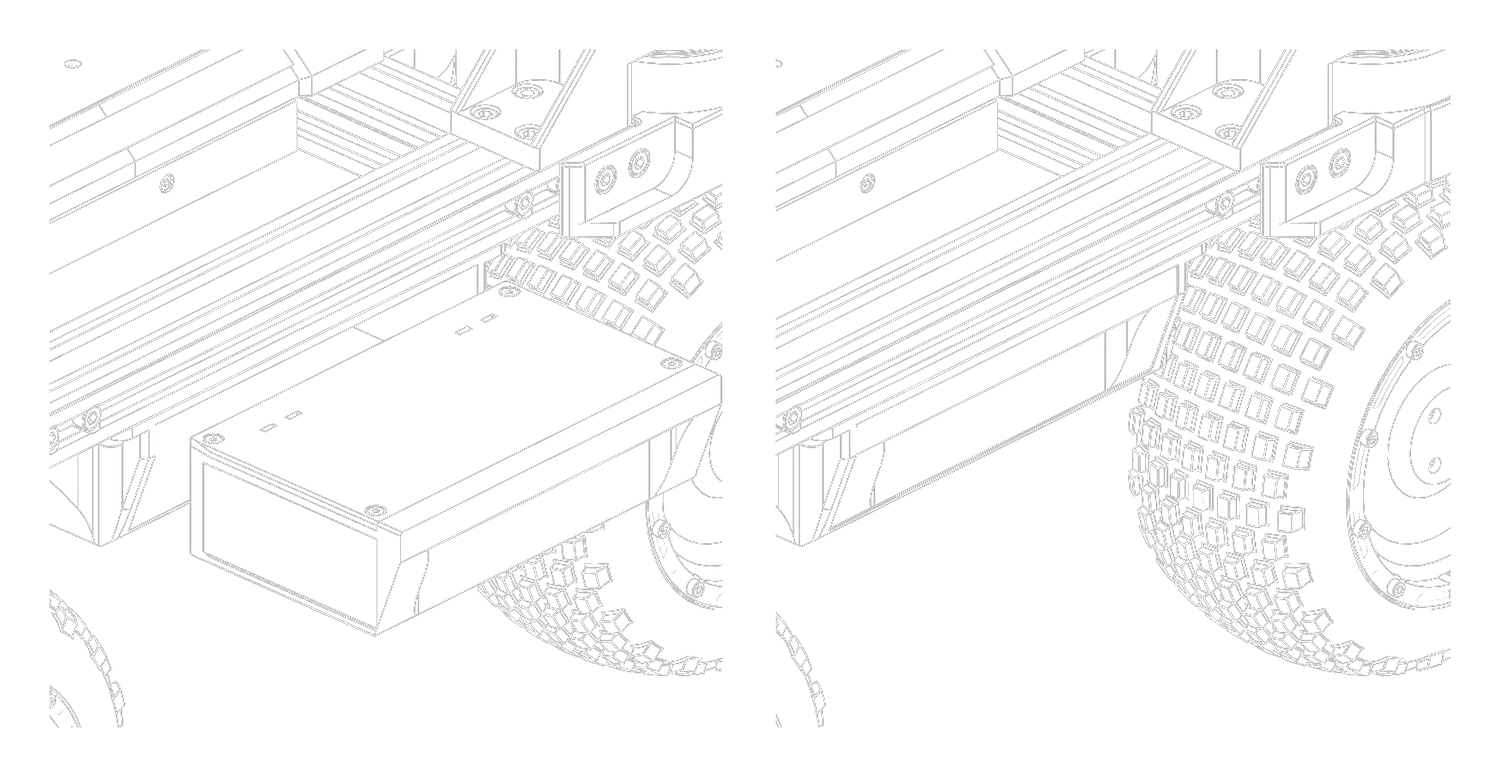
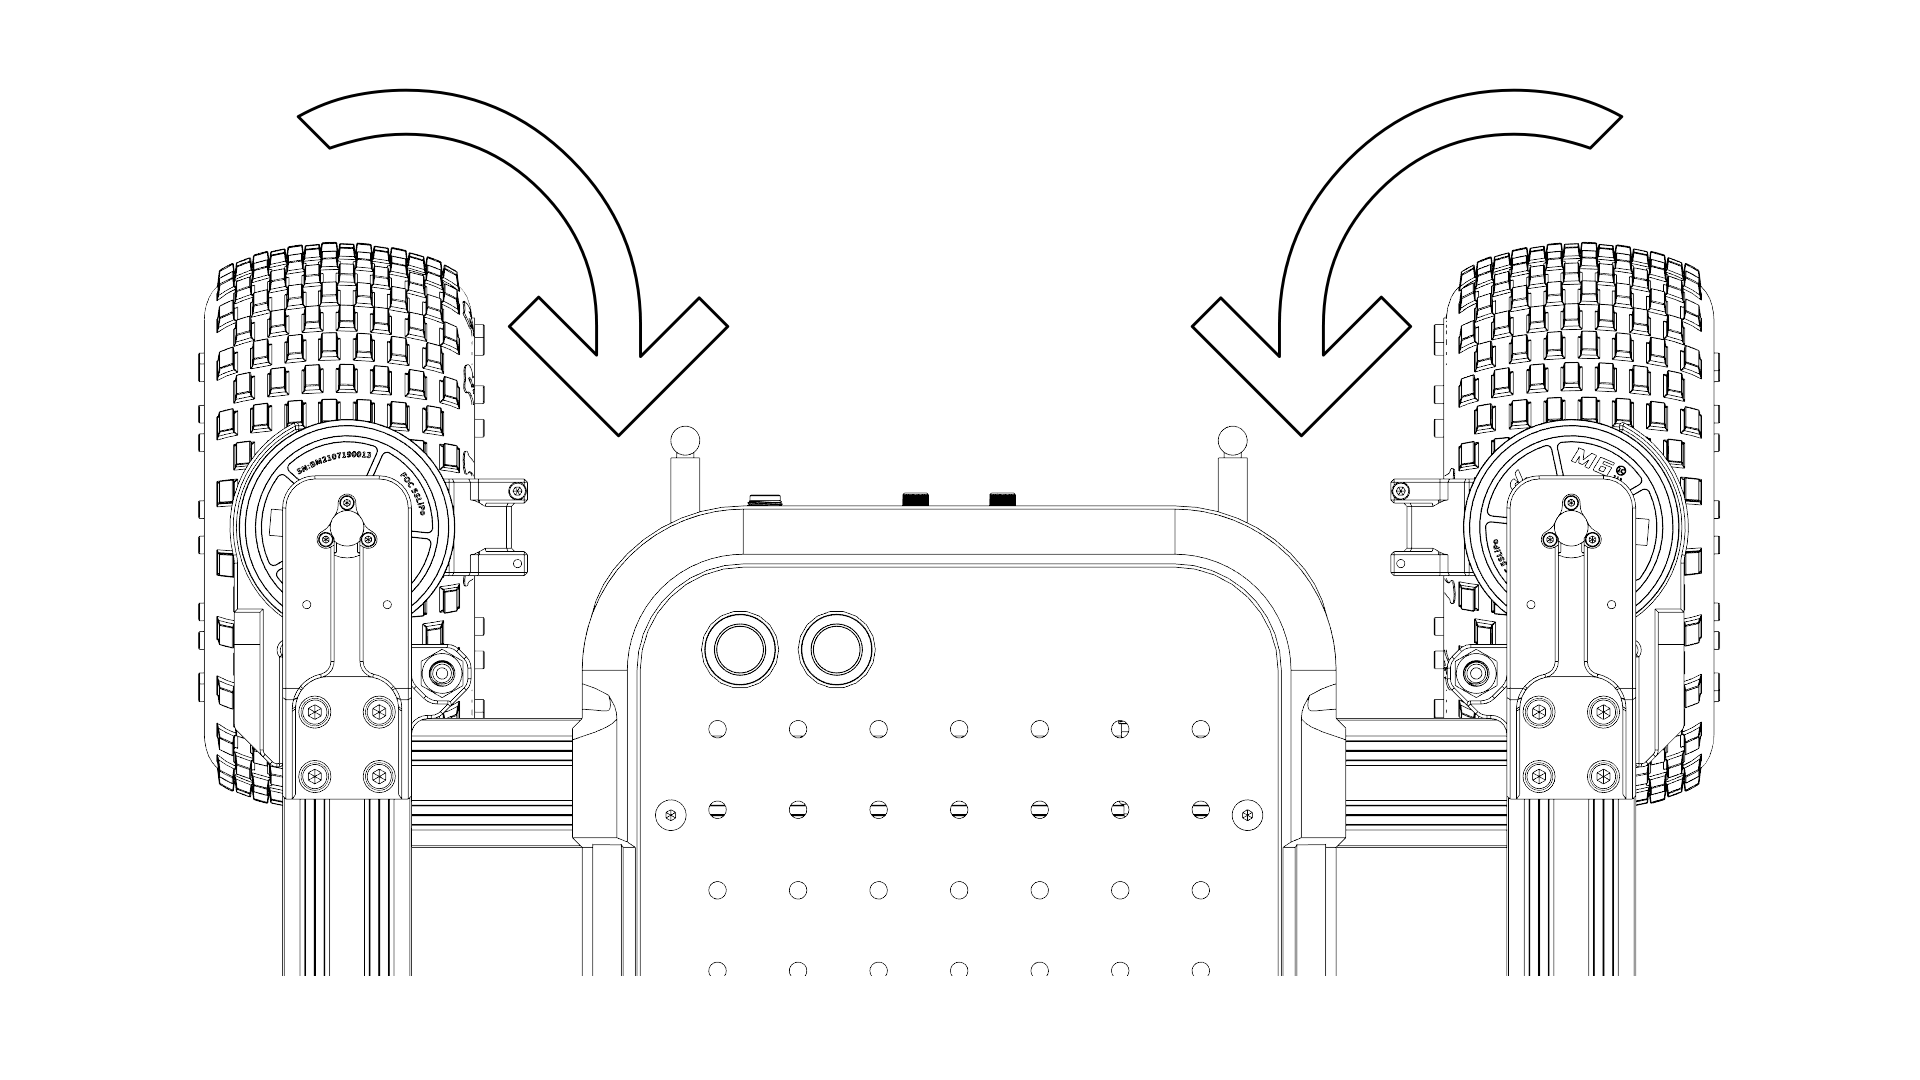
To power the rover, insert these battery packs into their designated slots located on either side of the rover. Ensure proper alignment and secure the batteries in place to guarantee uninterrupted power supply.
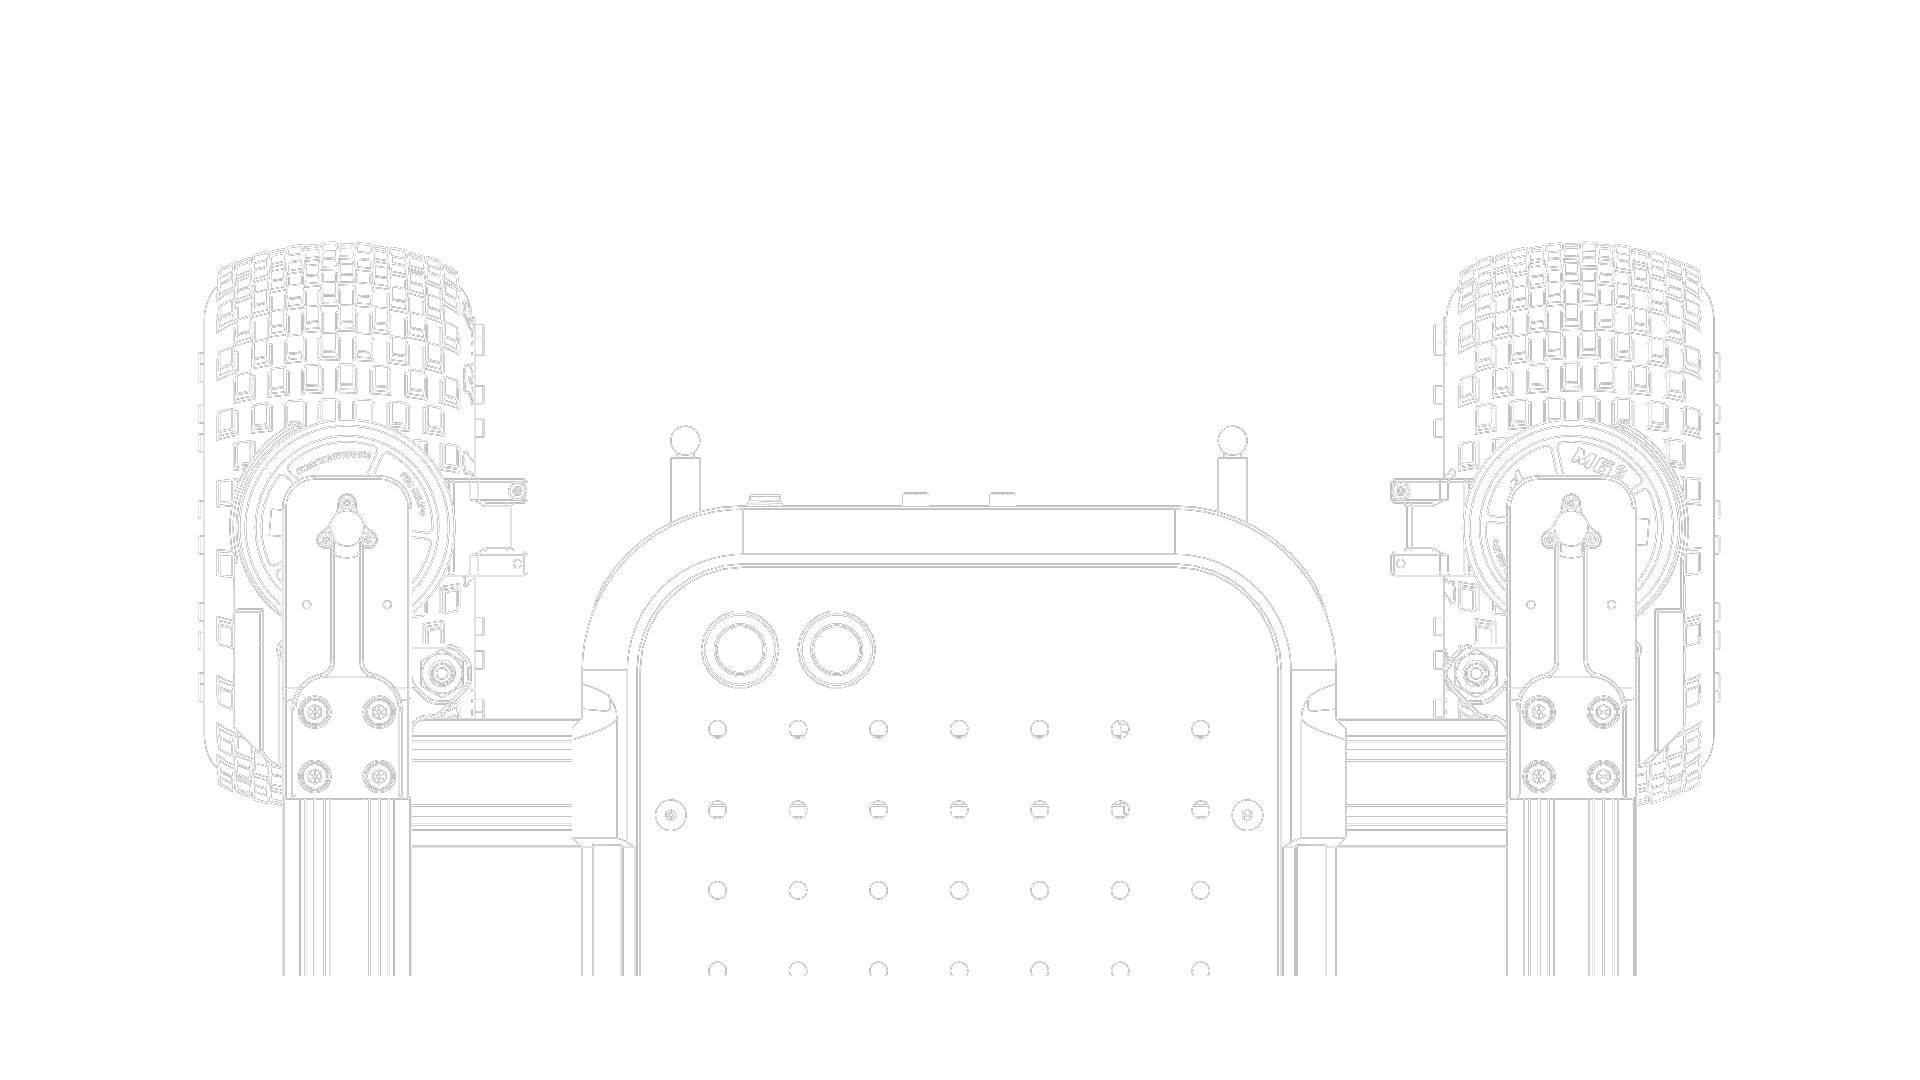
The batteries are secured by ball catches, which provide slight resistance during insertion and removal. A properly inserted battery should be fully nested within the slot.
To verify proper battery insertion, refer to the image below:
To verify proper battery insertion, press the power button once. If the batteries have remaining charge, the LEDs on the sides of the device will illuminate to display the current battery charge level. The charge level is indicated by an LED bar that shows the percentage of battery capacity remaining.
How to turn on the rover
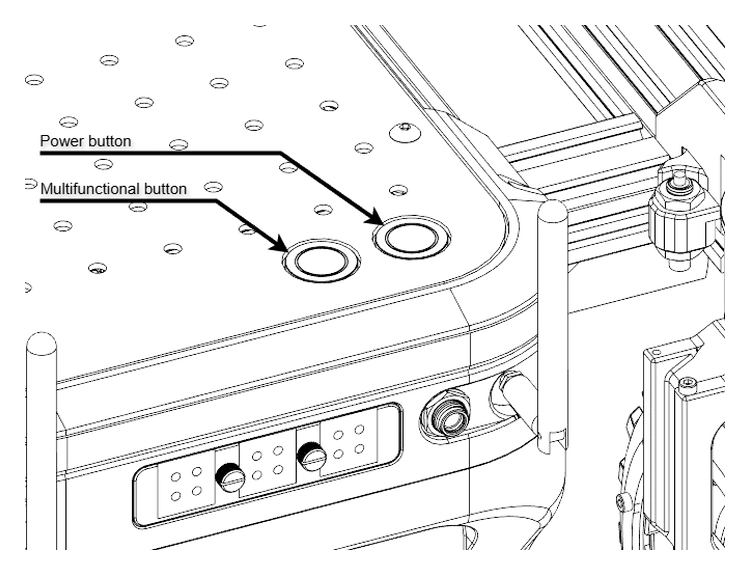
After inserting the battery, the rover is ready to be powered on. To power on the rover, press and hold the power button located at the rear of the rover. While holding the button, a green bar will appear on the rear LED strip. This bar will progressively fill the rear LED strip. Once the bar fully fills the strip, the rover will power on.
The rover's power-on state will be indicated by a single green breath pulse of all LED strips.
Turning the rover off
To power off the rover, follow the same procedure as for powering it on. The main difference is that the rear LED bar will be red instead of green. The rover's power-off state will be indicated by a single red breath pulse of all LED strips.
Connecting via SSH
The following names and passwords are intended solely for beta users. Configuration settings will be updated for production-ready rovers.
To connect to Rapha Rover's computer via SSH, you must first establish a connection with the on-board Wi-Fi network. The default credentials for the access points are as follows:
- SSID 2.4 GHz:
Rapha-XXXX-2G - SSID 5 GHz:
Rapha-XXXX-5G - Password:
fictionlab
XXXX is the rover's serial number
Once connected to the network, you can access the on-board devices using the following IP addresses and default credentials:
- Router (RUTX10) :
10.10.0.1 - Controller (RaphaCore):
10.10.0.2 - On-board computer (UpBoard 7000):
10.10.0.3
To connect to the UpBoard via SSH, use your preferred SSH client and the following credentials:
- user:
rapha - password:
rapha
To connect with the router, go to http://10.10.0.1 and login using credentials below:
- user:
admin - password:
Fictionlab1
Battery charging
By default Rapha Rover comes with 2A 25,2V Li-Ion charger. It can charge 1 battery pack in about 2,5 hours. Rapha Rover has 2 options for charging batteries:
- Outside the rover, by plugging battery into charger
- Inside the rover, by plugging charger directly into rear charging slot of the rover

The charger (not the dock) is outfitted with an LED status indicator designed to provide information about the charging status of the battery. A green LED signifies that the battery has reached full charge, while a red LED indicates that the battery is currently in the charging process.
When charging the batteries with the rover powered on, the LED indicator will not transition to green during the charging cycle. This is due to the fact that the charger will be used to sustain the operational state of the rover after the charging process.
Turning wheels calibration
After each power-off, Rapha Rover loses the position of its turning wheels, requiring calibration. This process is initiated using the multifunctional button adjacent to the power button.
To calibrate the wheels, press and hold the multifunctional button until the LED strips illuminate in blue. The turning wheels will begin rotating inwards to locate the induction sensor. Subsequently, the motors will continue rotating to calibrate their positions relative to the bumpers.
This 2-step process ensures that the wheels are calibrated without obstruction.