Digital servos
This integration is not compatible with Leo Rover v1.8. It is kept on site for legacy purposes.
Leo Rover electronics board provides connection for digital servos which you can use for any projects you like.
We decided to put up to 3 of the connections straight to the Rover UI where you can drive the servos via sliders provided. Here you'll learn what to do to be able to use the servos. And it's super easy!
Connect the servos to Core2-ROS
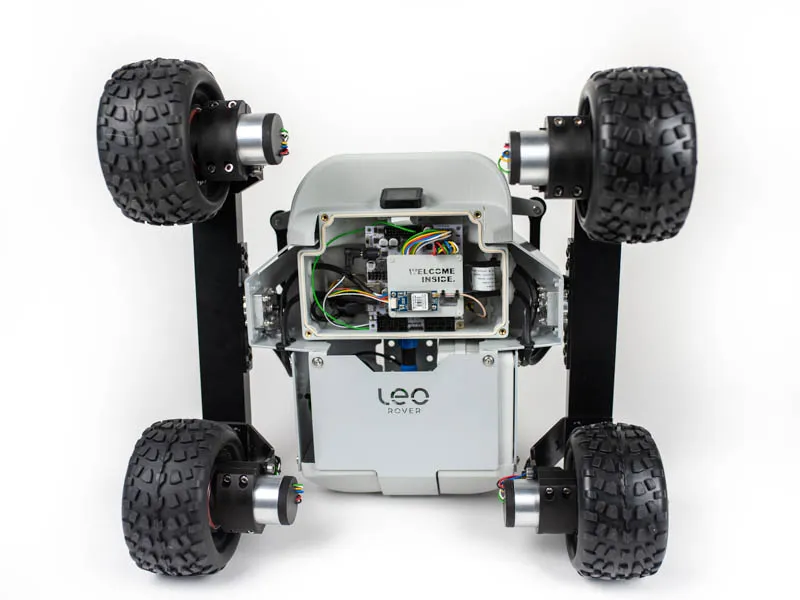
Open the Main Electronics Box (MEB) to access the electronics board.
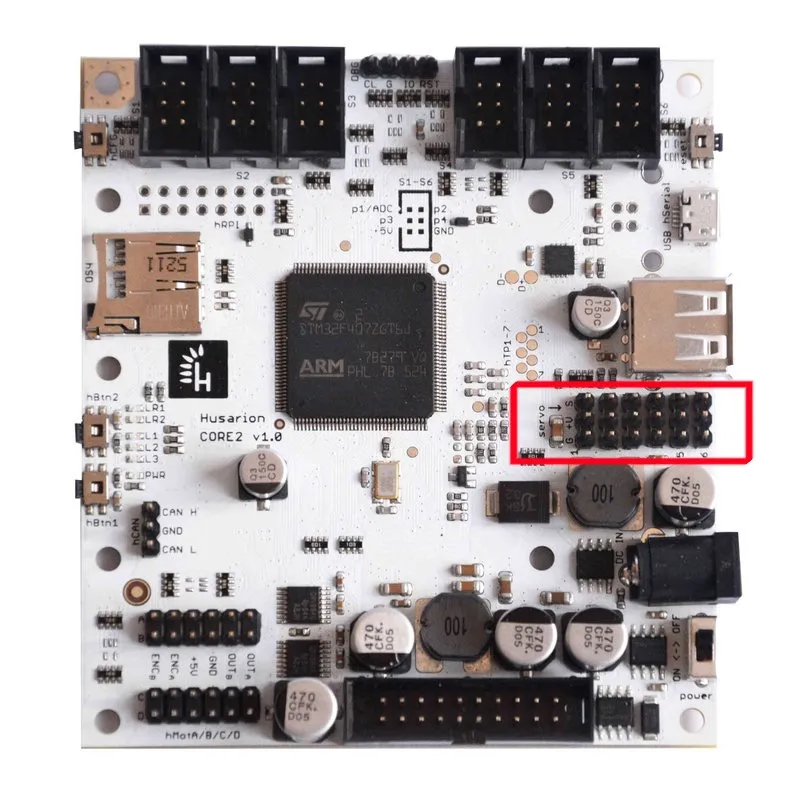
Connect your actuators using standard servo 3pin cables. Use the first 3 ports, which are assigned Servo1, Servo2, Servo3 in Leo Rover UI sliders.
Route the cables outside of MEB
The best way to route the servo cables is to use an Easy-access cover for MEB. The cover has a cutout in the back for the cables to be easily routed. Find the right cover file below and 3D-print it.
If needed, get cable extenders to be able to locate the servos depending on your project.
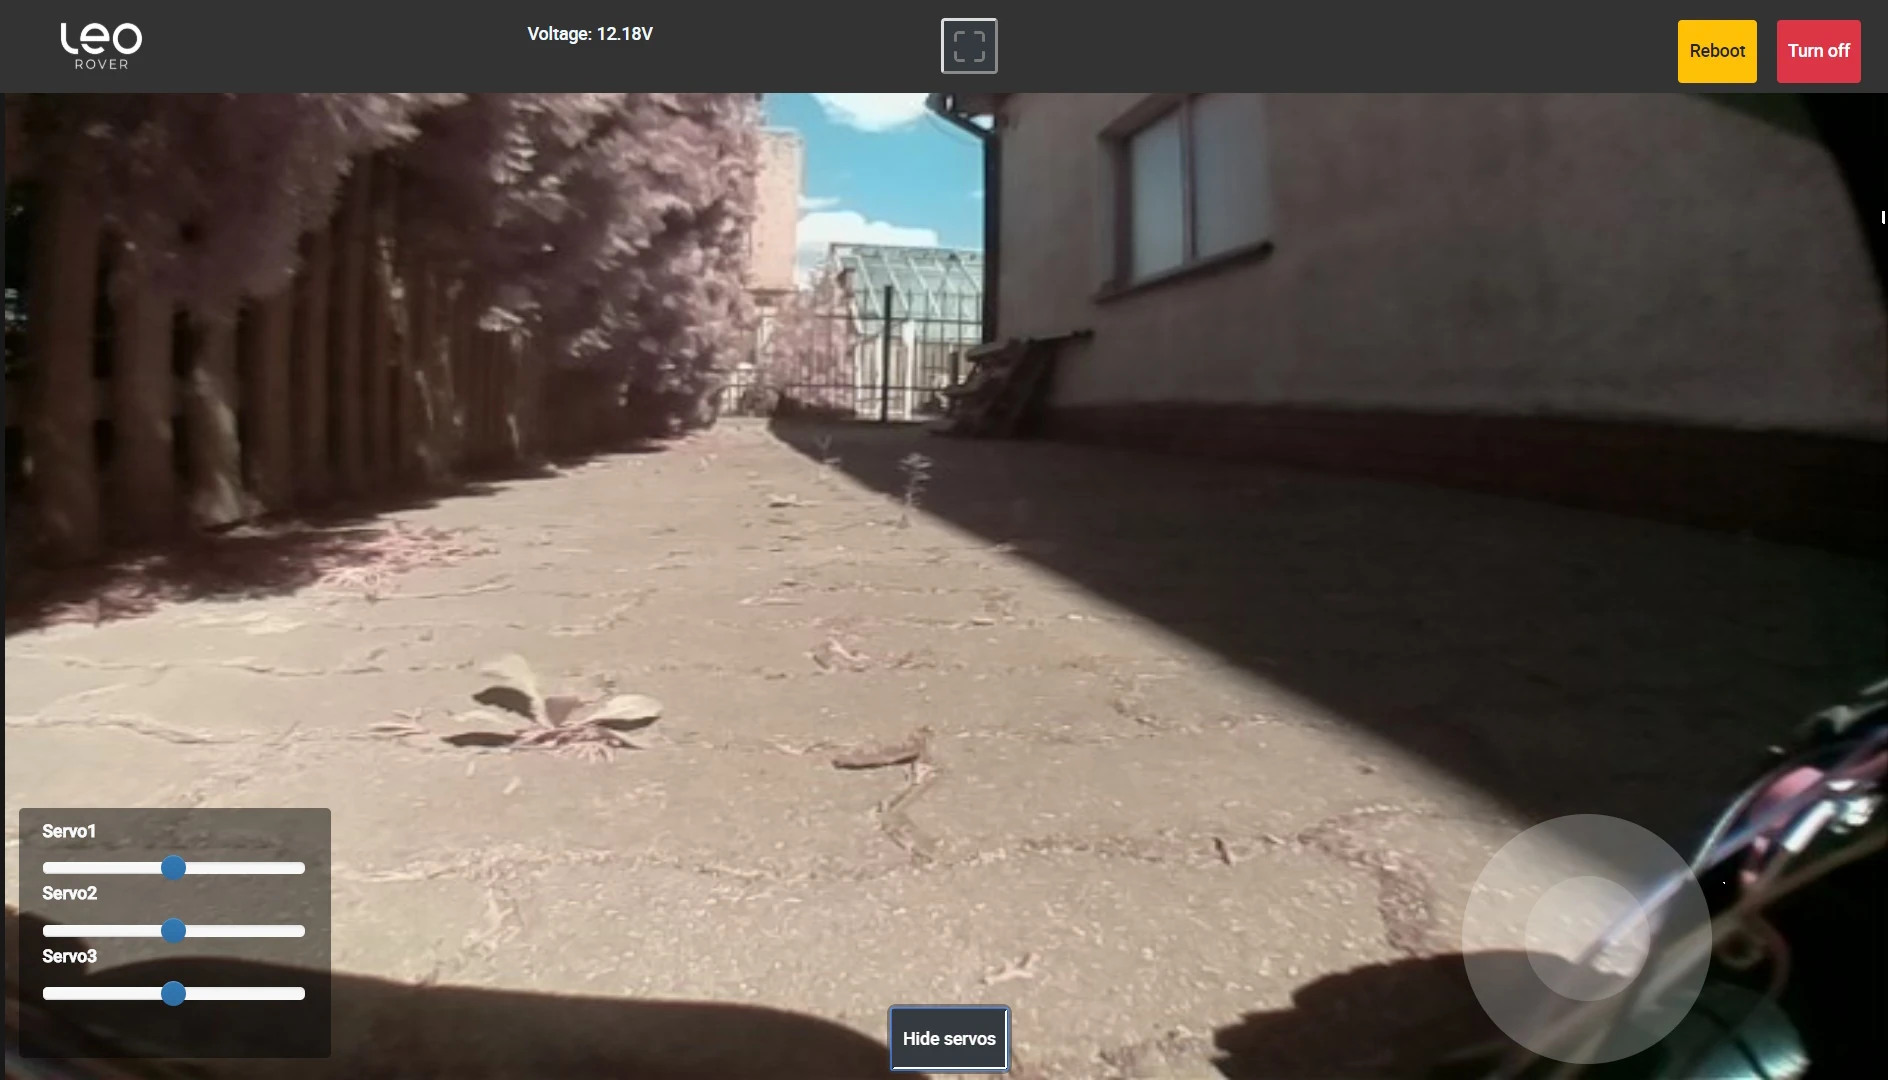
Use the UI sliders to drive the servos The sliders are located in lower left corner of the interface. If you can't see them, click the Hide servos button in lower center to show them.