Unispectral Monarch Pro
This tutorial will guide you through the process of connecting a Monarch Pro camera to your Leo Rover.
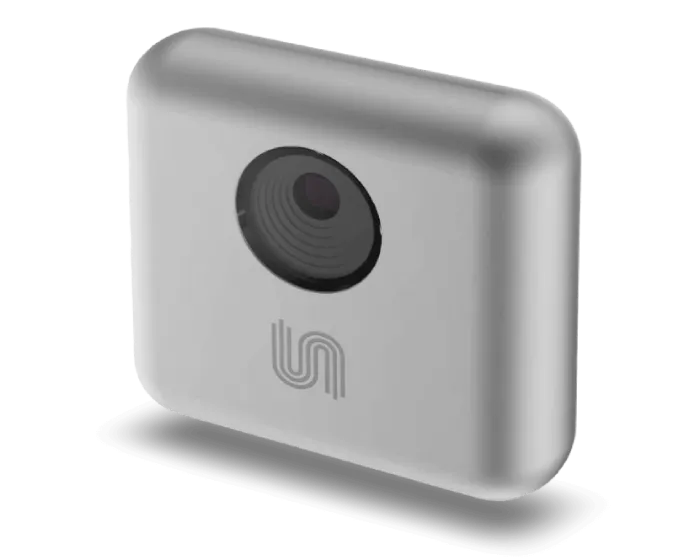
The Monarch Pro is the ultimate camera for advanced imaging, offering detailed material analysis through hyperspectral imaging capabilities. It combines high-resolution spectral data capture with real-time processing to provide comprehensive insights beyond the visible spectrum. It can be used for material identification, crop health monitoring, and industrial inspection. With its ability to capture and analyze a wide range of wavelengths, the Monarch Pro enables precise analysis and decision-making across multiple industries.
What to expect?
After completing this tutorial, you will have successfully connected a Monarch Pro stereo camera to the Leo Rover in ROS, and you will possess basic knowledge about the use of the multispectral camera.
Prerequisites
List of components
- Monarch Pro Multispectral Camera
- Any mounting solution
- USB-A to USB-C cable
Software integration
We have prepared special ROS wrapper for the unispectral's Monarch Pro camera.
Installing the packages
We are going to install the software on the rover, as the wrapper to work
properly needs the cable connection with the camera. Therefore start with
getting onto the rover with ssh. If you don't know how to do it, please follow
this guide first:
Also for the installation you need to have local ROS workspace on the rover. If you don't have one, follow the Building additional ROS packages part of ROS Development tutorial:
First you have to download it into src directory of your ROS workspace:
cd <path_to_your_ros_workspace>/src
git clone https://github.com/fictionlab/ros_monarch_pro.git
Having the source code, we need to install all of the required dependencies so the package can be built successfully. To install the dependencies, type:
sudo apt update
rosdep update
rosdep install --from-paths src -iry
If this is your first package in the ROS workspace, or you haven't built it yet
you need to source /opt/ros/<your distro>/setup.bash
Now to install the package, you just have to type:
catkin build
If the building process was successful, you are ready to run the wrapper.
Examples
Running the node
Running the installed software is really easy as we have prepared launch file for it. To run it, enter your ROS workspace and type:
source devel/setup.bash
roslaunch monarch_ros wrapper.launch
The node provides a ROS service, which saves a spectral cube into images to specified directory. To trigger the image save you need to run in other terminal (with your ROS workspace sourced):
rosservice call /monarch_pro_wrapper/save_images
If the save was successful you will receive the path to parent directory, where
the data is stored. Each call to the service results in creation of a separate
directory named like cube_<date> inside the parent directory, which contains
the saved files. By default the parent directory is set to your home directory.
To change it you can either change the argument inside the wrapper.launch
file, or you can set its value during launching the program - for example:
roslaunch monarch_ros wrapper.launch data_path:="/<your>/<desired>/<path>"
Configuring the node
In the downloaded repository, there is a config file with camera parameters. The
parameters are loaded to the node automatically during the launch process. You
can change the provided camera parameters to your desired values (available
settings are gain and exposure fps). To load them into the program and your
camera, you need to restart the node.
If you have ROS installed on your computer, you can also change the camera wrapper parameters in runtime using the rqt dynamic reconfigure plugin.
Before starting any of the programs, make sure you completed the Connecting another computer to ROS network of ROS Development tutorial:
Now you can start rqt, and from plugins -> configuration choose
dynamic reconfigure and then choose the monarch_pro_wrapper node. On the
right side of the screen you will see the mentioned parameters - you can use the
sliders and boxes next to them to change the values of the parameters.
What next?
You can check our Integrations page for more instructions.