Task 9: Final touches
Preparation
Assembly time
5 minutes
Tools needed
- 4mm hex-head key
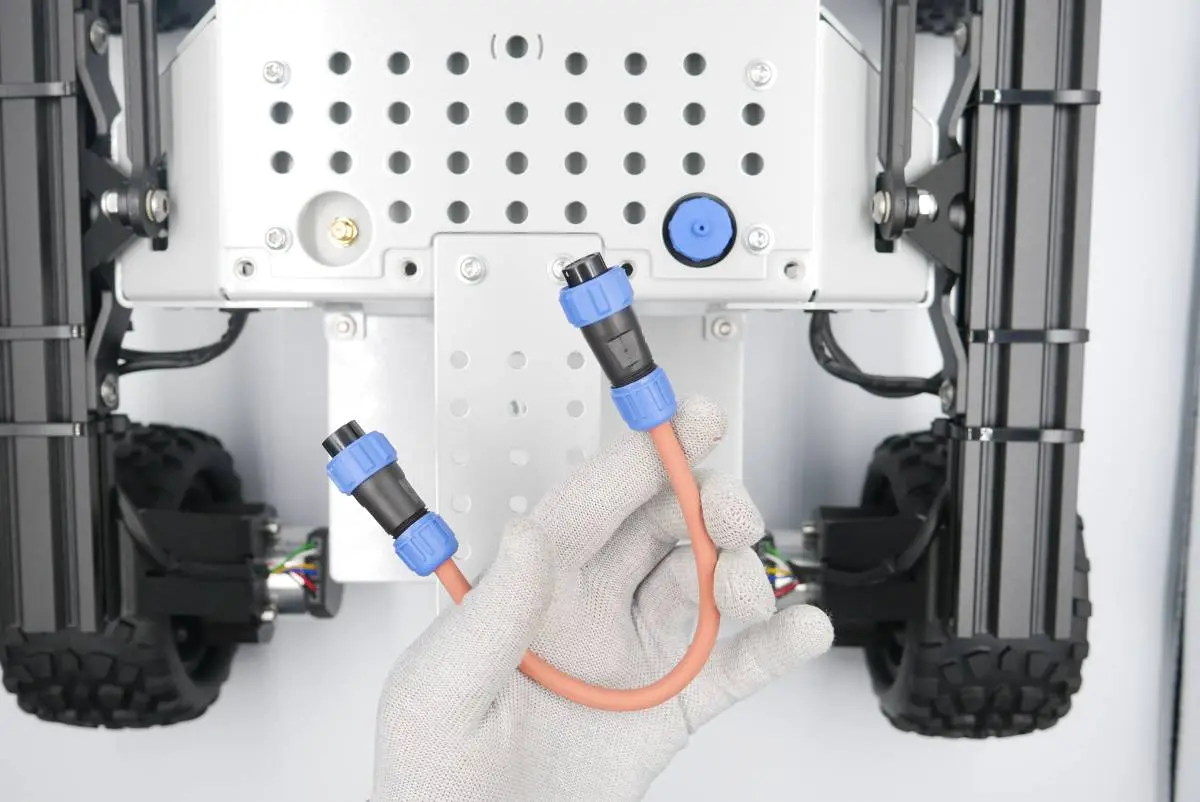
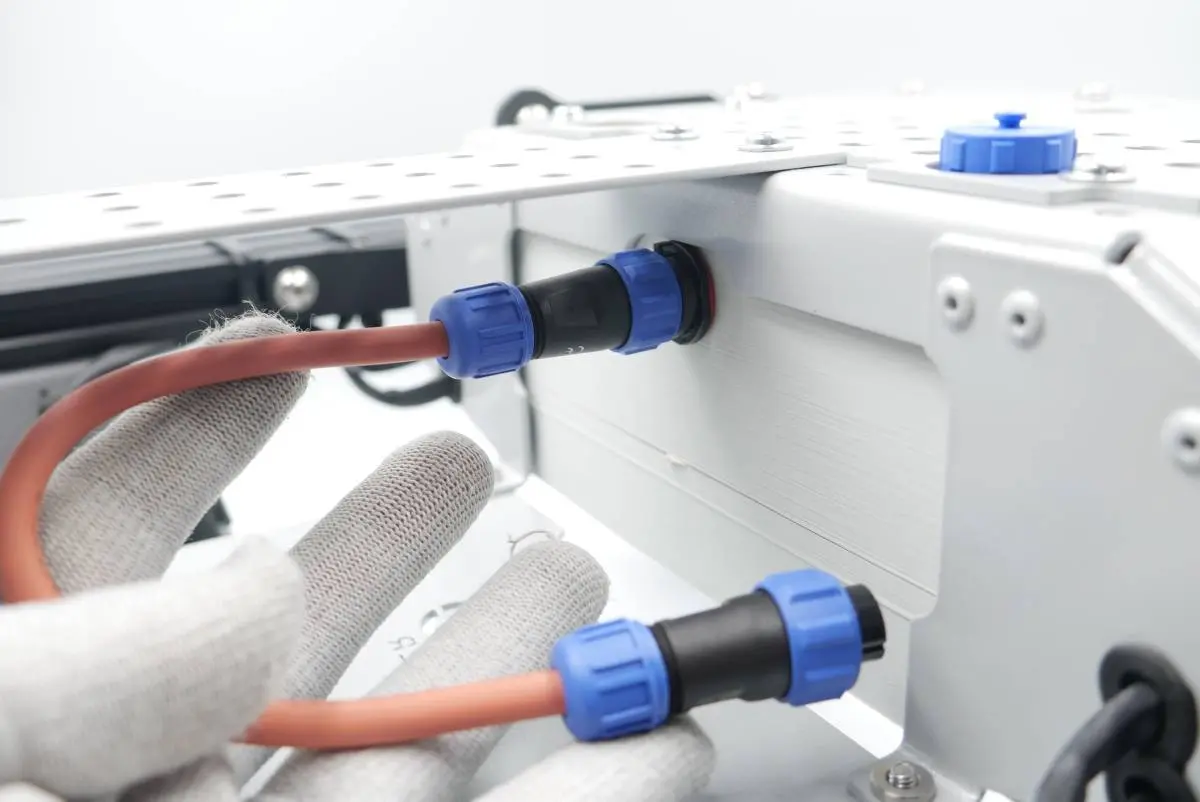
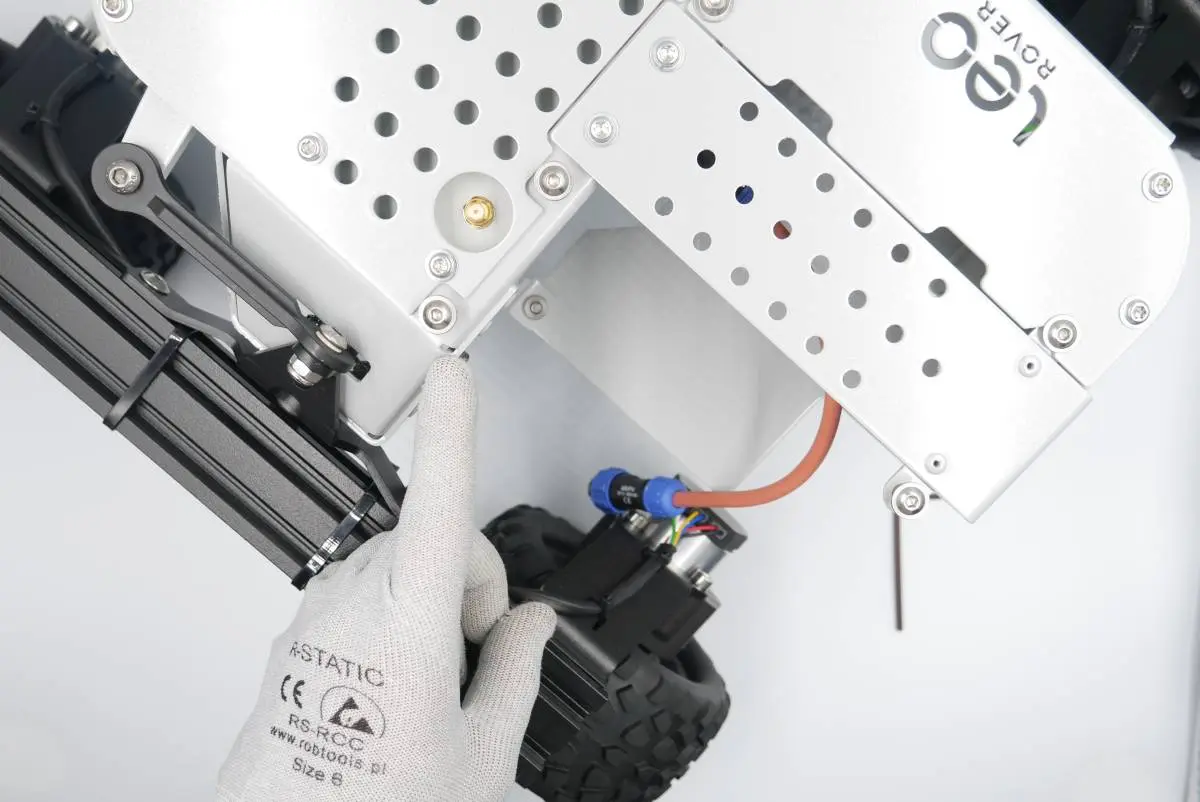
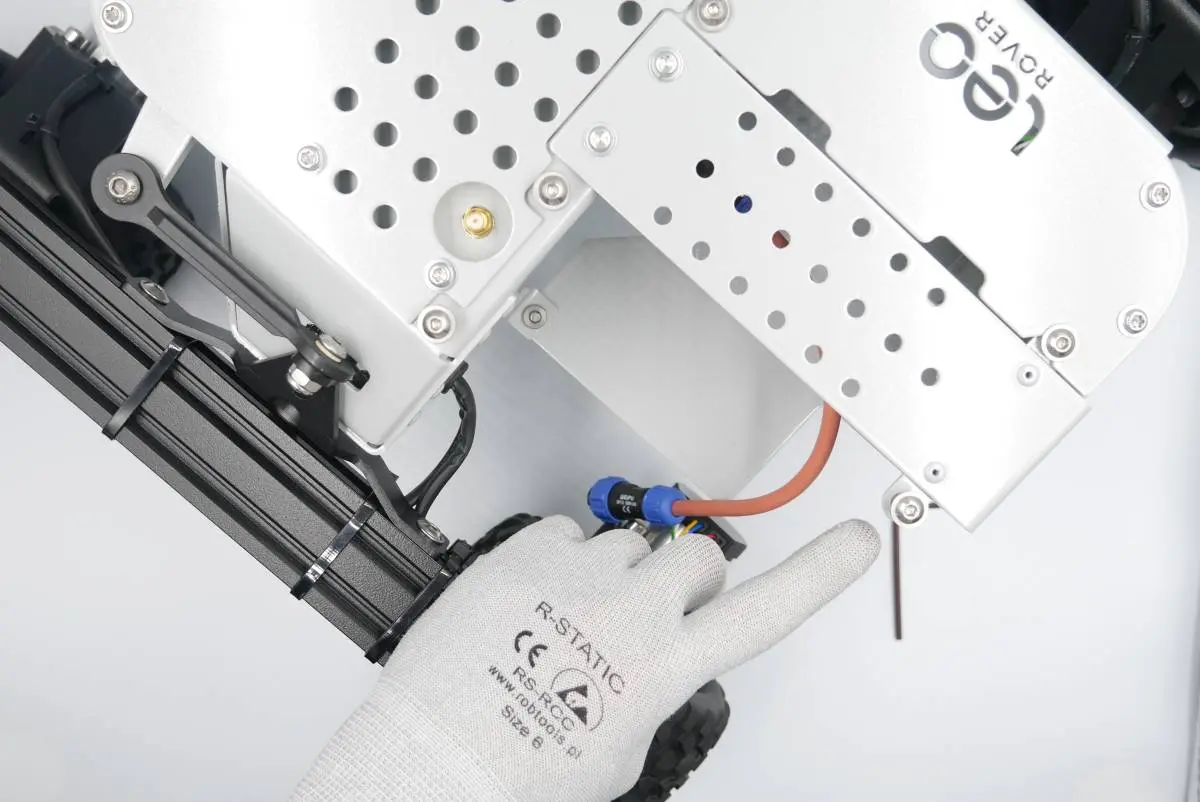
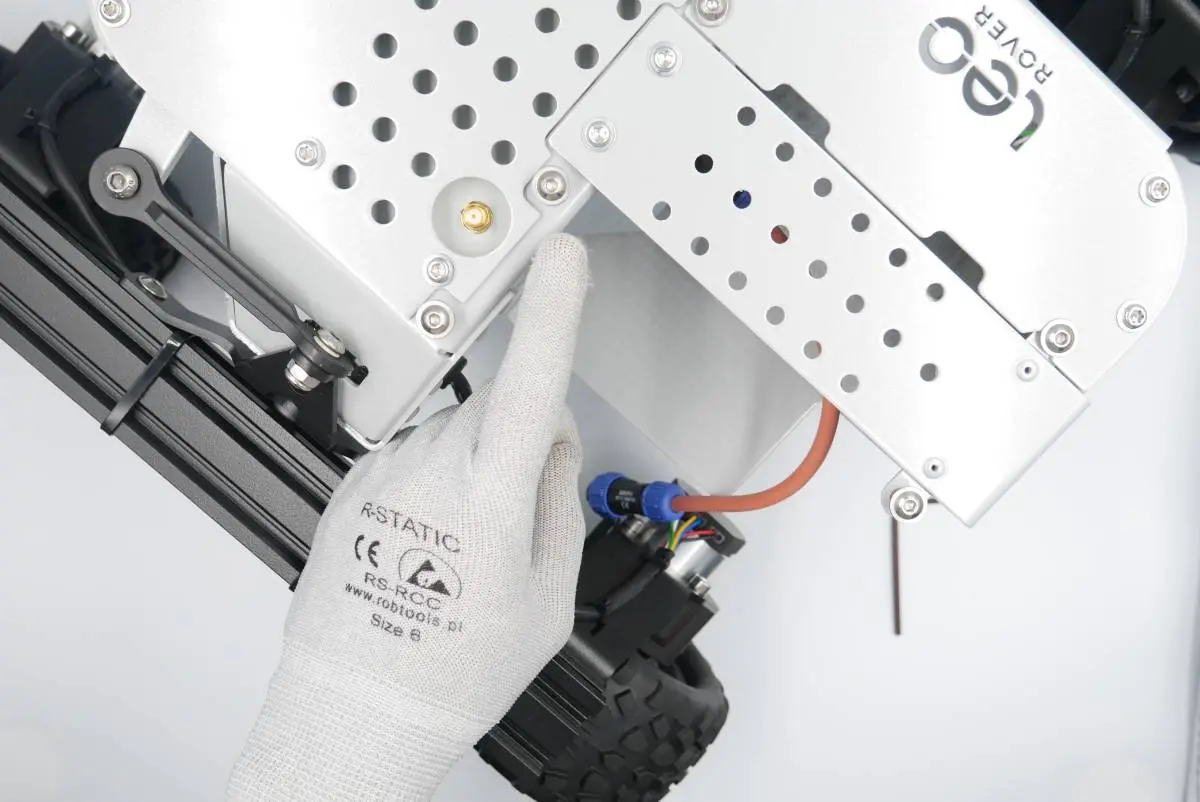
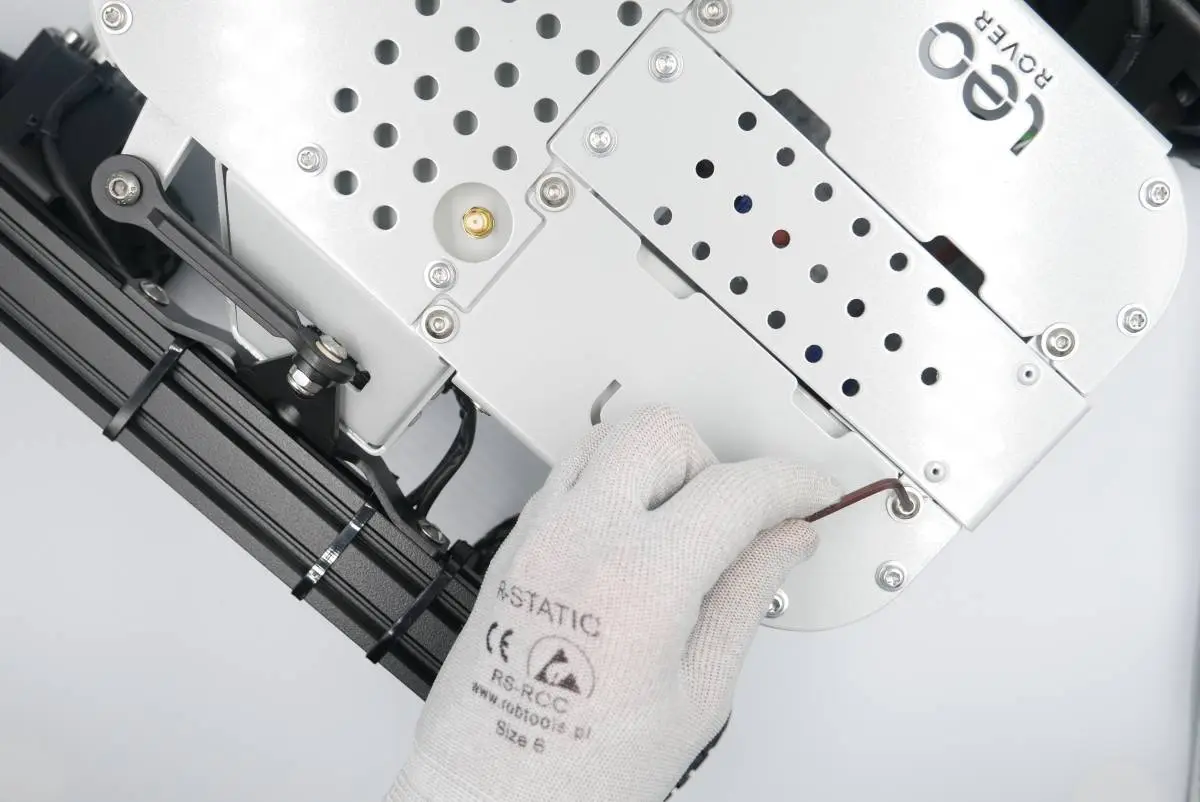
Step 1: Attaching the MEB-to-battery cable
Prepare:
- Task 8 assembly
- MEB-to-battery cable (orange with 2x Weipu connectors)
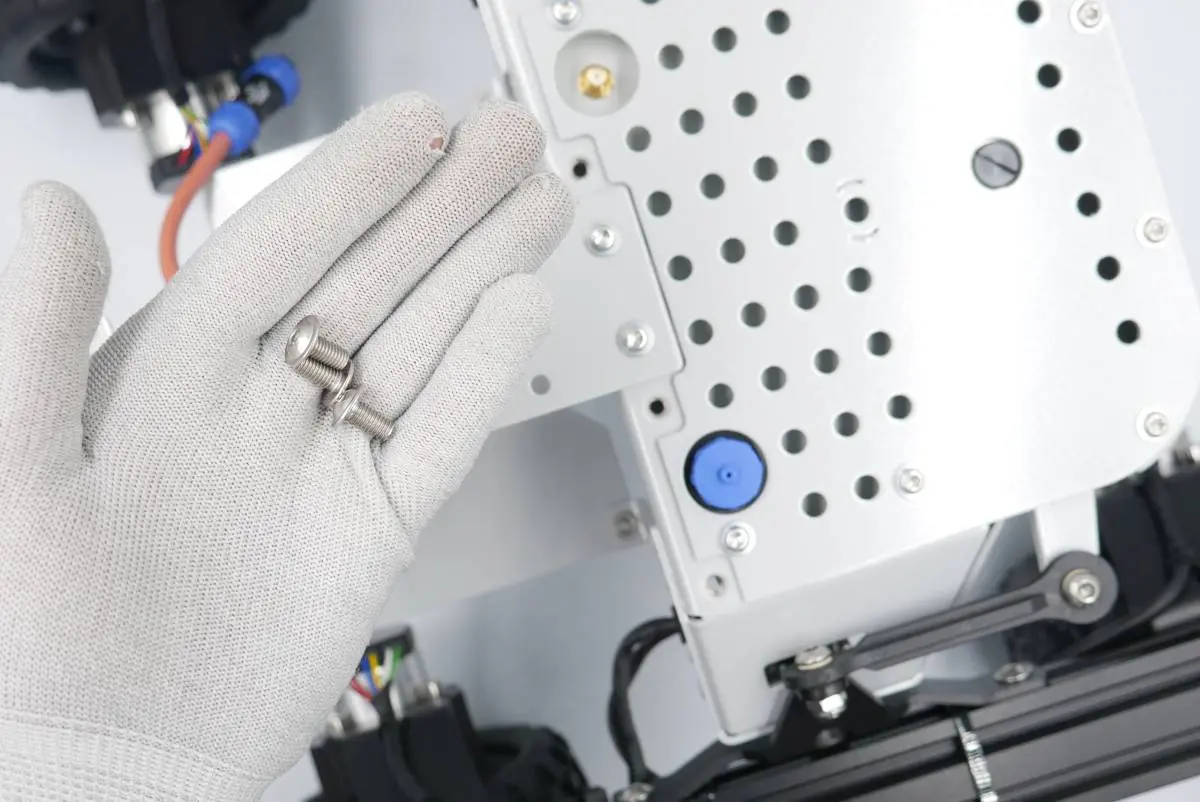
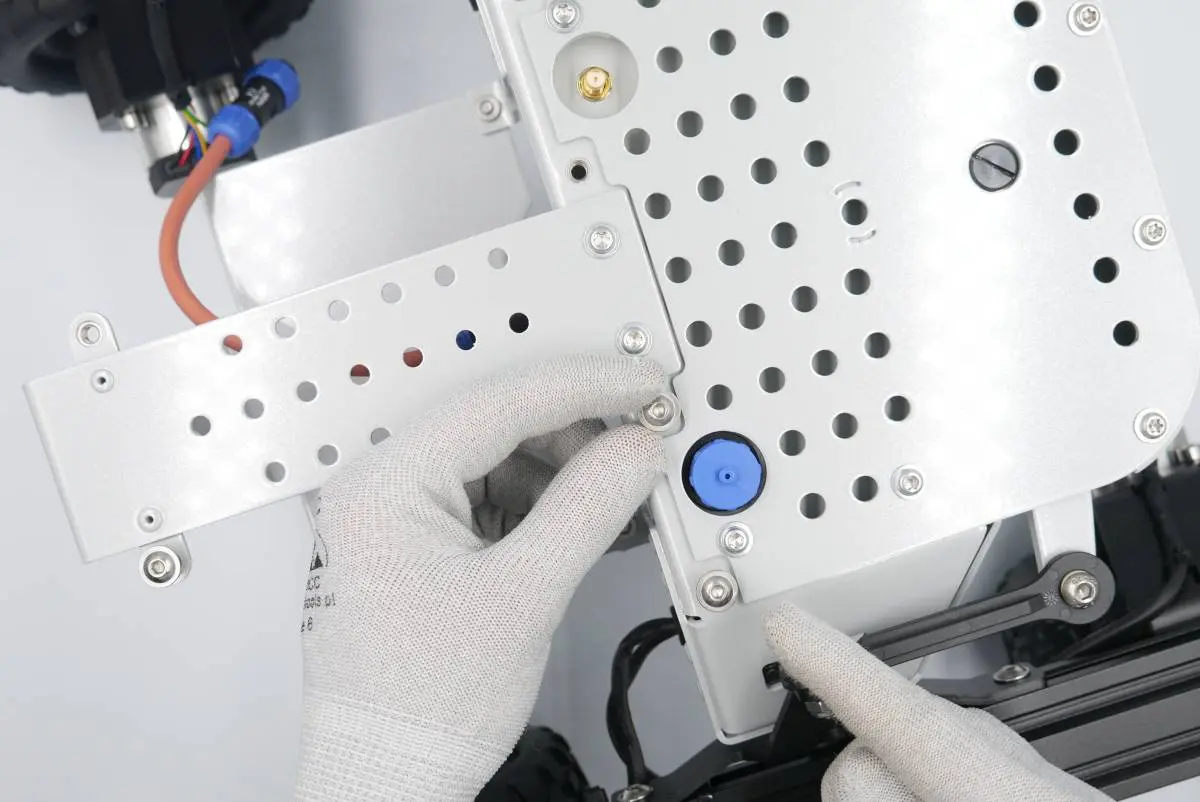
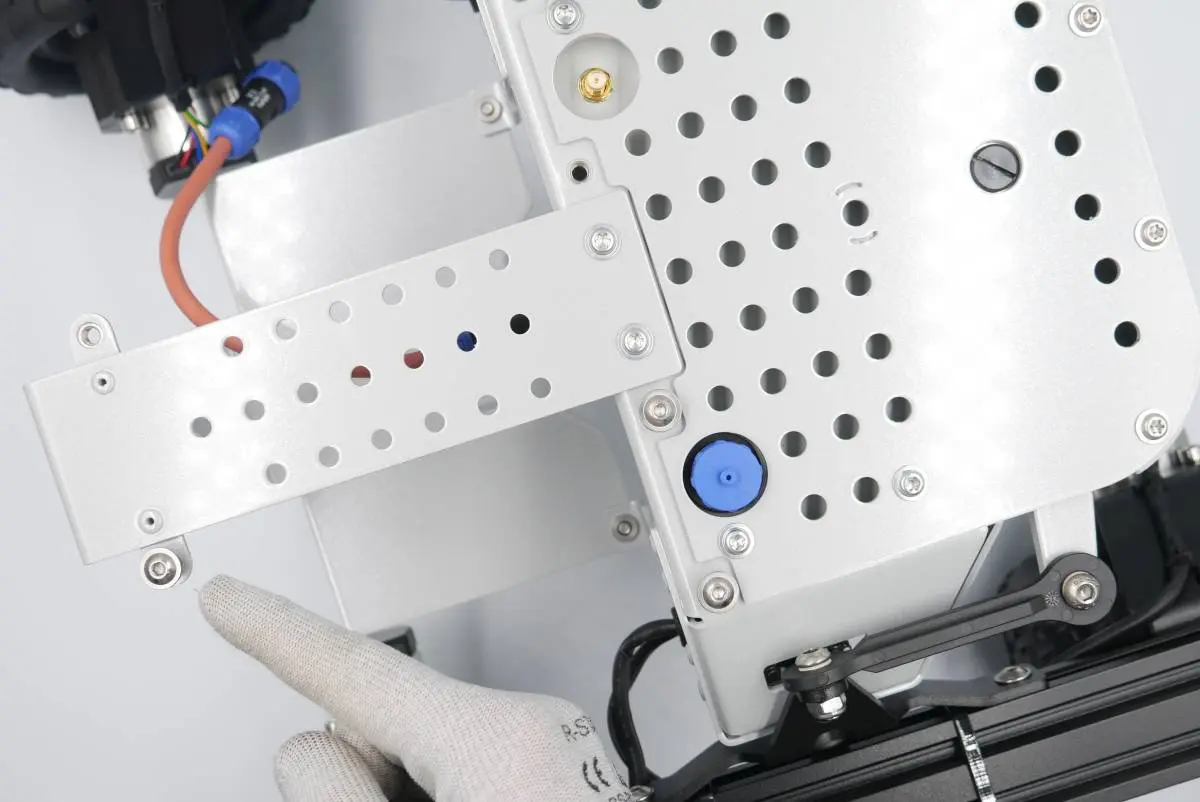
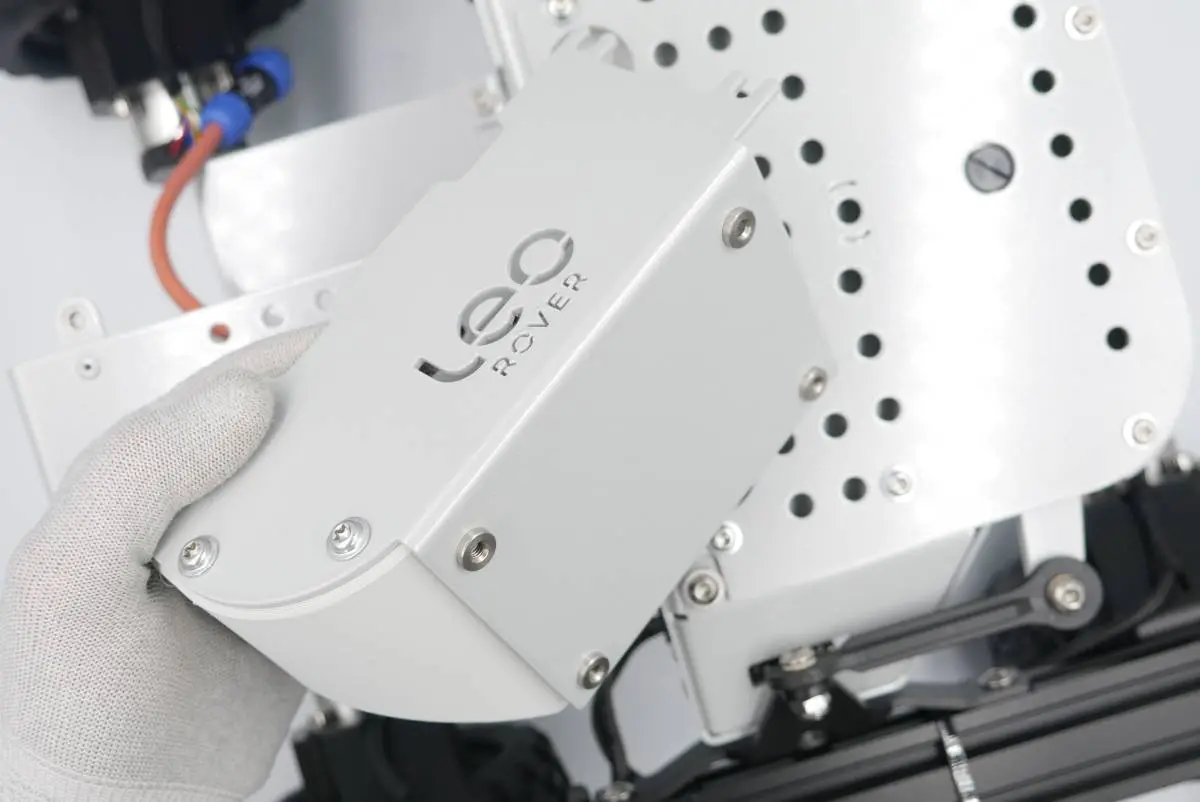
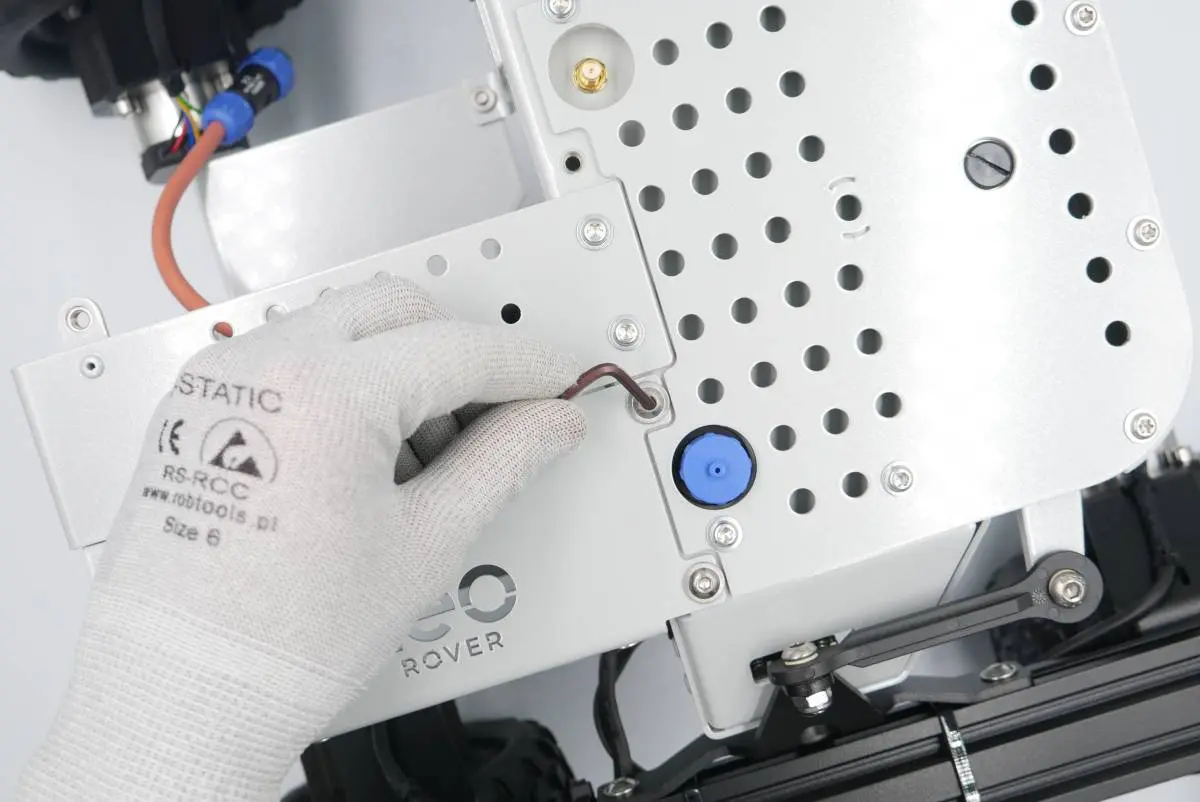
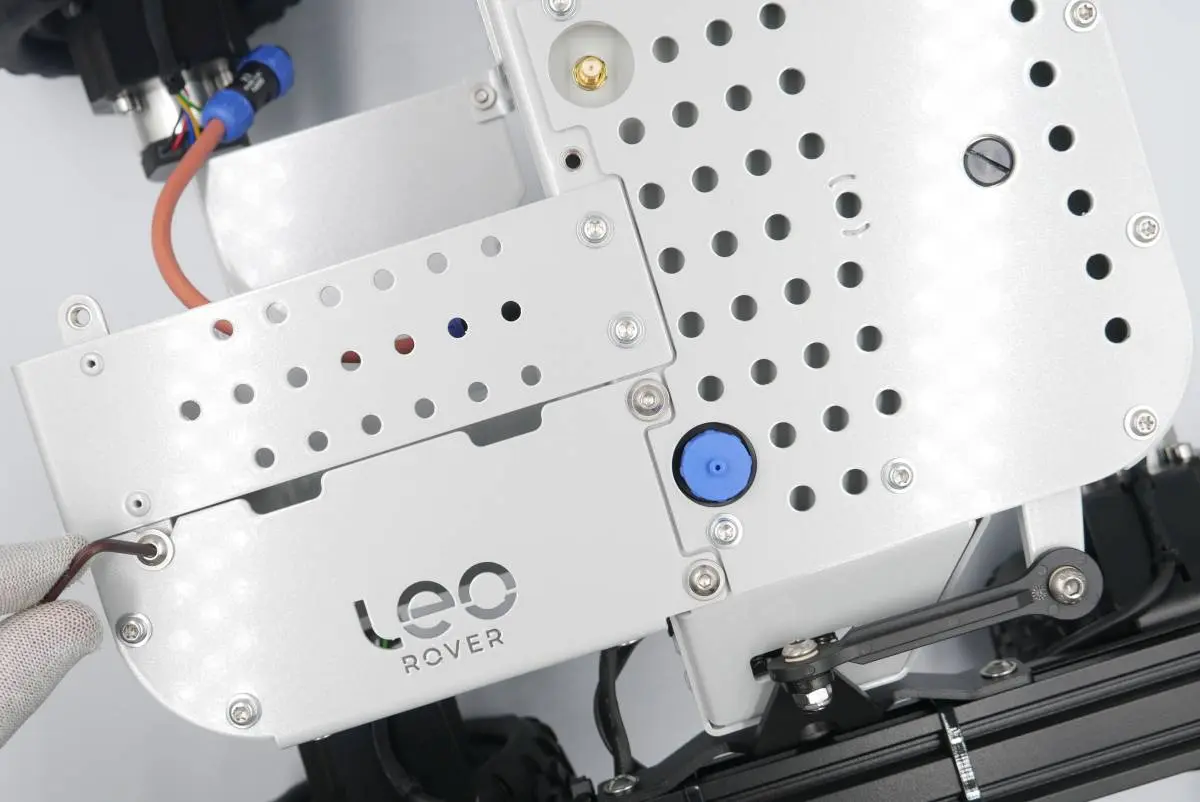
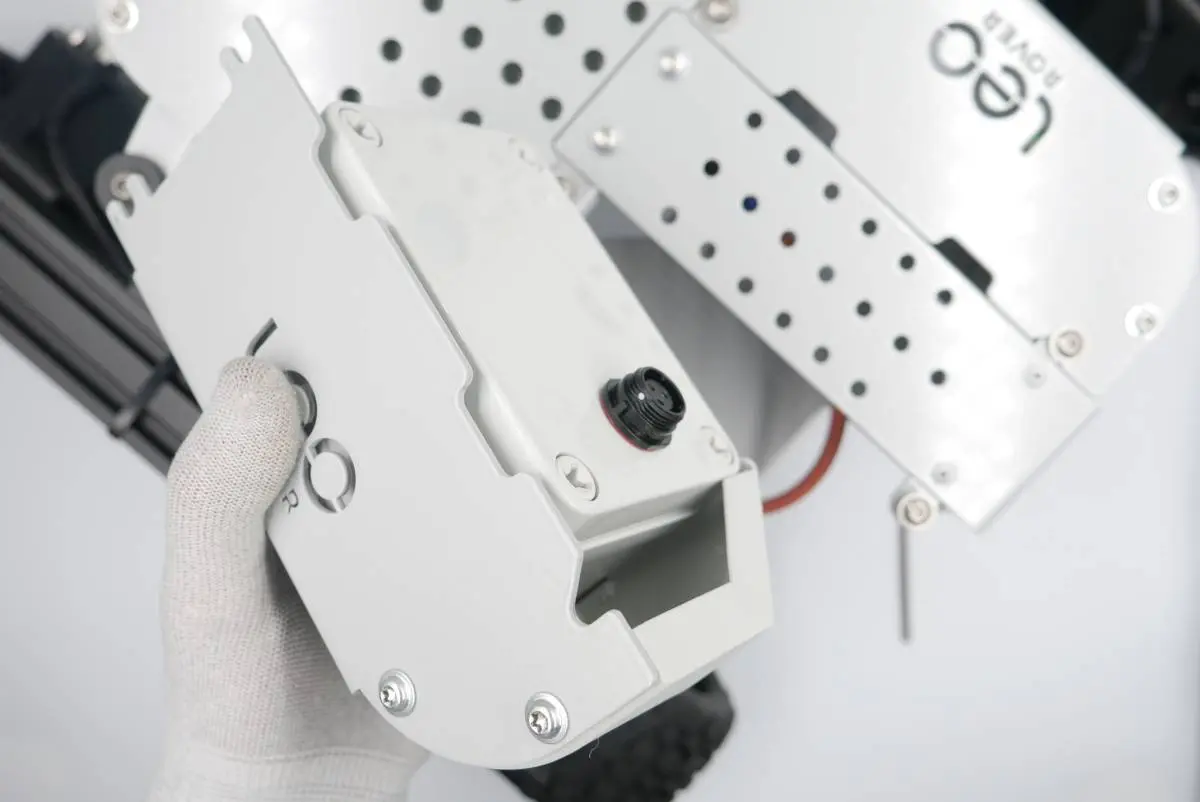
Step 2: Attaching the additional quarter
Prepare:
- Step 1 assembly
- Task 5 additional quarter assembly
- 3x M5x10 screws (left from the Task 5)
- 4mm hex-head key
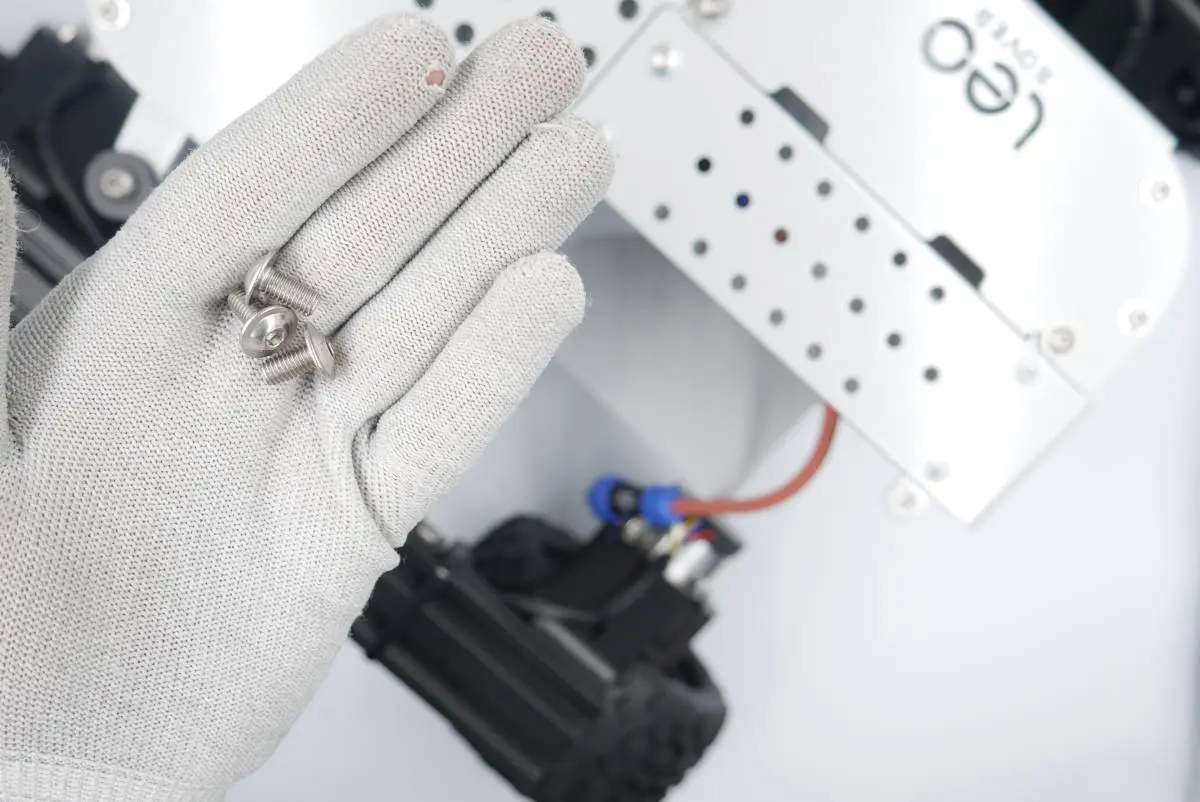
Step 3: Attaching the battery
Prepare:
- Step 2 assembly
- Task 4 battery assembly
- 3x M5x10 screws (left from the Task 4)
- 4mm hex-head key

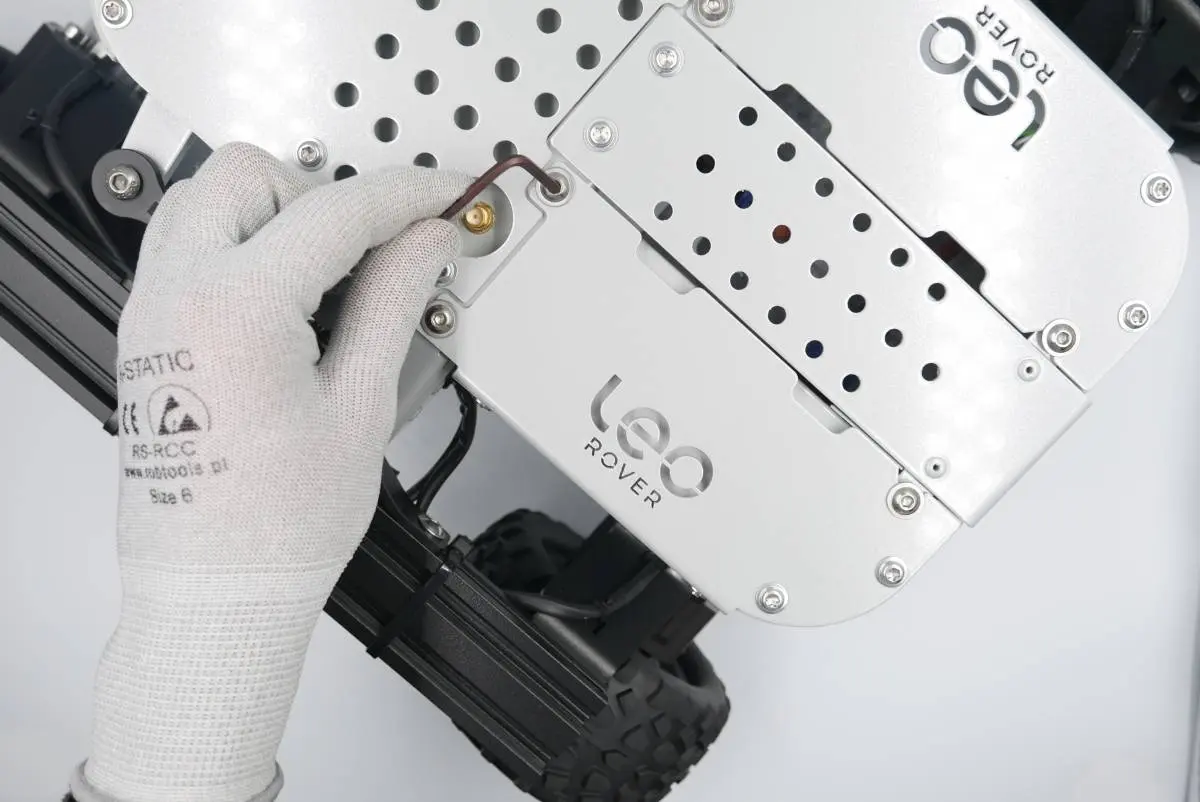
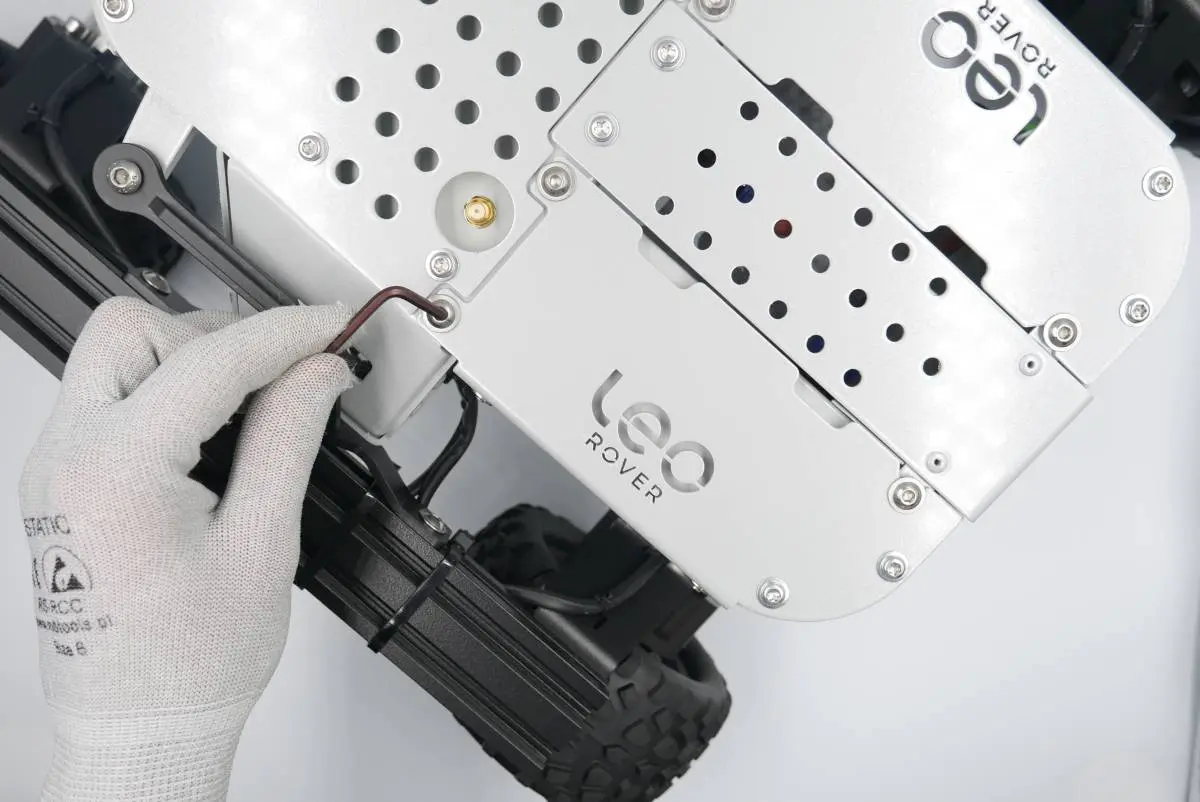
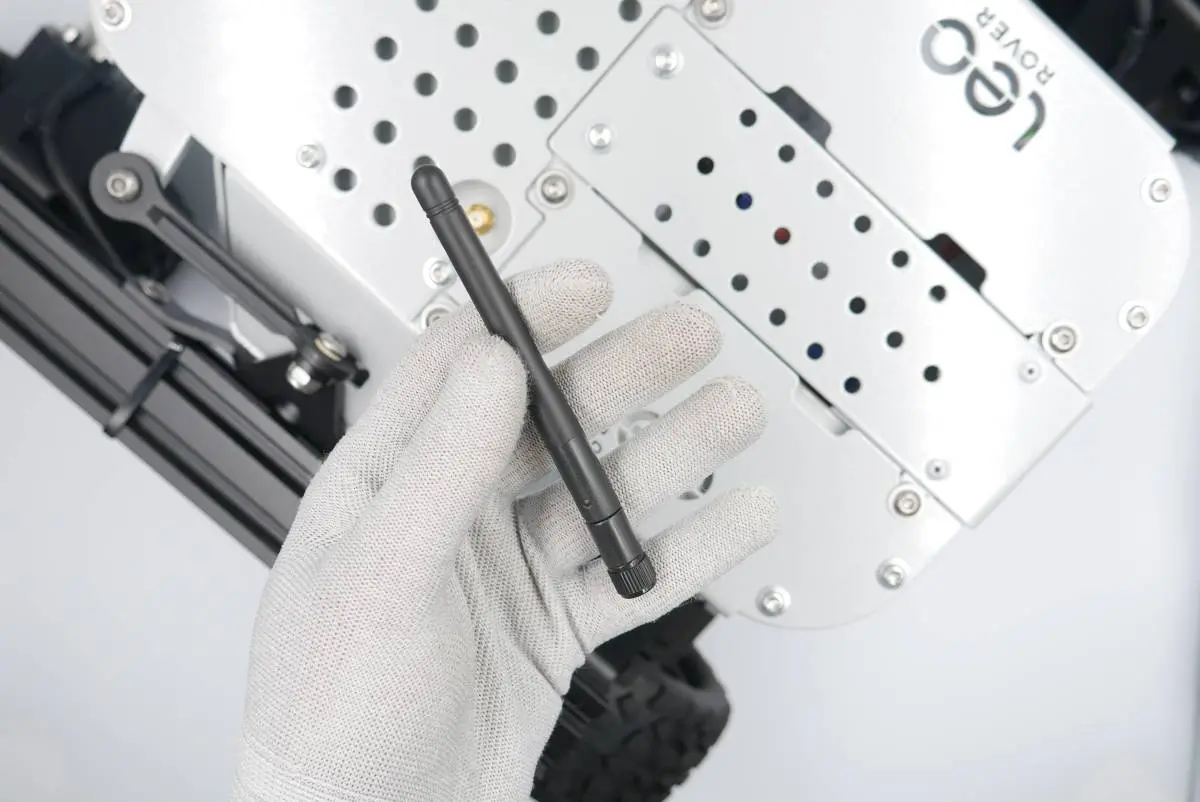
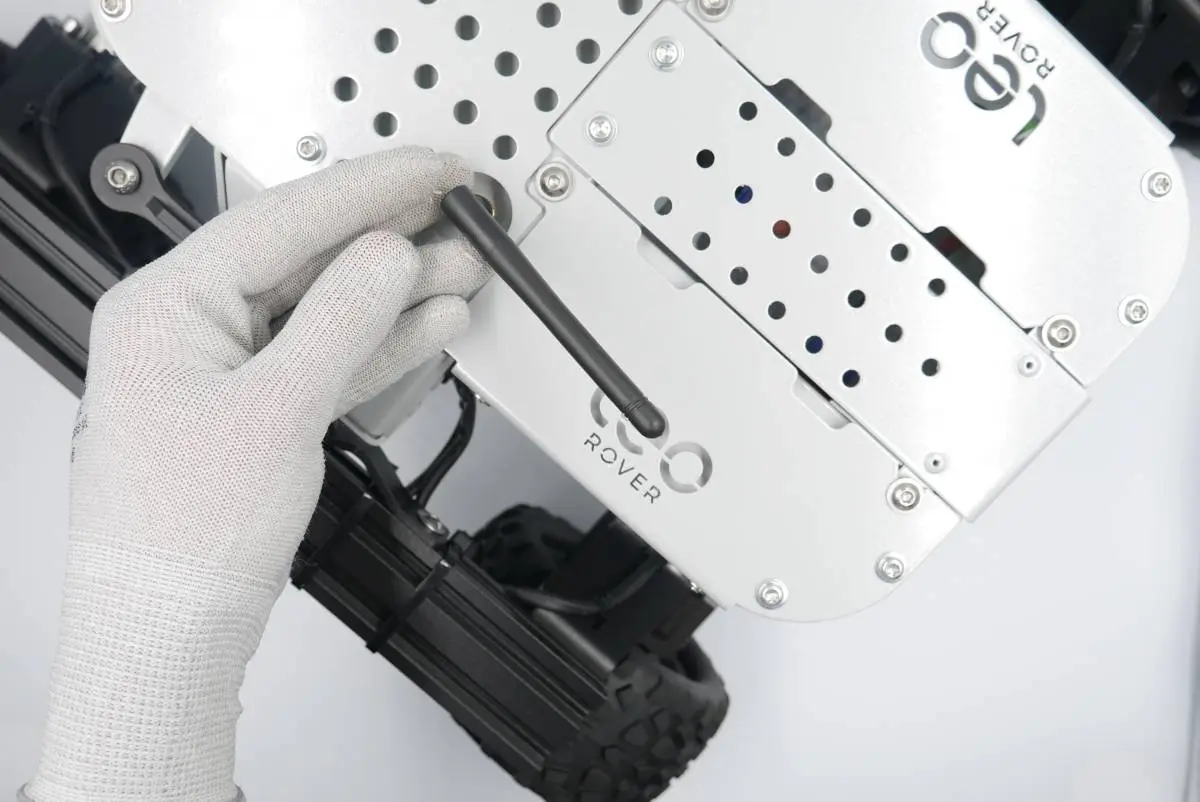
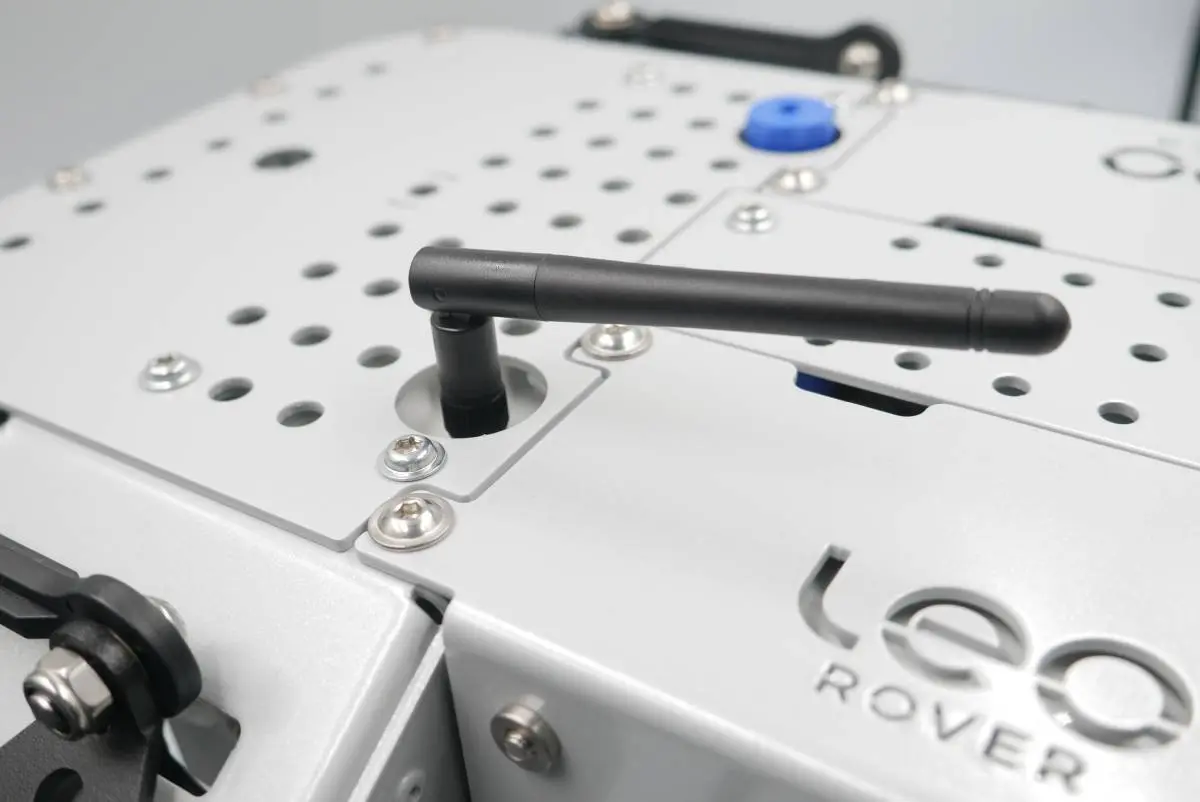
Step 4: Adding the antenna
Prepare:
- Step 3 assembly
- 1x antenna