Charging Station Assembly Manual
Referenced products
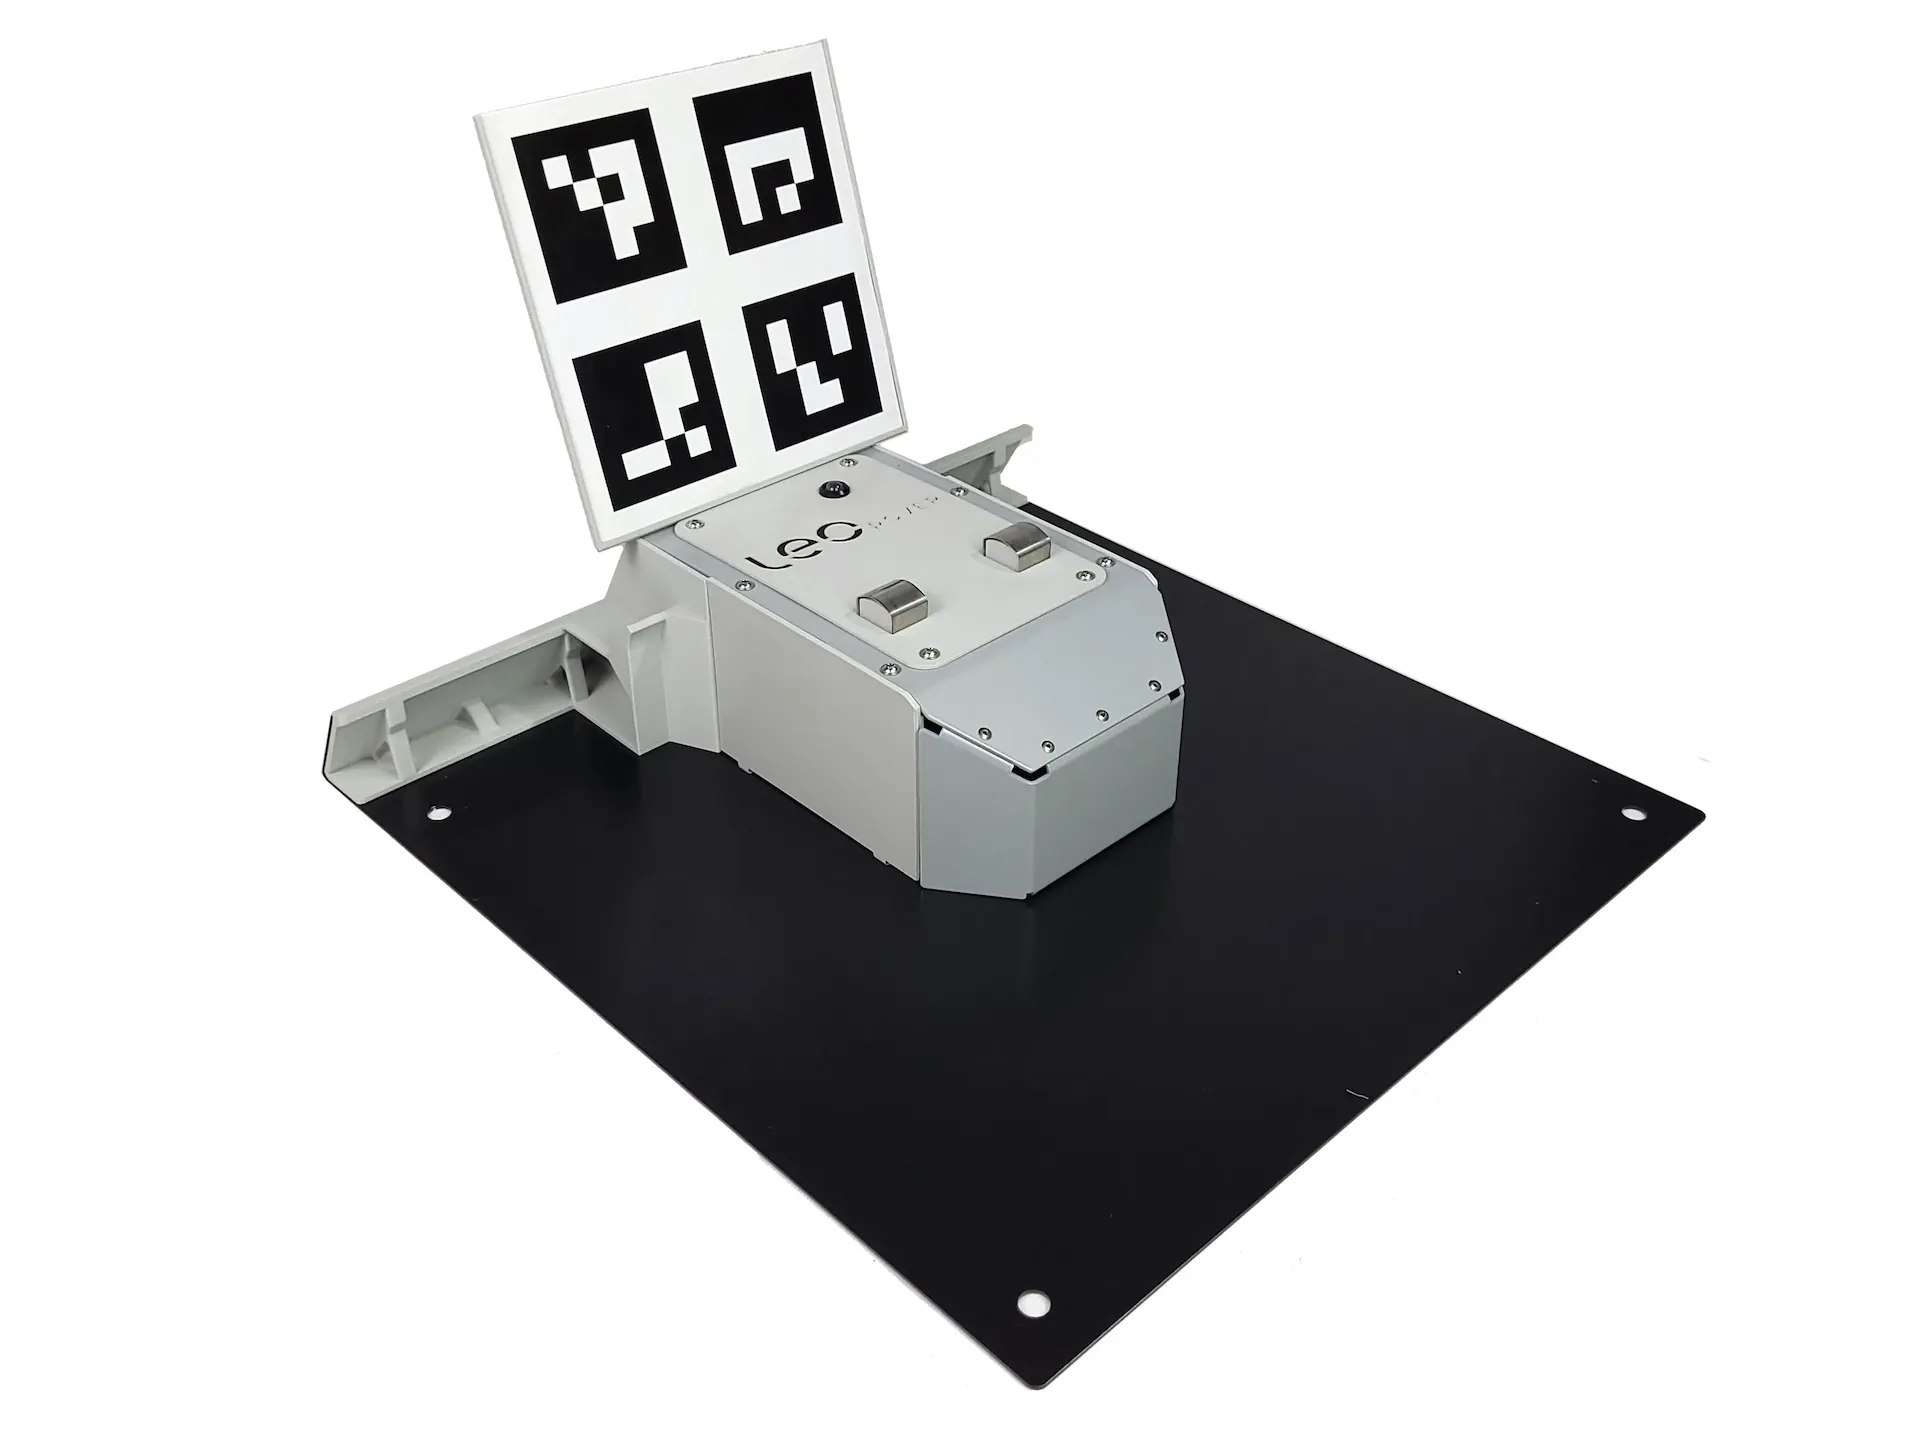
Charging station
The Charging Station for Leo Rover is designed to charge the Leo Rover.
It features a battery level display, autonomous docking, and protection against
aggressive driving, ensuring efficient and safe charging.
Preparation
Assembly time
5 minutes
Prerequisites
- assembled Leo Rover 1.8 (not included)
Tools needed
- 3mm hex key (metric)
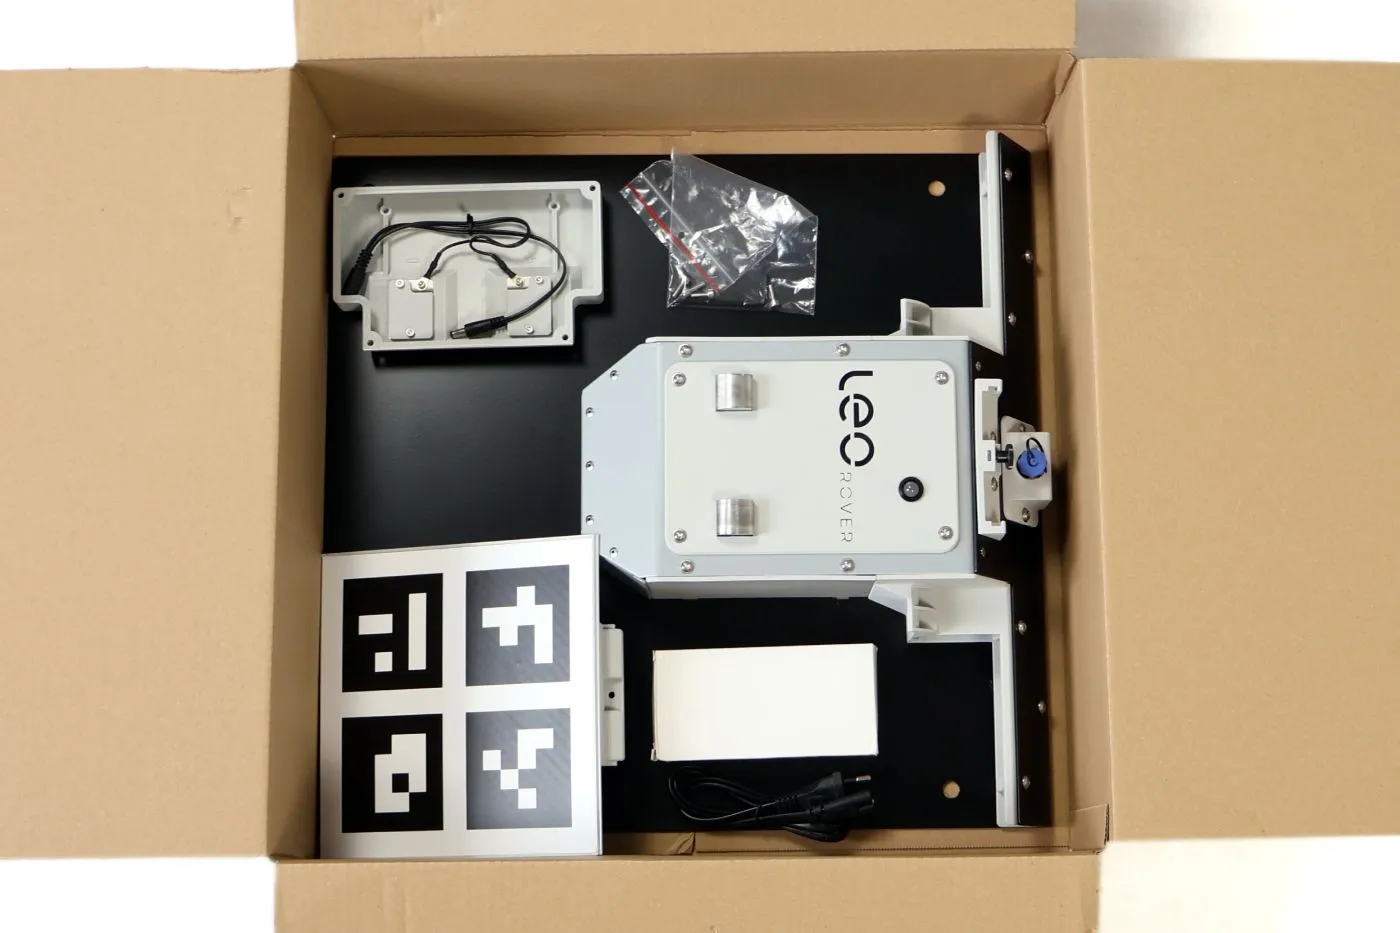
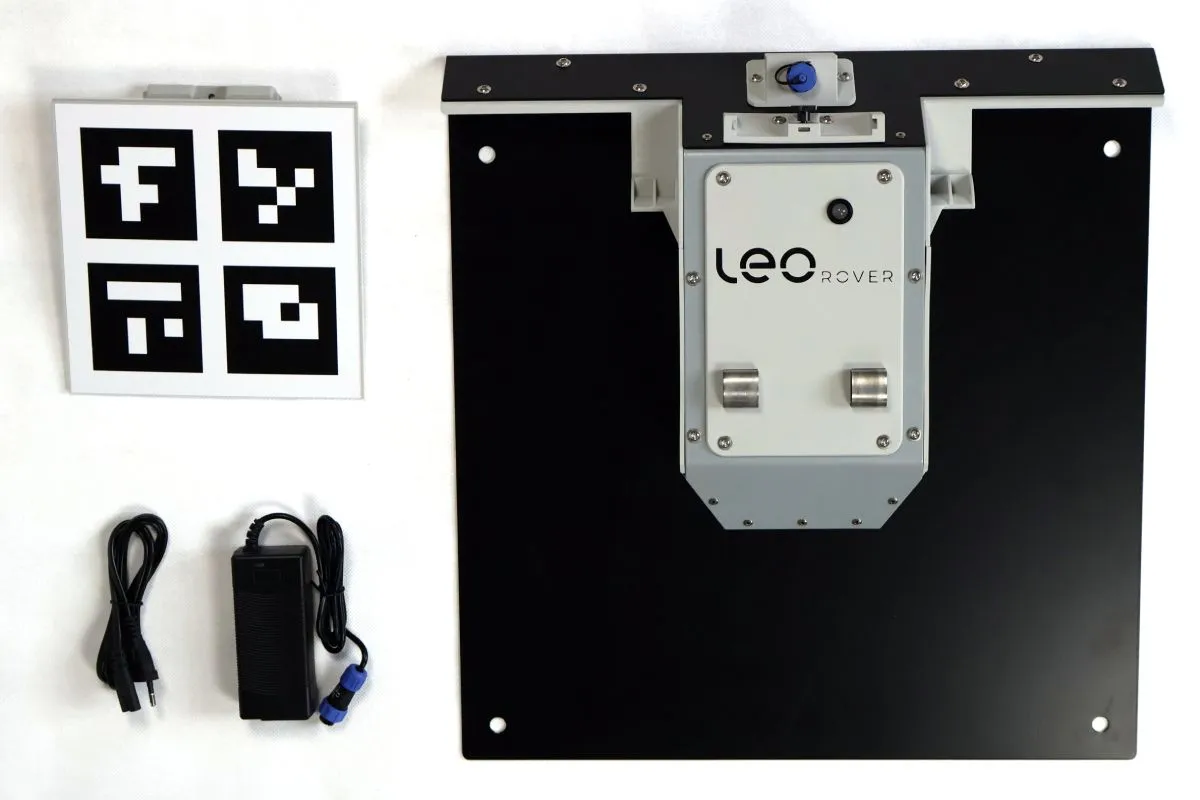
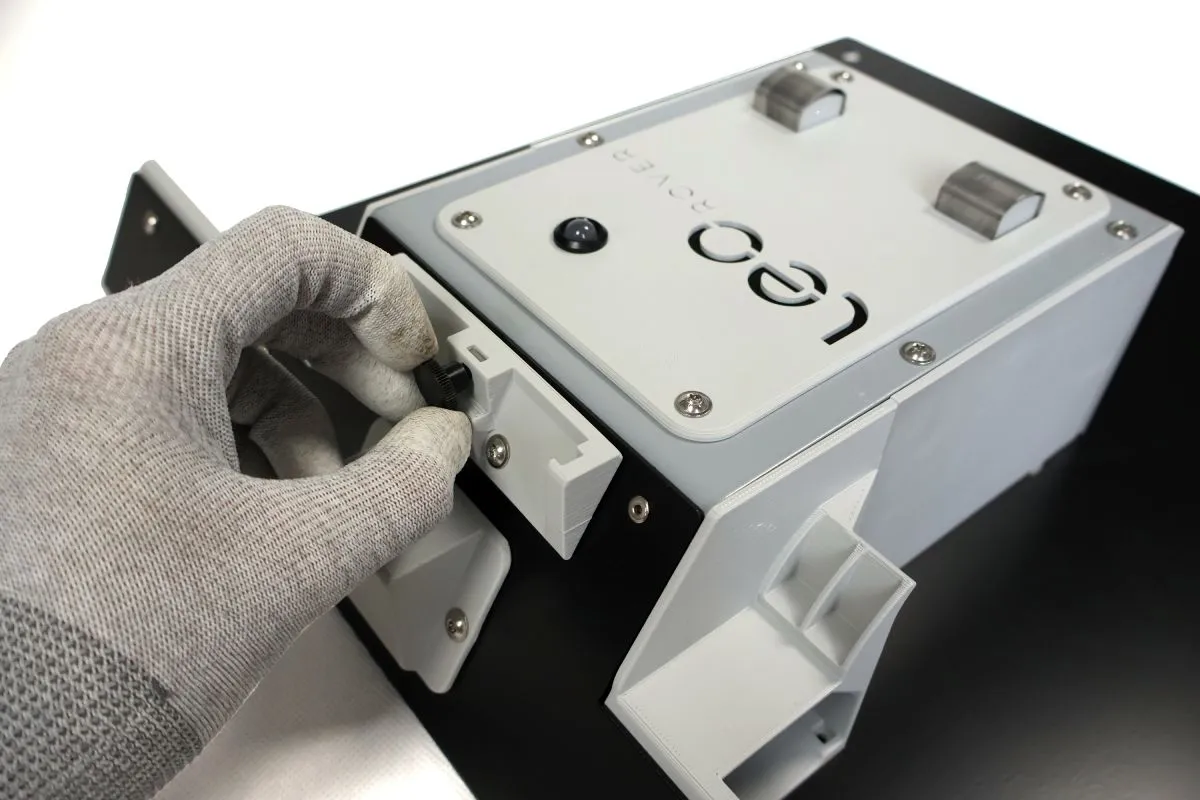
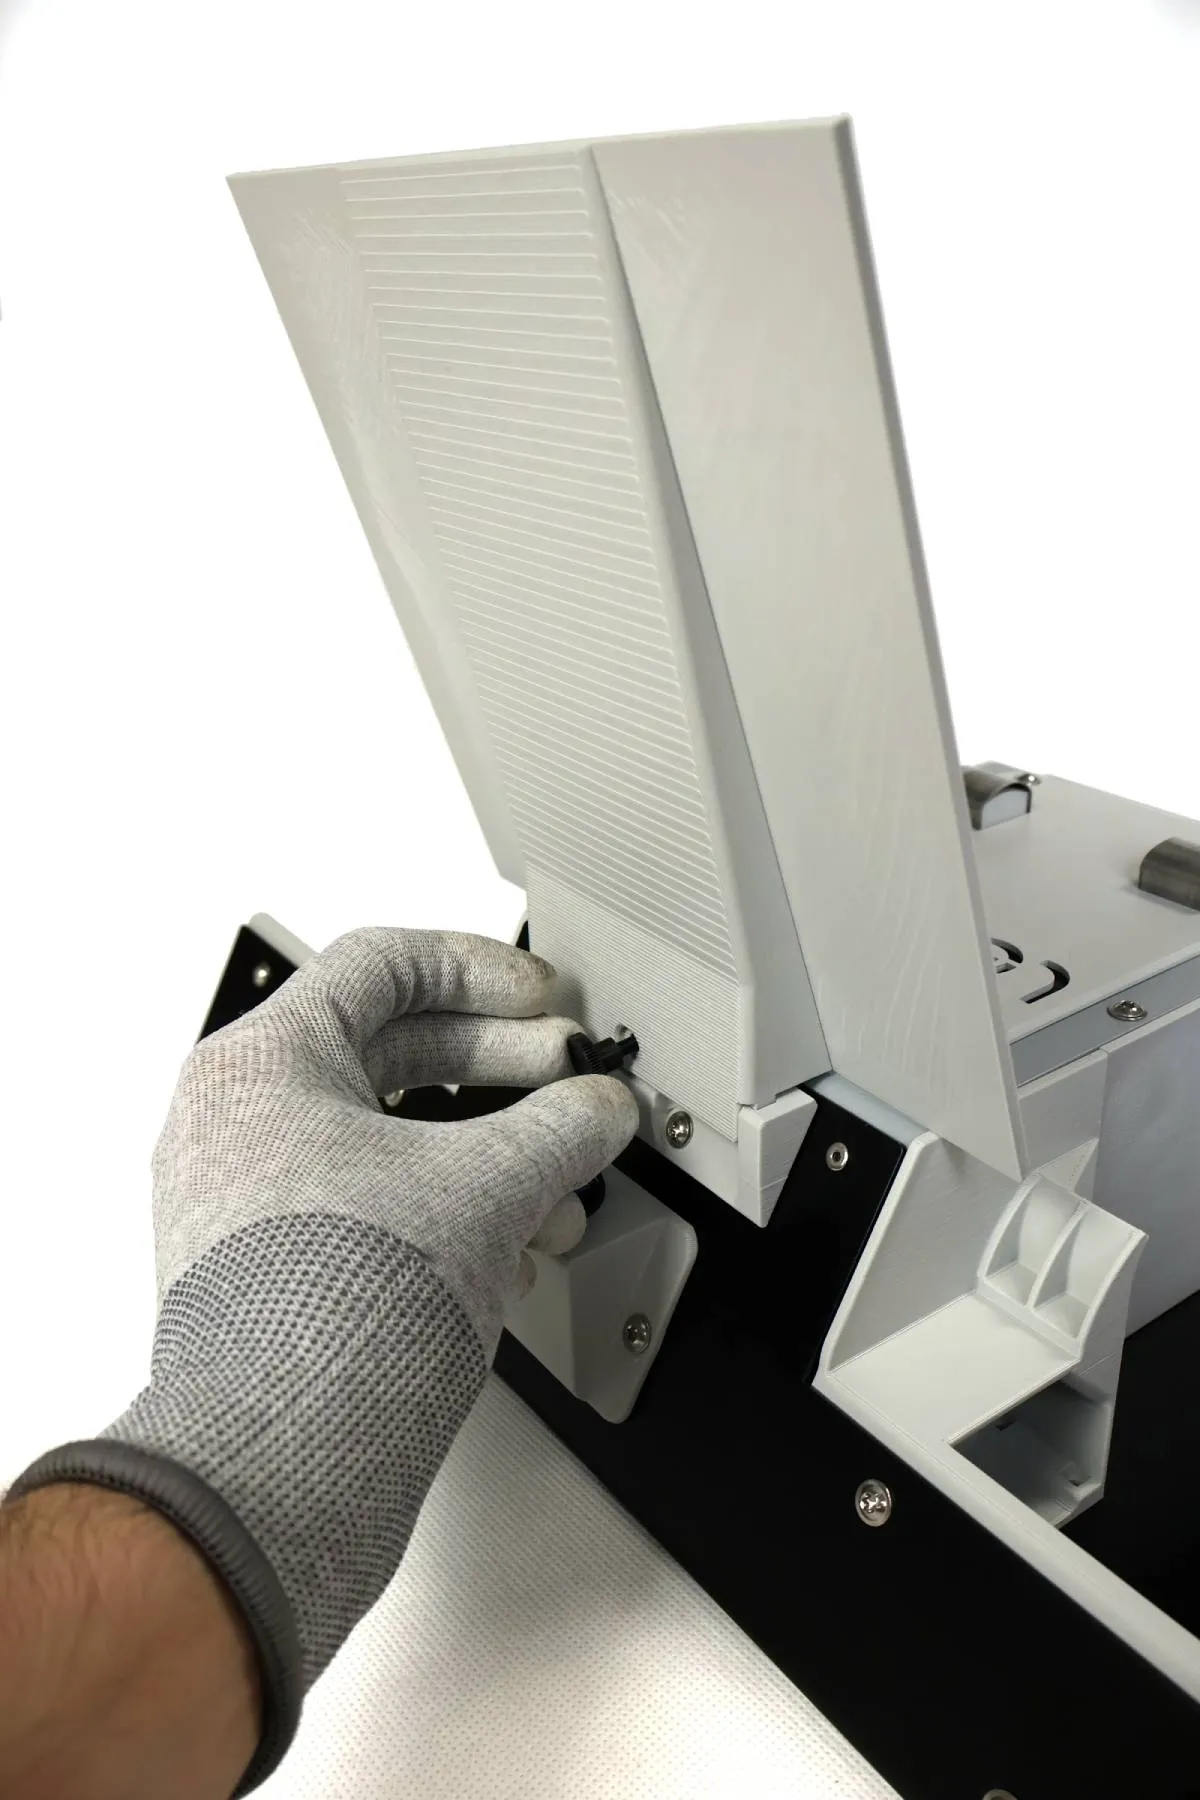
Step 1: Charging station assembly
Prepare:
- Charging station
- ArUco tag board
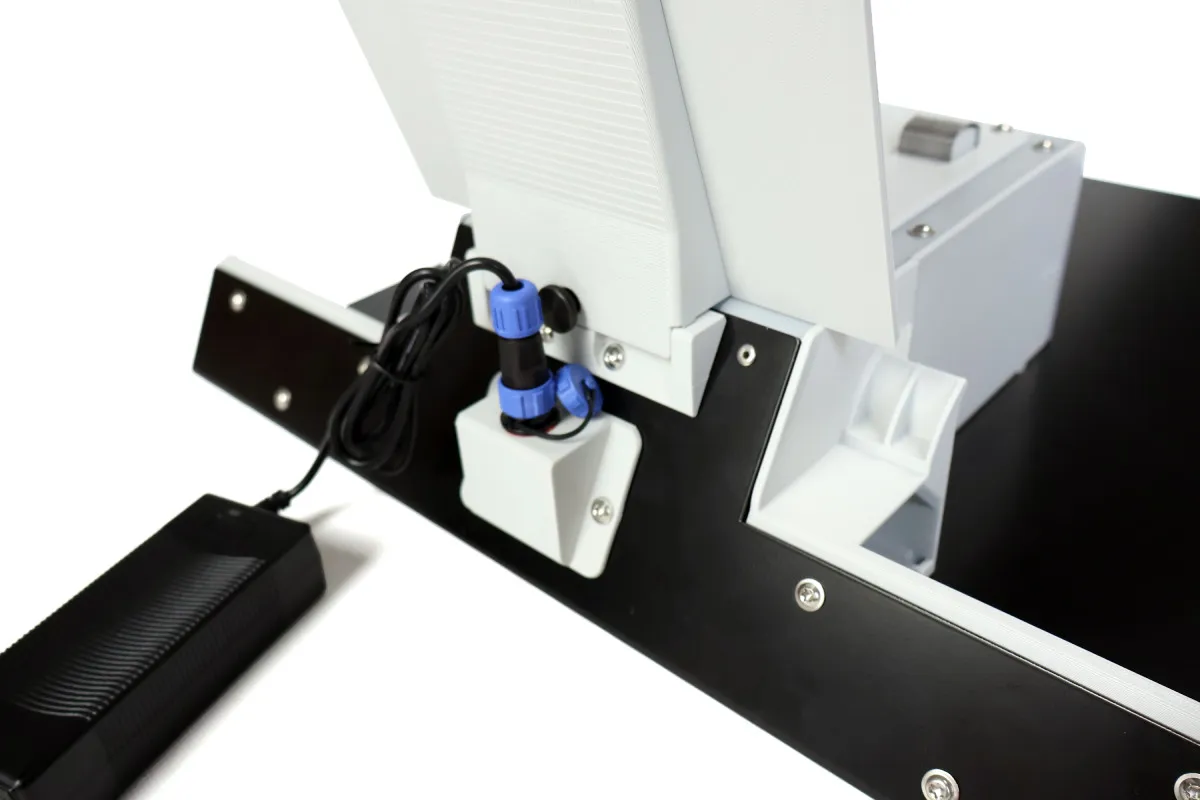
- 3A Charger
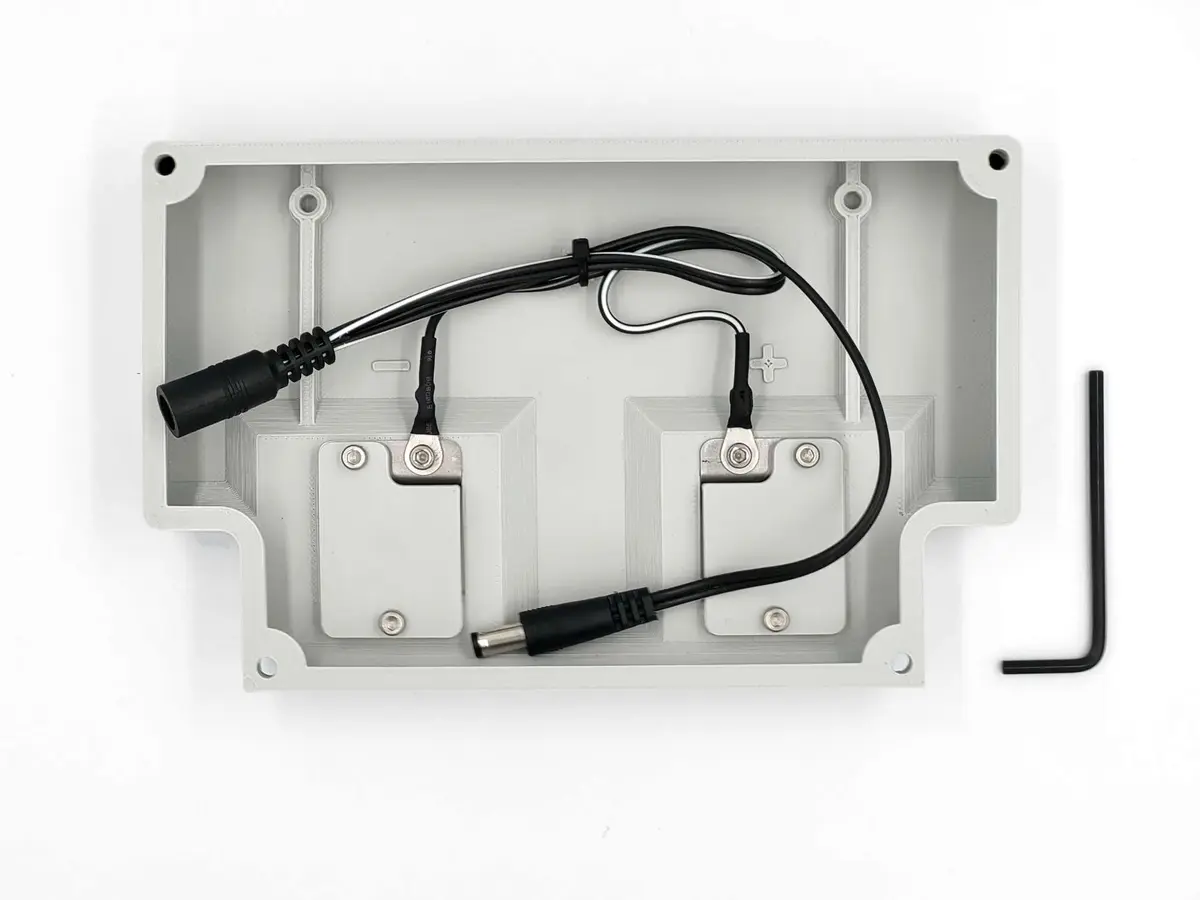
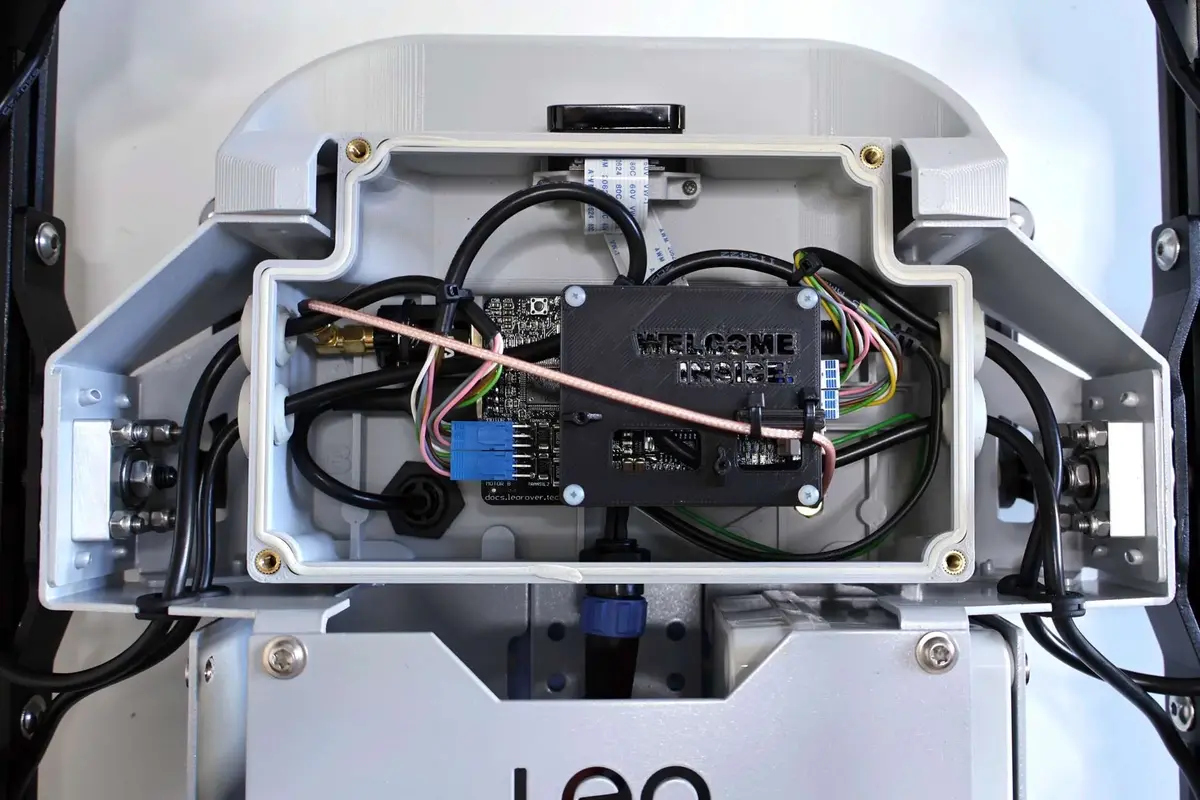
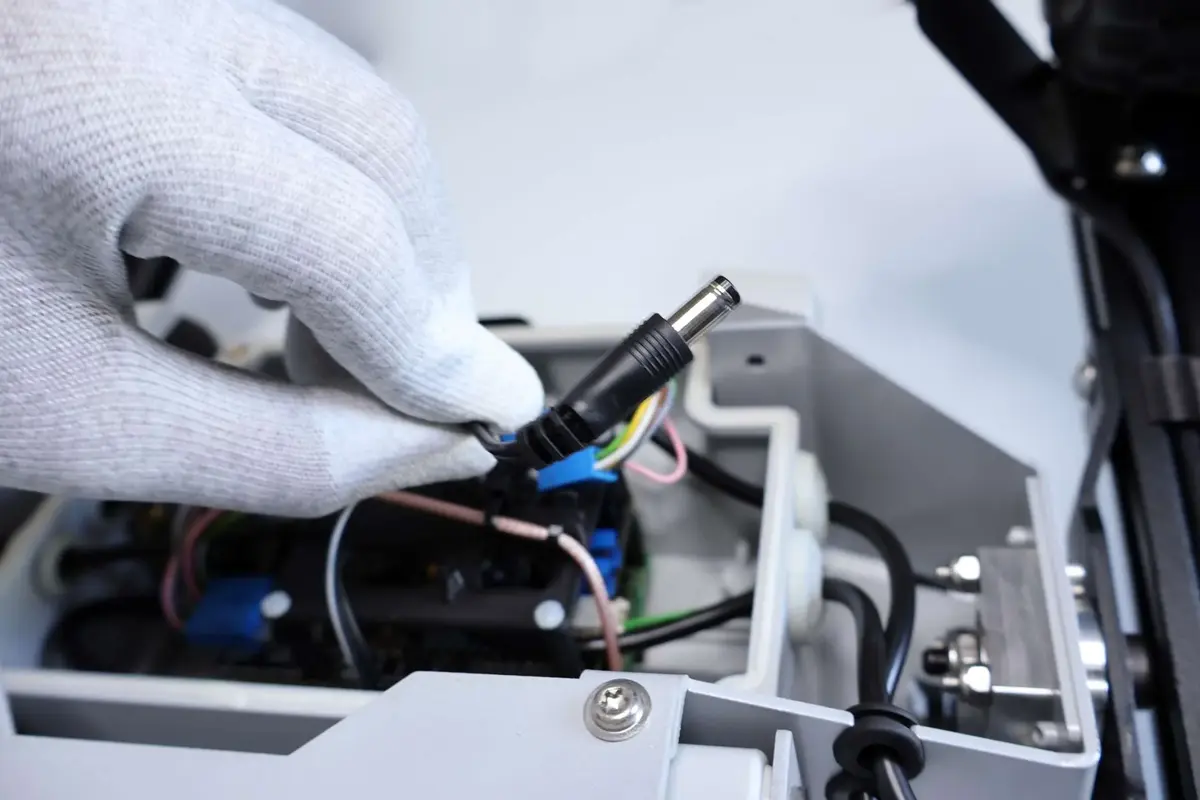
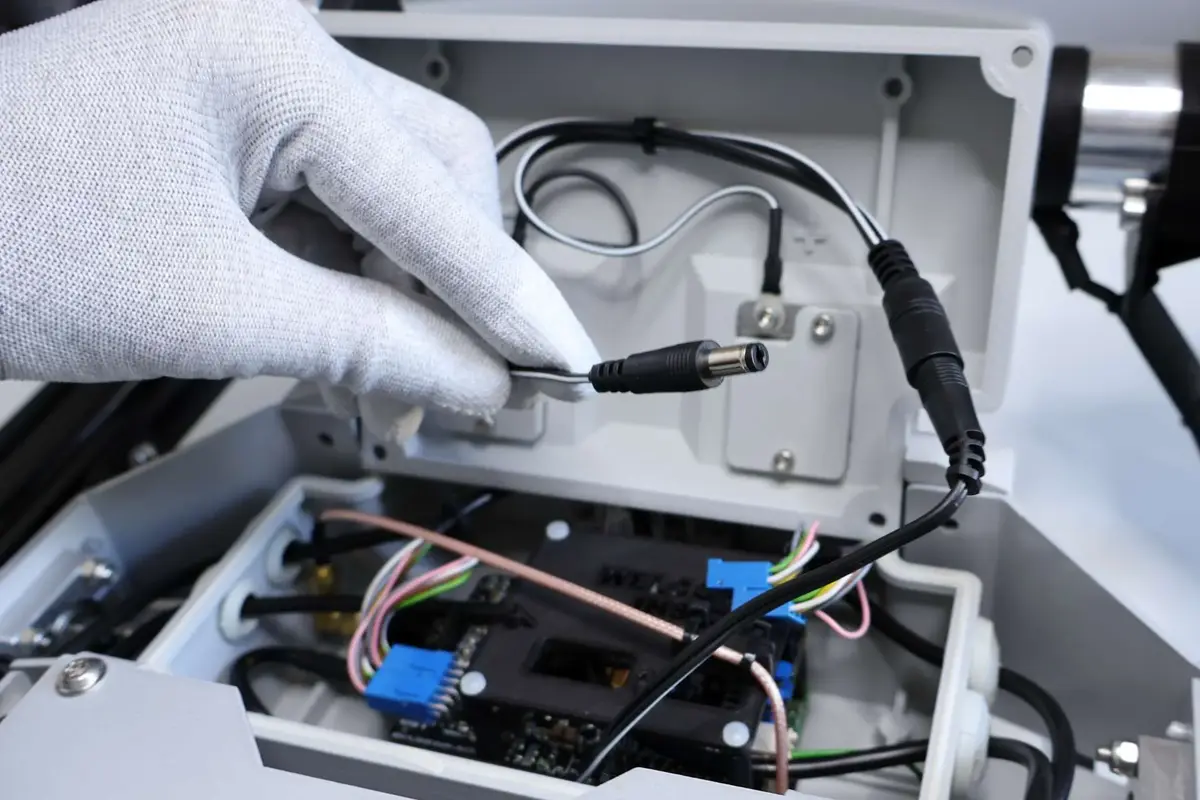
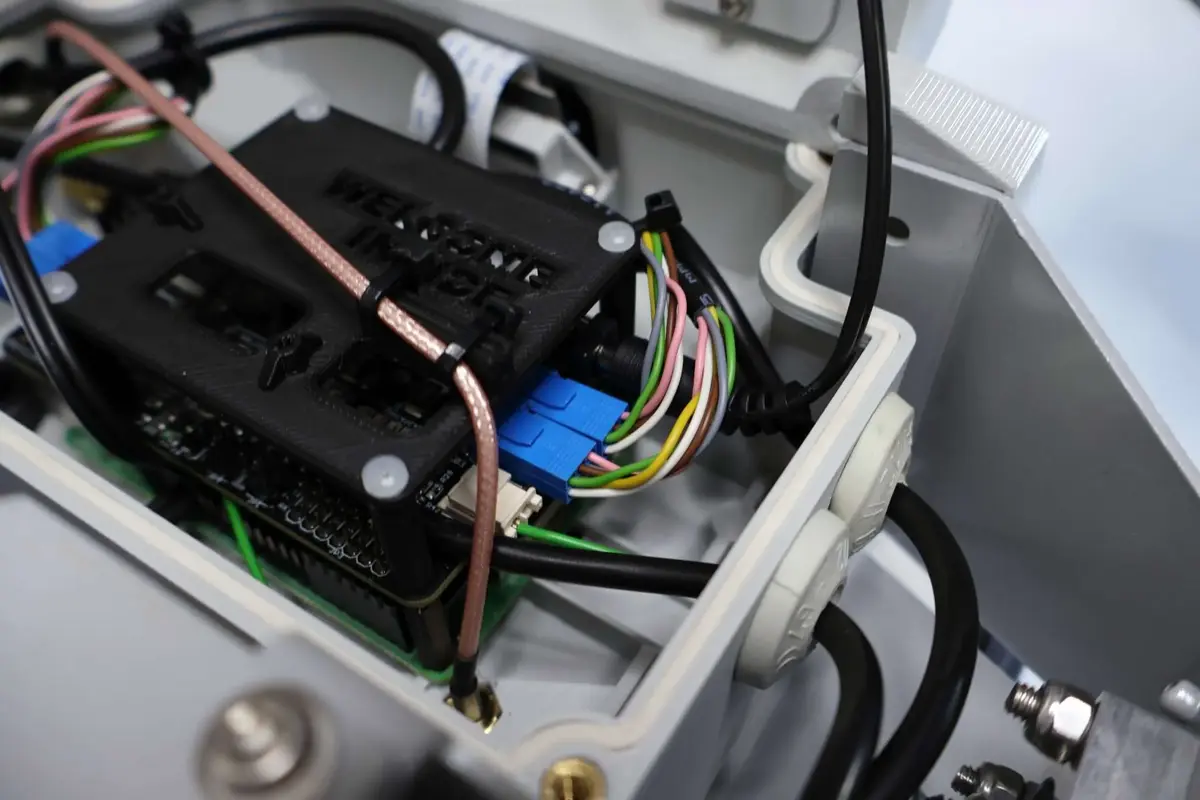
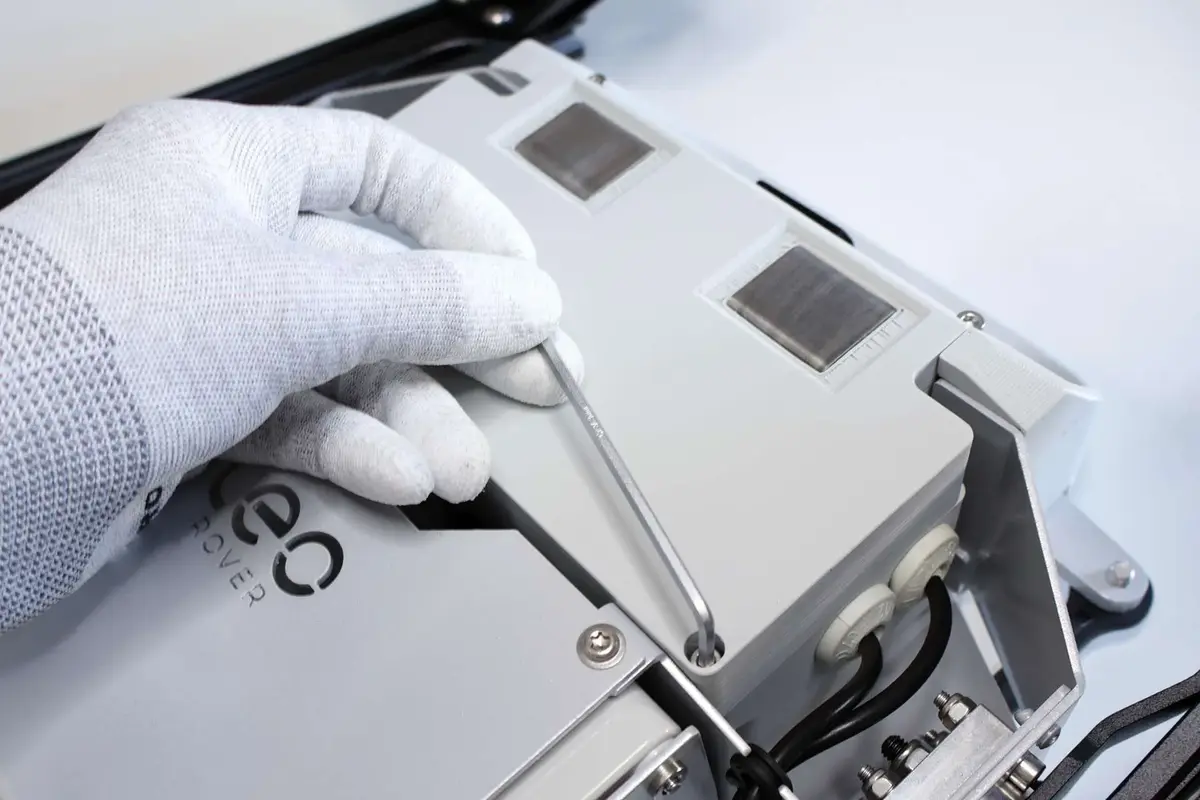
Step 2: Replacement of MEB cover
Prepare:
- assembled Leo Rover 1.8 (not included with Charging station)
- 3mm hex key (metric)
- modified MEB cover with charging pads
- 4x M4x12 ISO 4762 screws