Leo 1.8 to 1.9 conversion kit manual
Referenced products
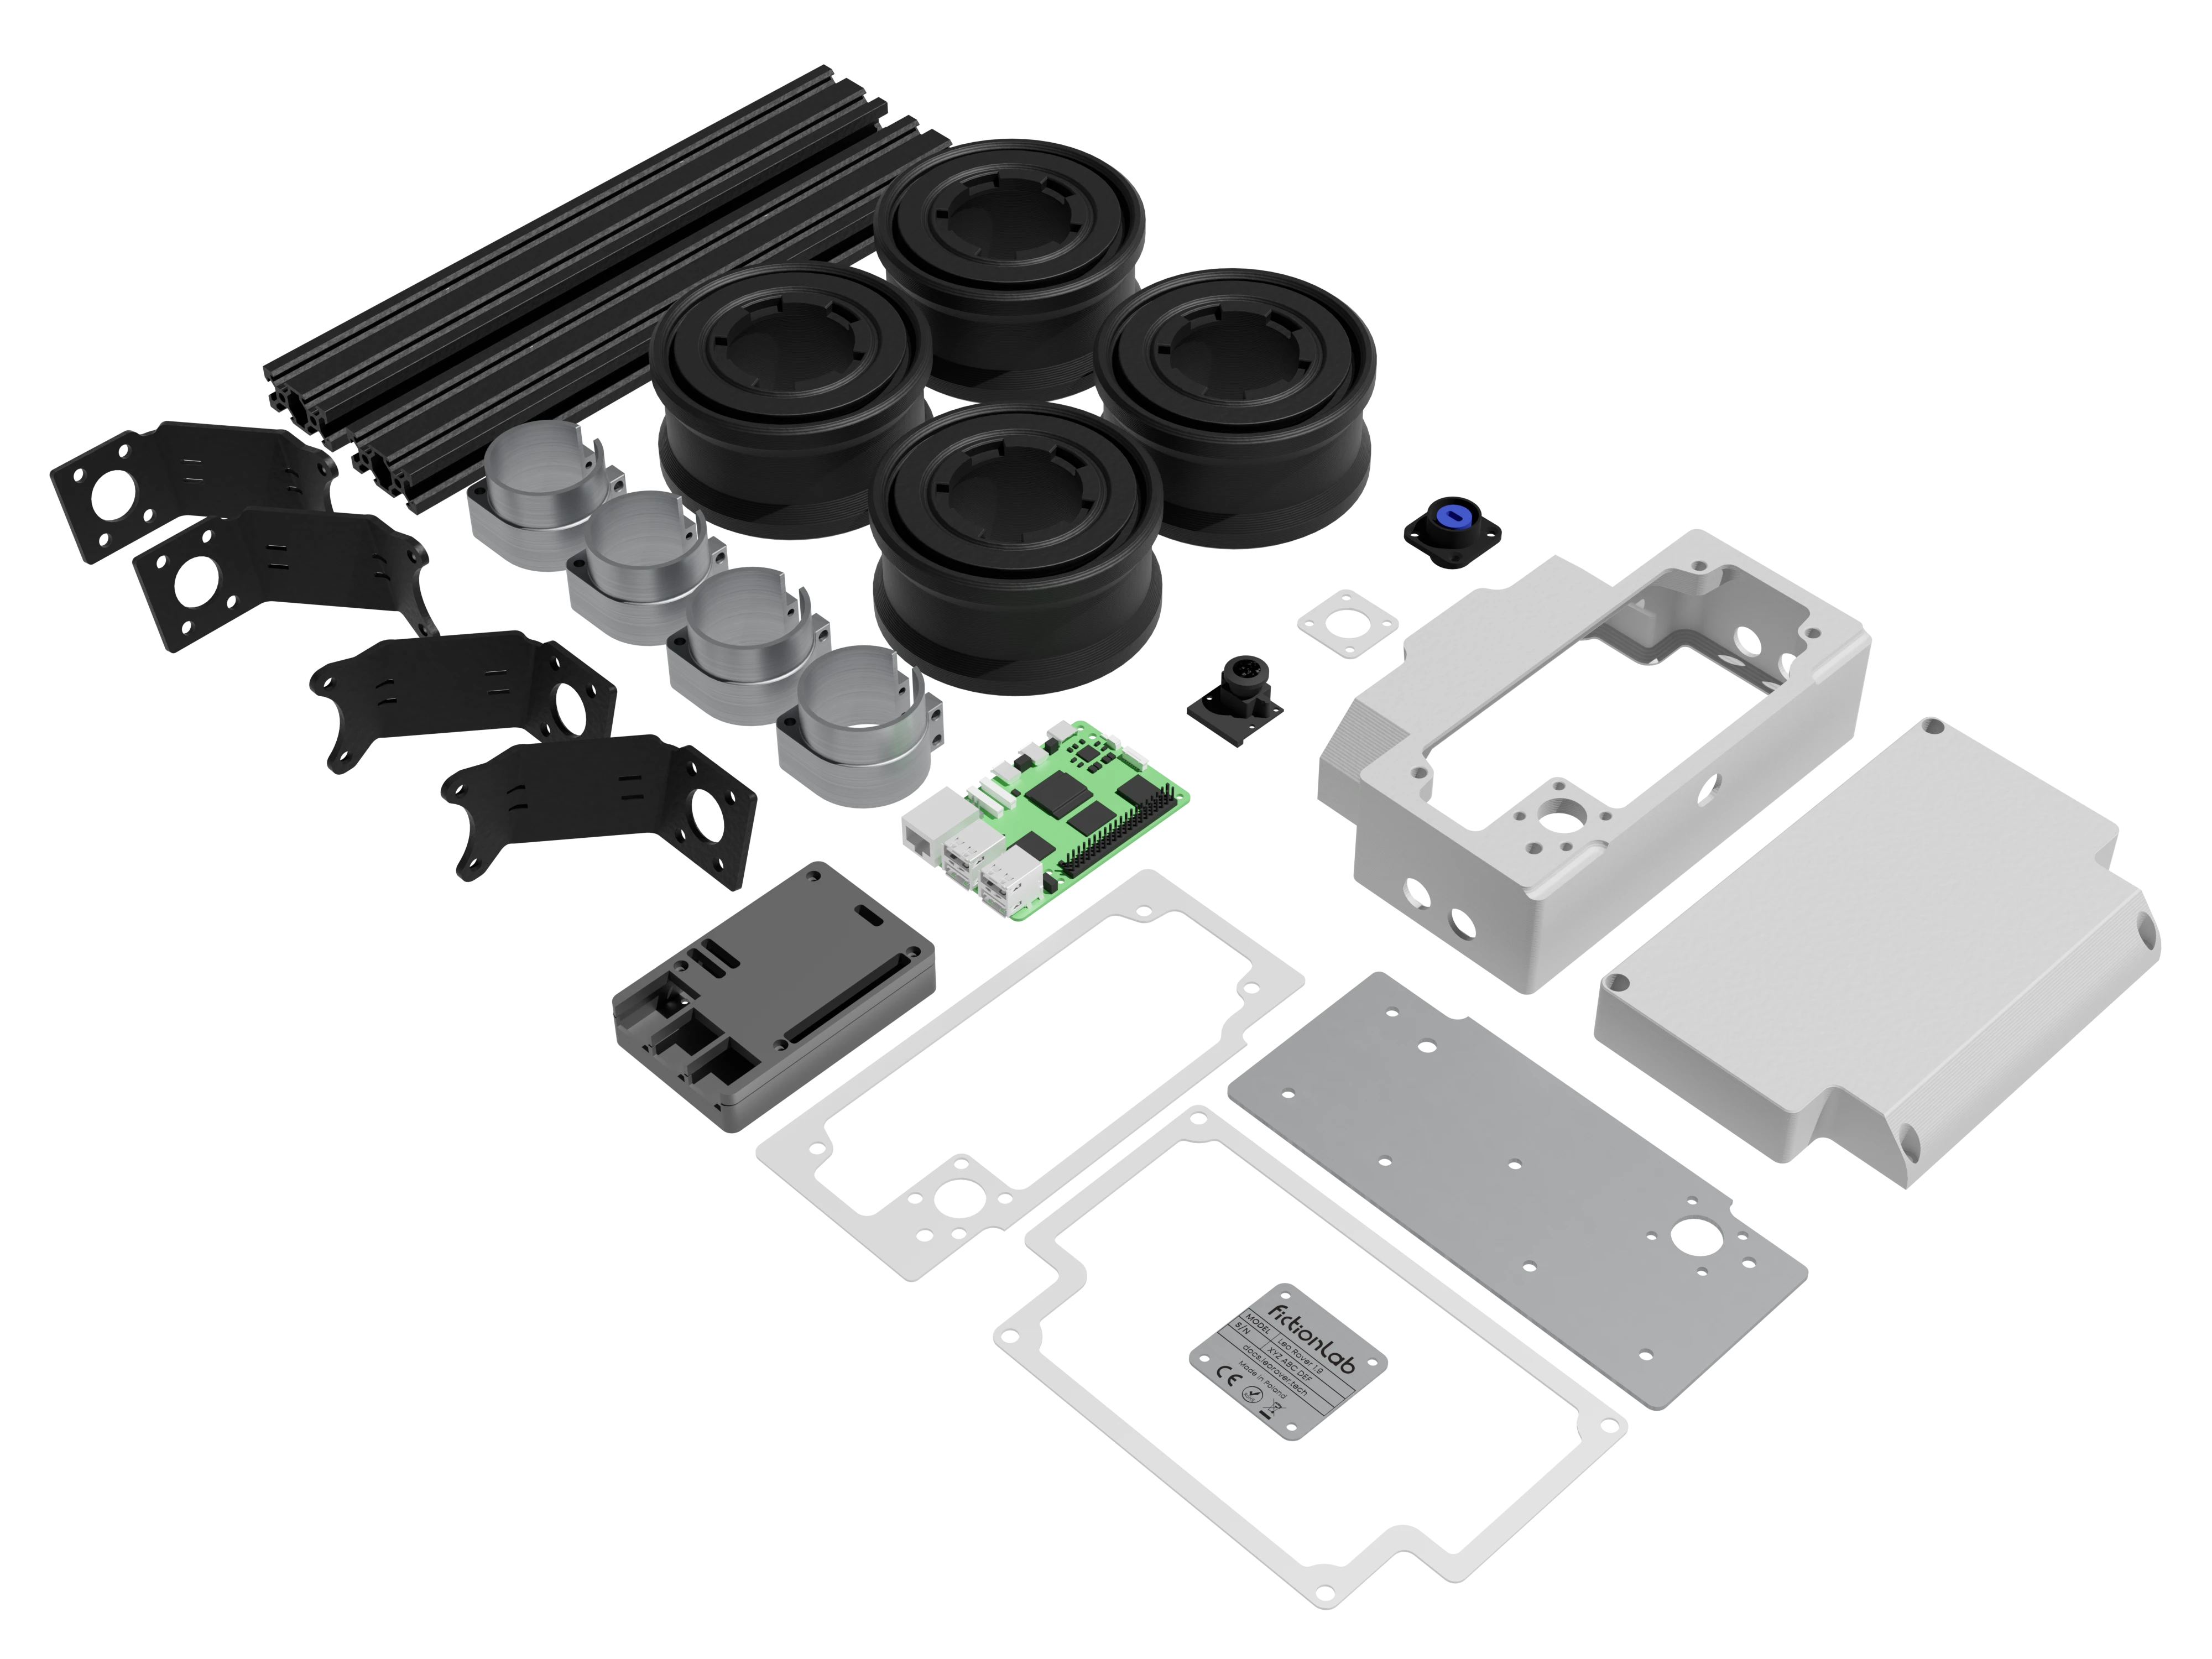
Leo Rover 1.8 to 1.9 conversion kit
The conversion kit can be used to turn Leo Rover 1.8 into Leo Rover 1.9.
This gives the rover higher computing speed, even more robust suspension and better heat-resistance.
Prerequisites
- Assembled Leo Rover 1.8
Tools needed
- Torx t20 screwdriver
- Torx t06 screwdriver
- 3mm hex key
- 2.5mm hex key
- 2.0mm hex key
- Phillips ph1 screwdriver
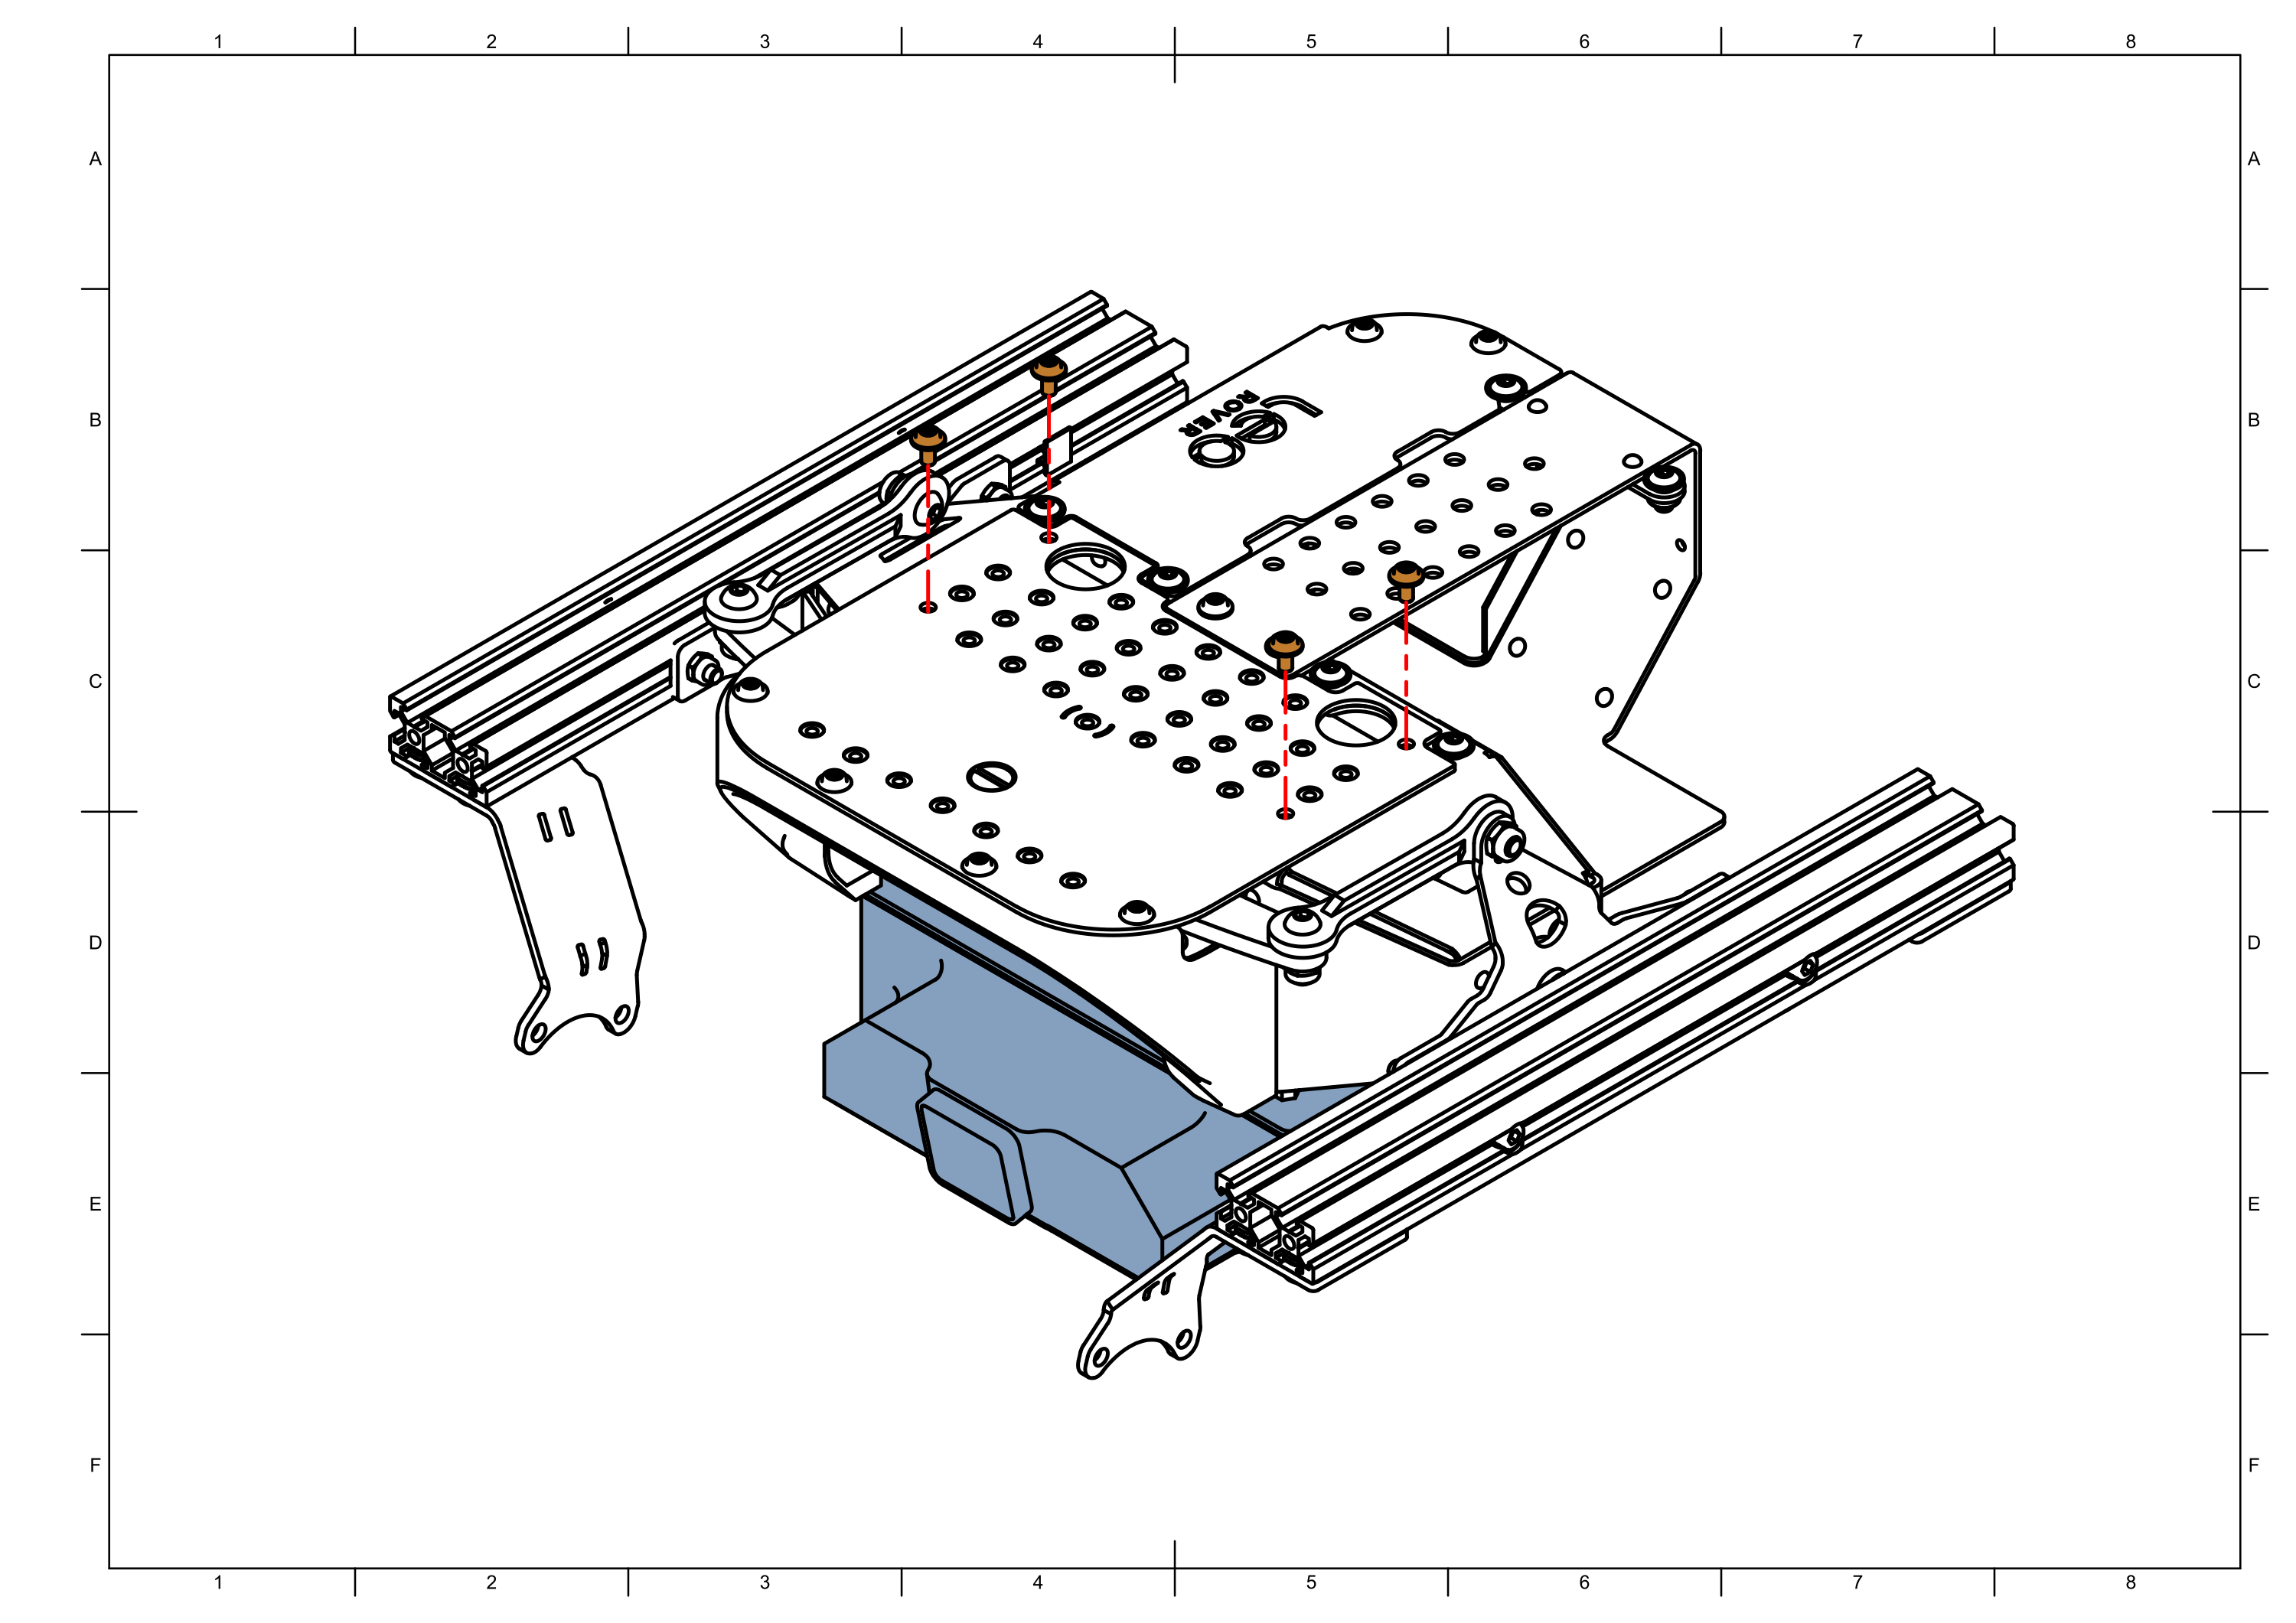
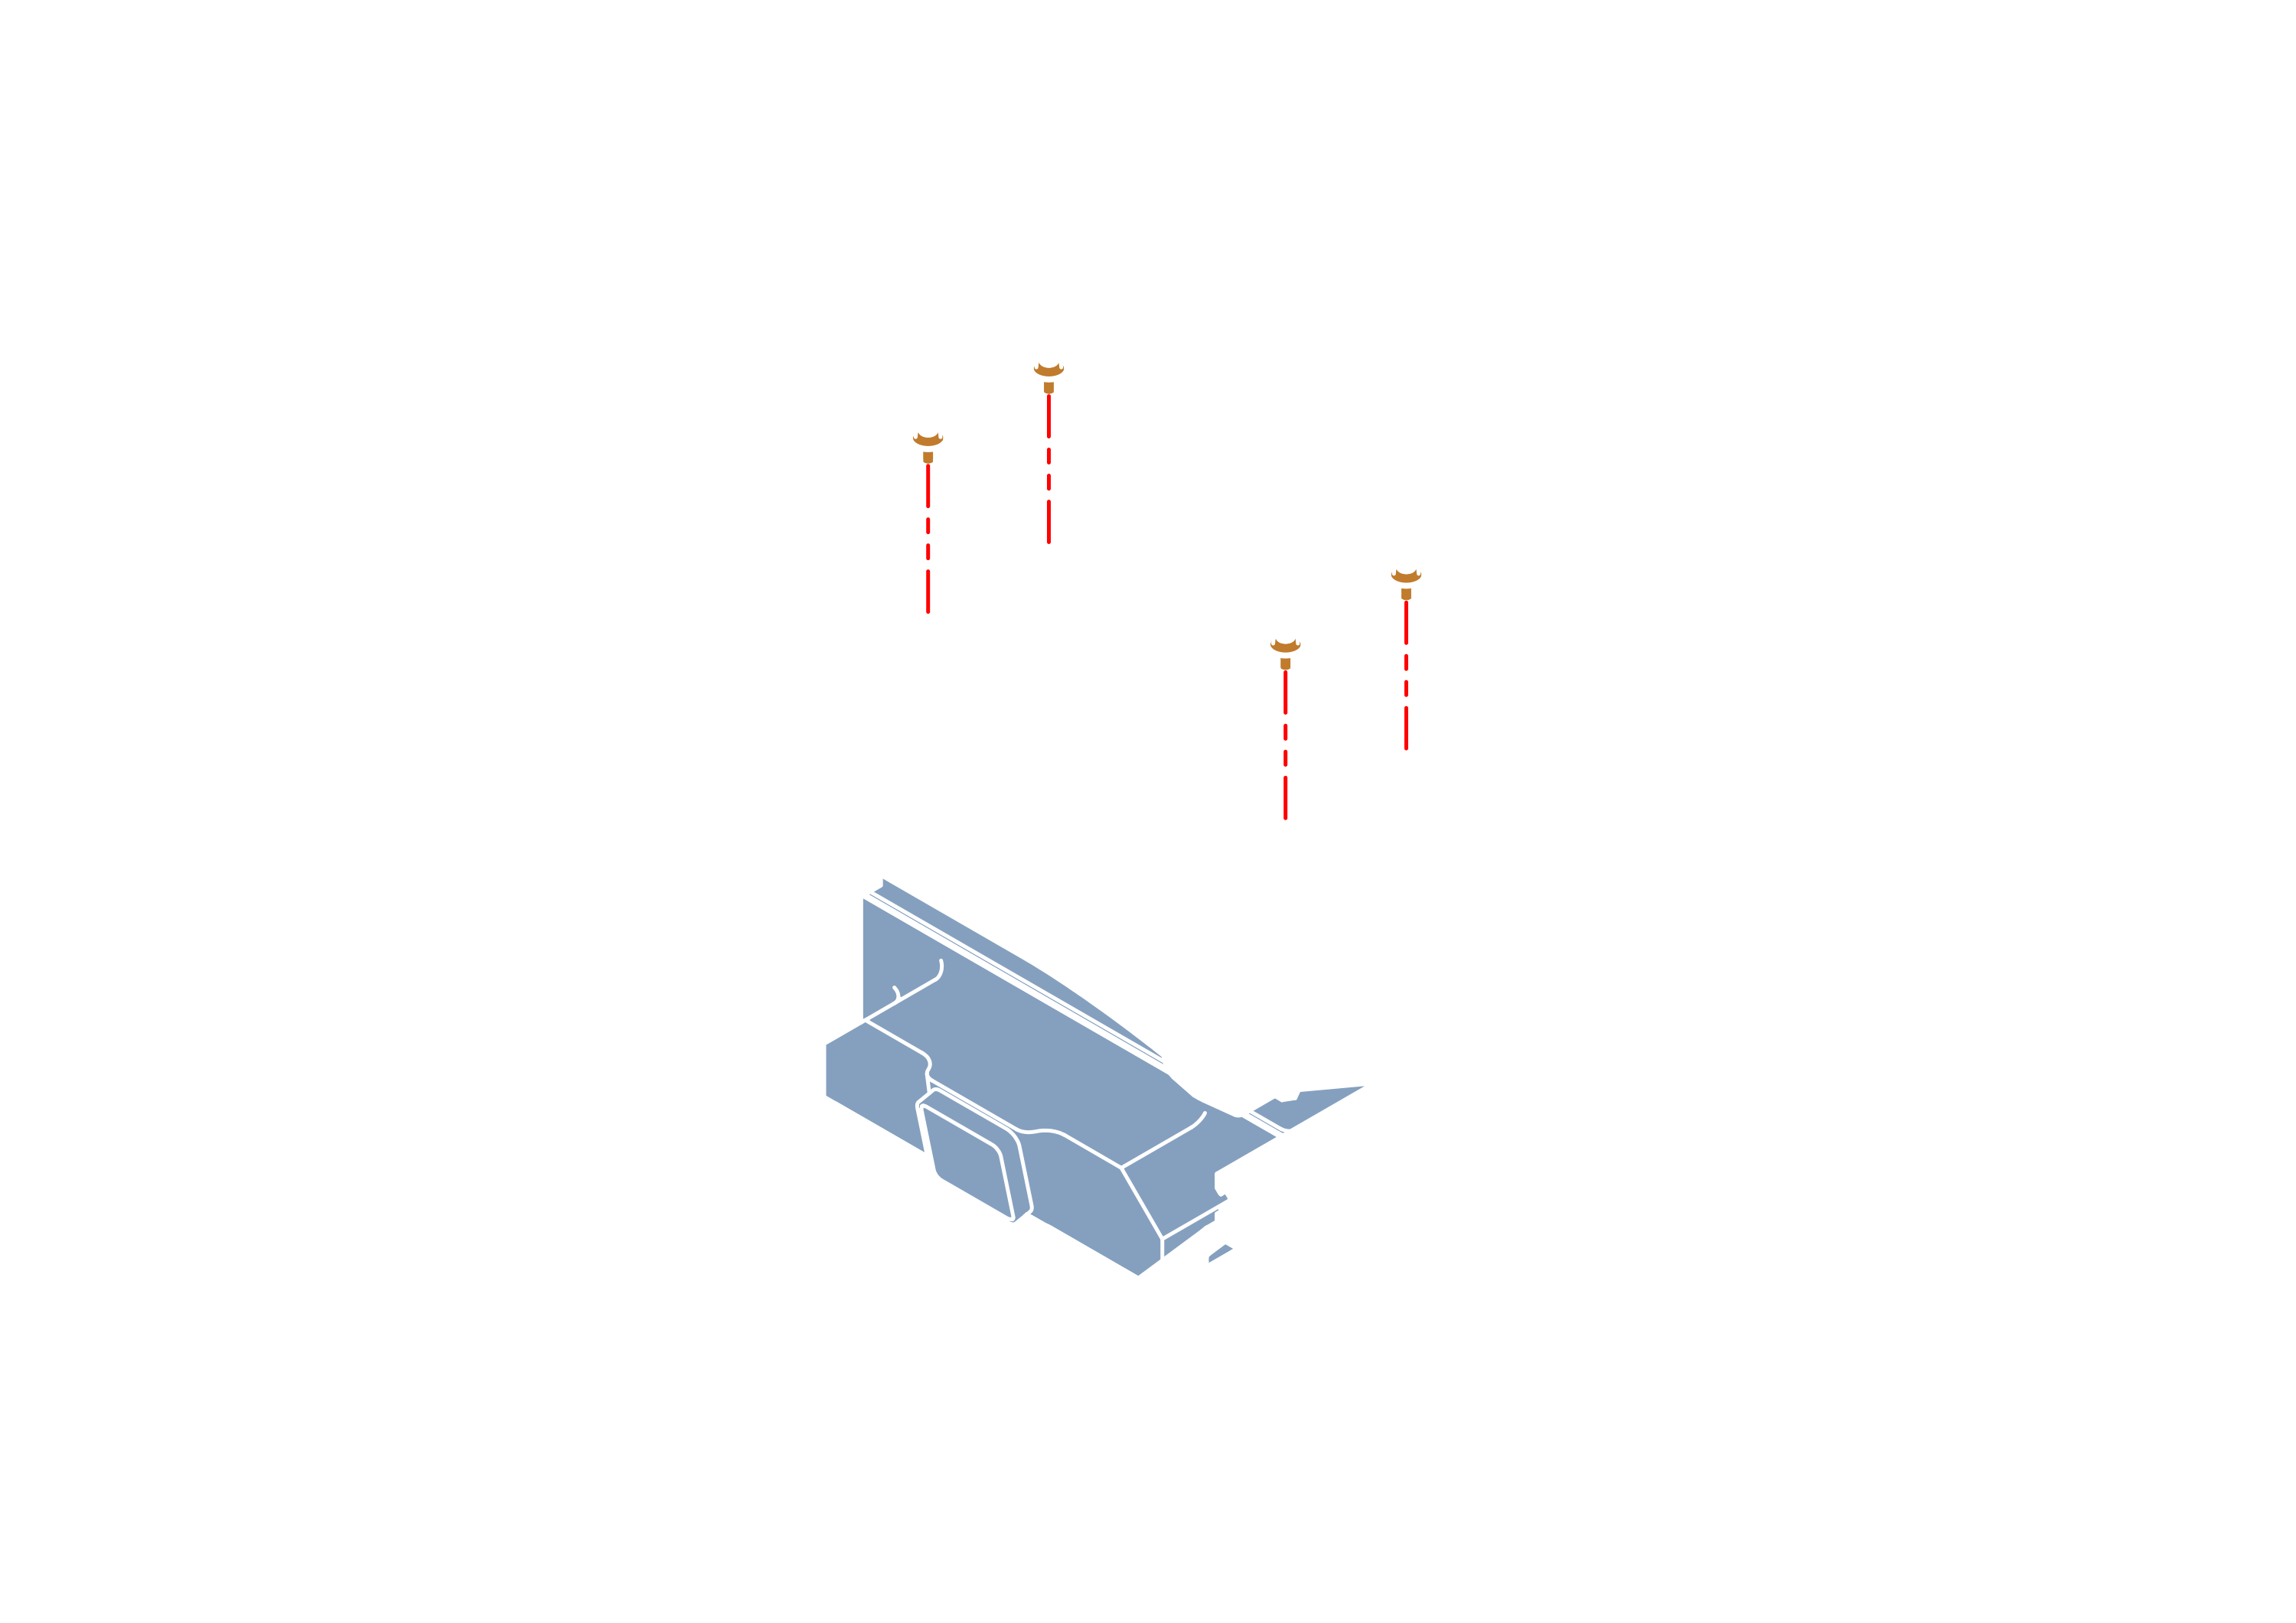
Leo Rover 1.8 disassembly
Time ≈ 30 minutes
Step 1

Step 2
Step 3

Step 4
Step 5
Step 6
Step 7
danger
Flashing new operating system, during one of the next steps, will erase all data
it contains.
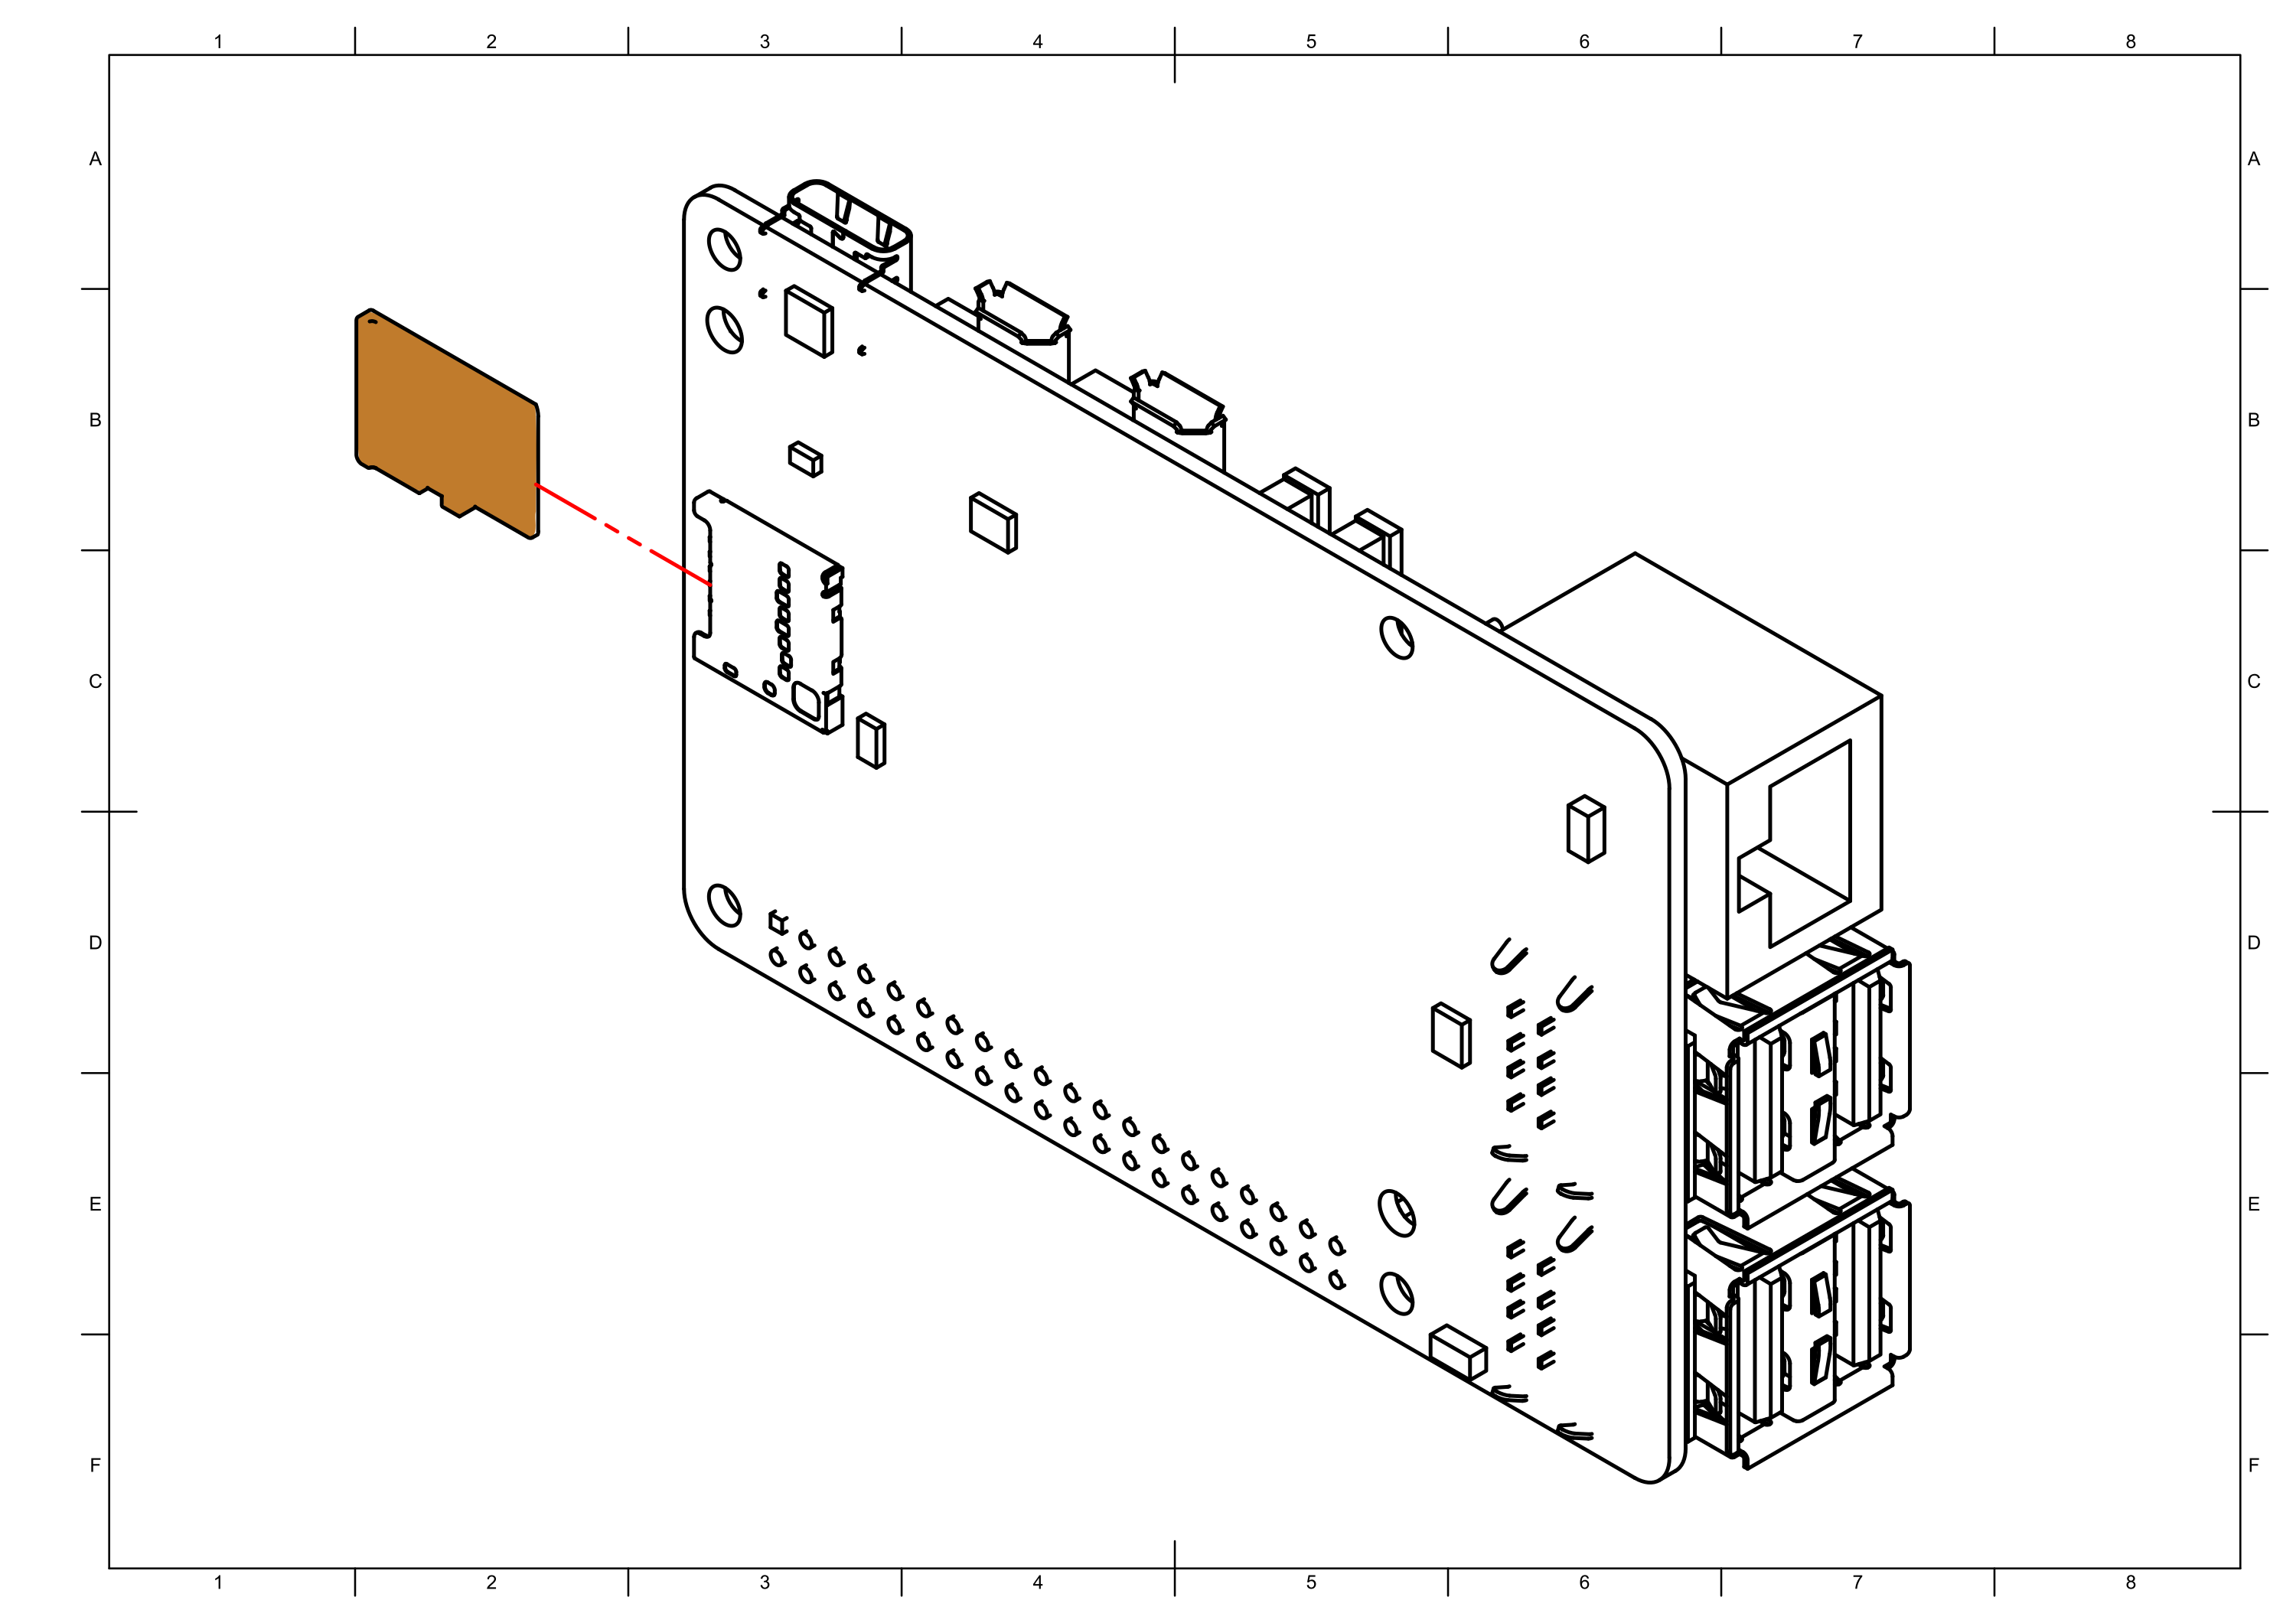
If you do not want to loose ALL DATA on the SD card, use a
different SD card for the new Raspberry Pi.
Step 8:
Step 9:
Step 10
Leo Rover 1.9 Re-assembly
Time ≈ 60 minutes
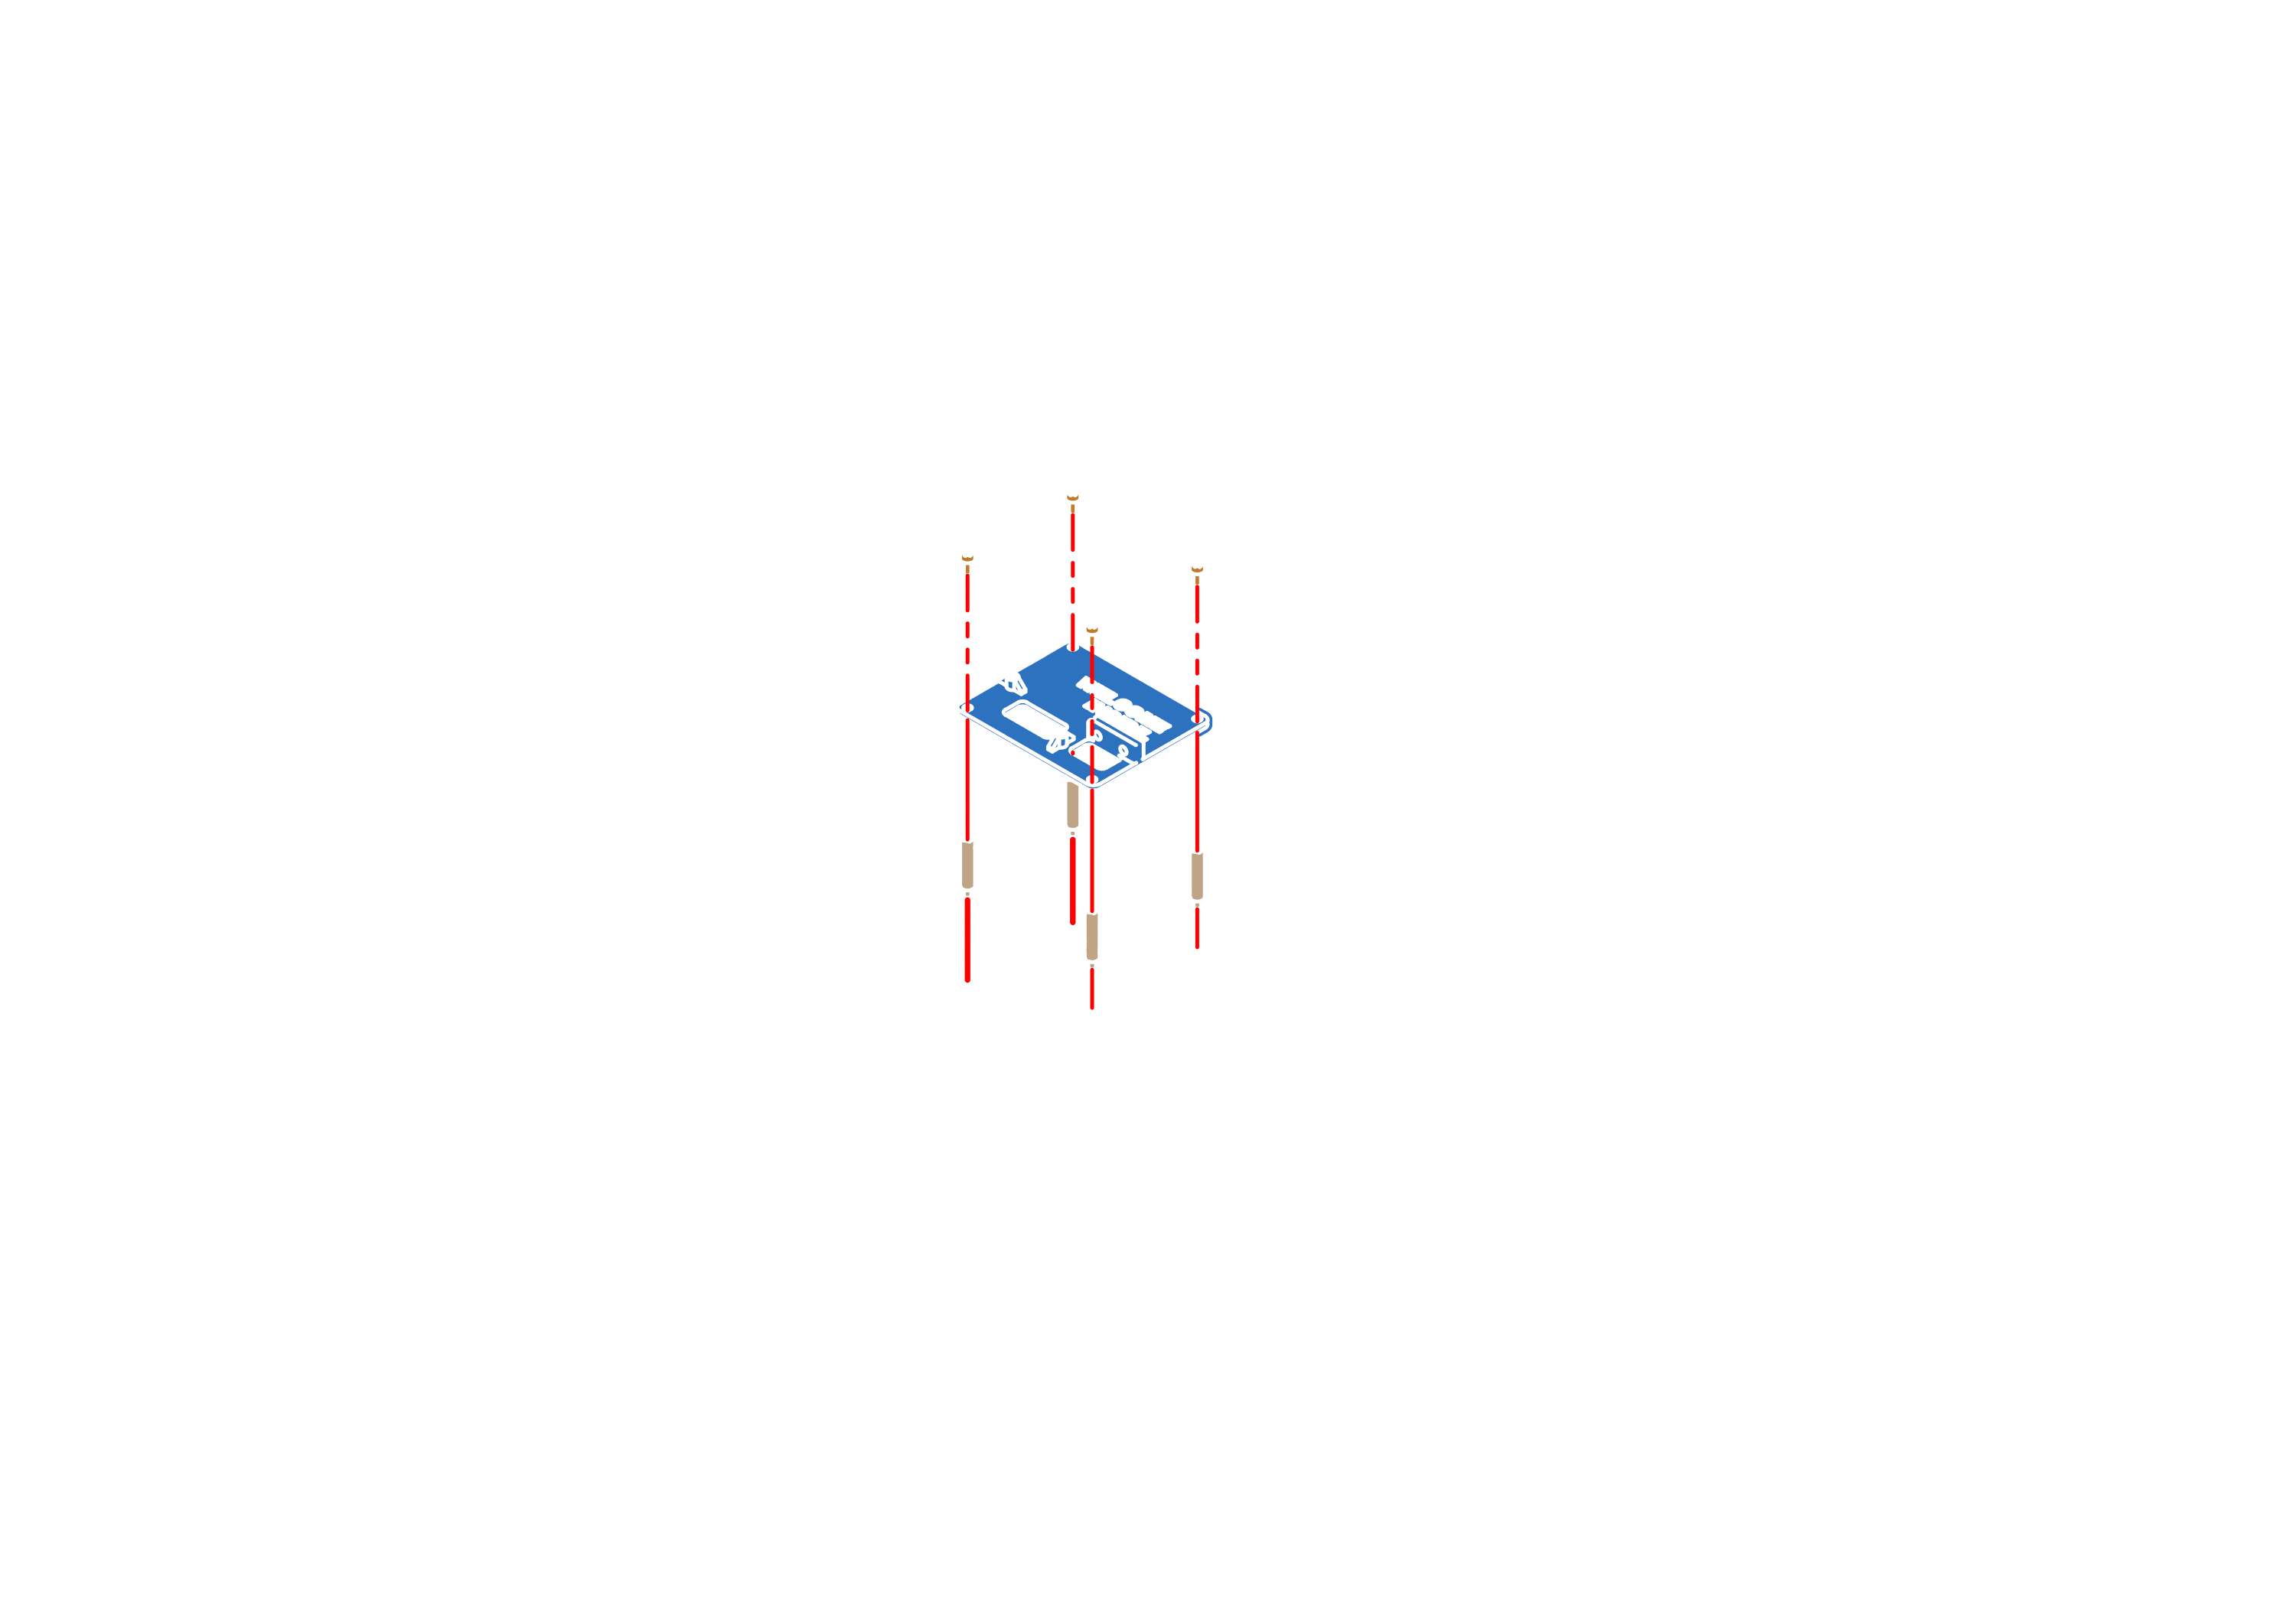
Step 1

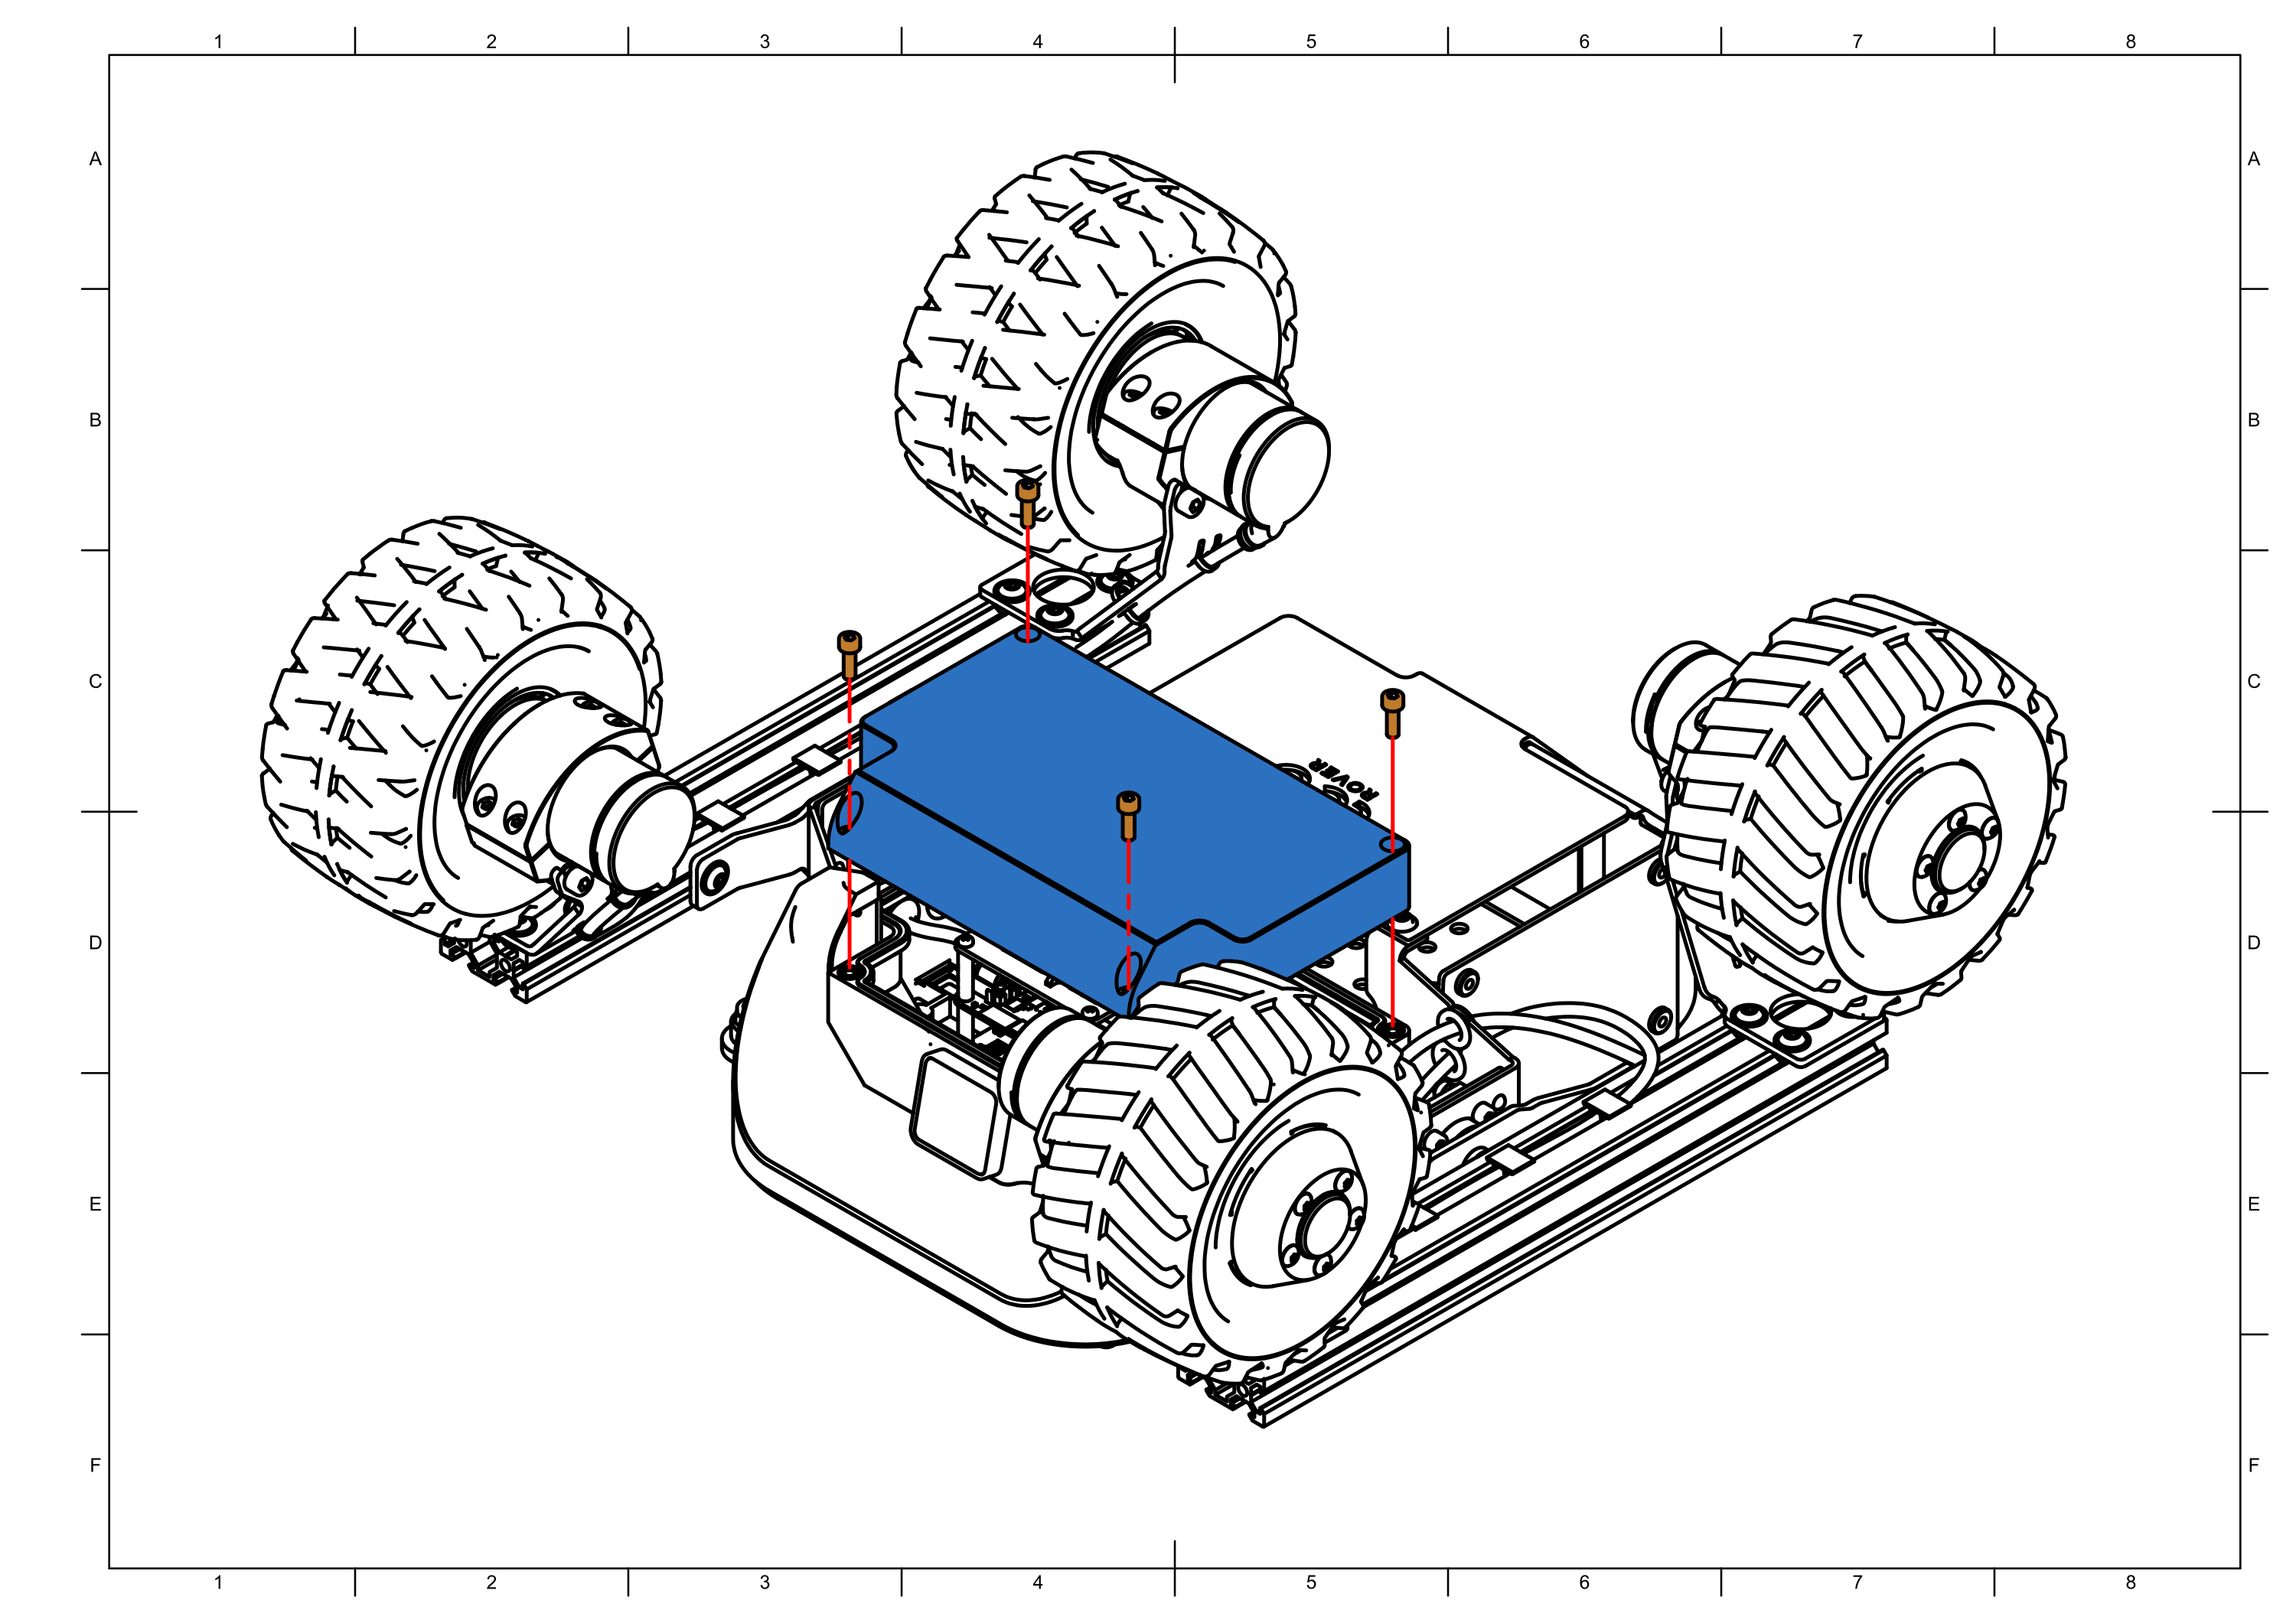
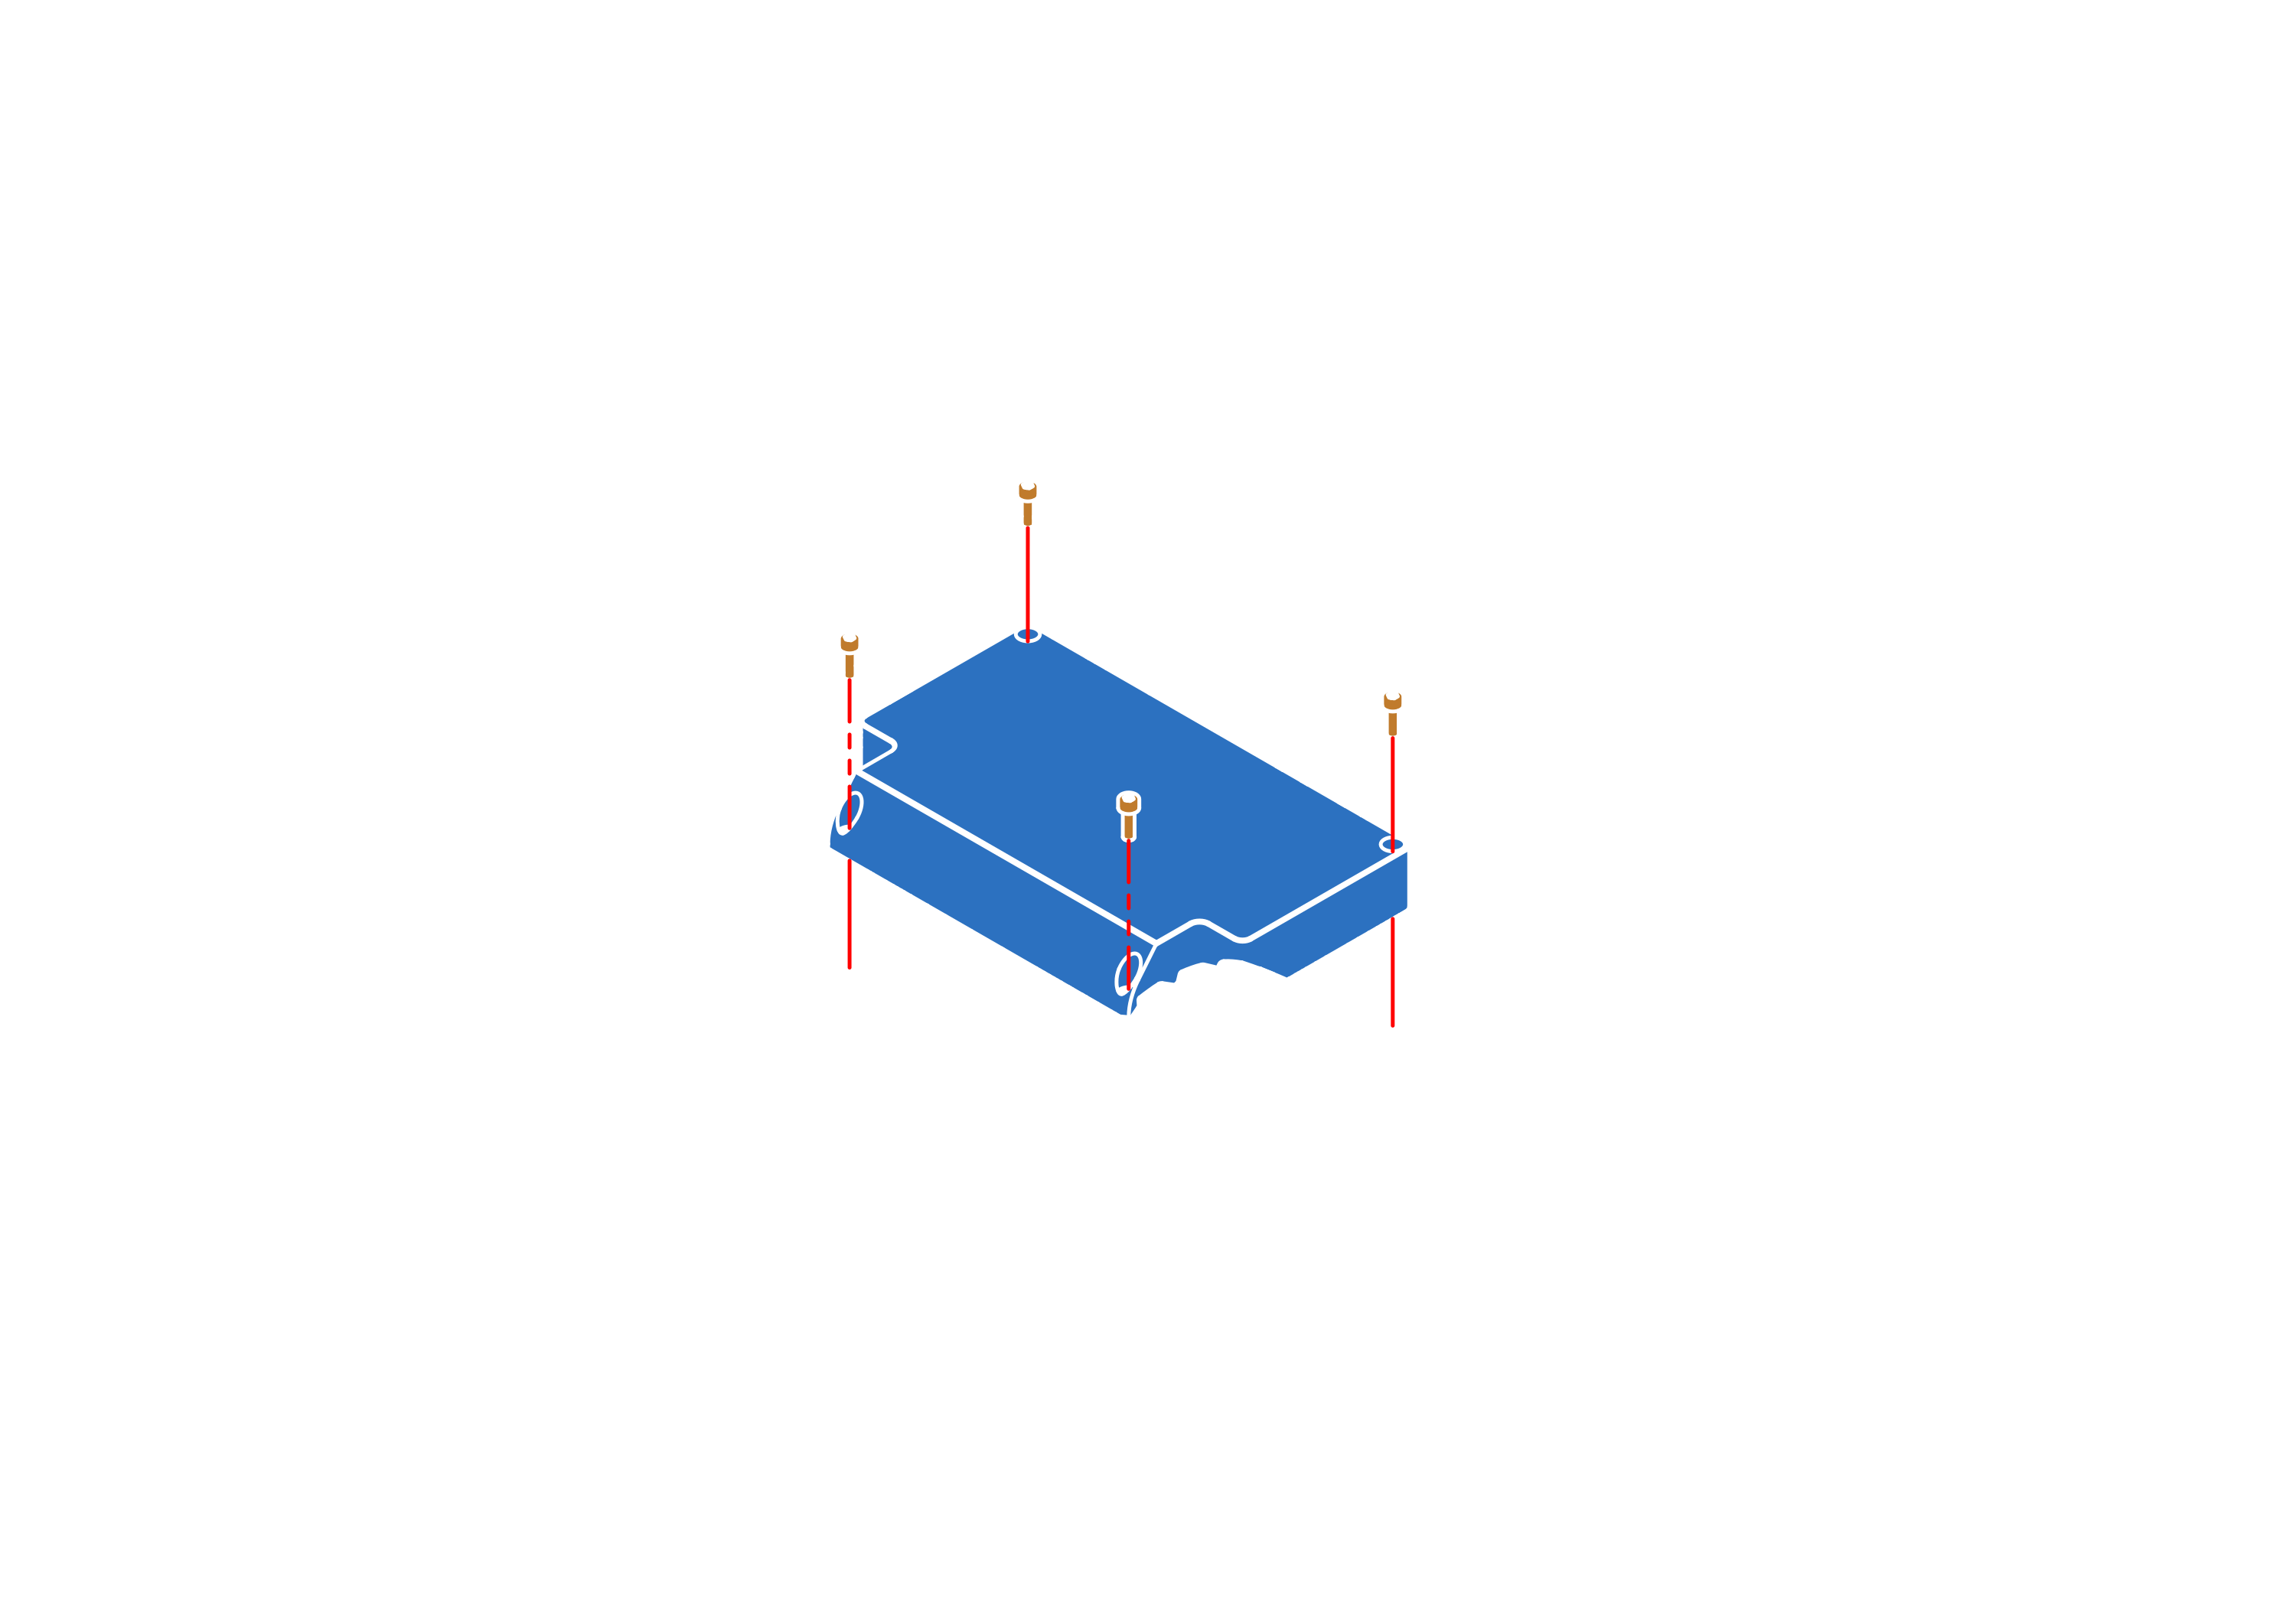
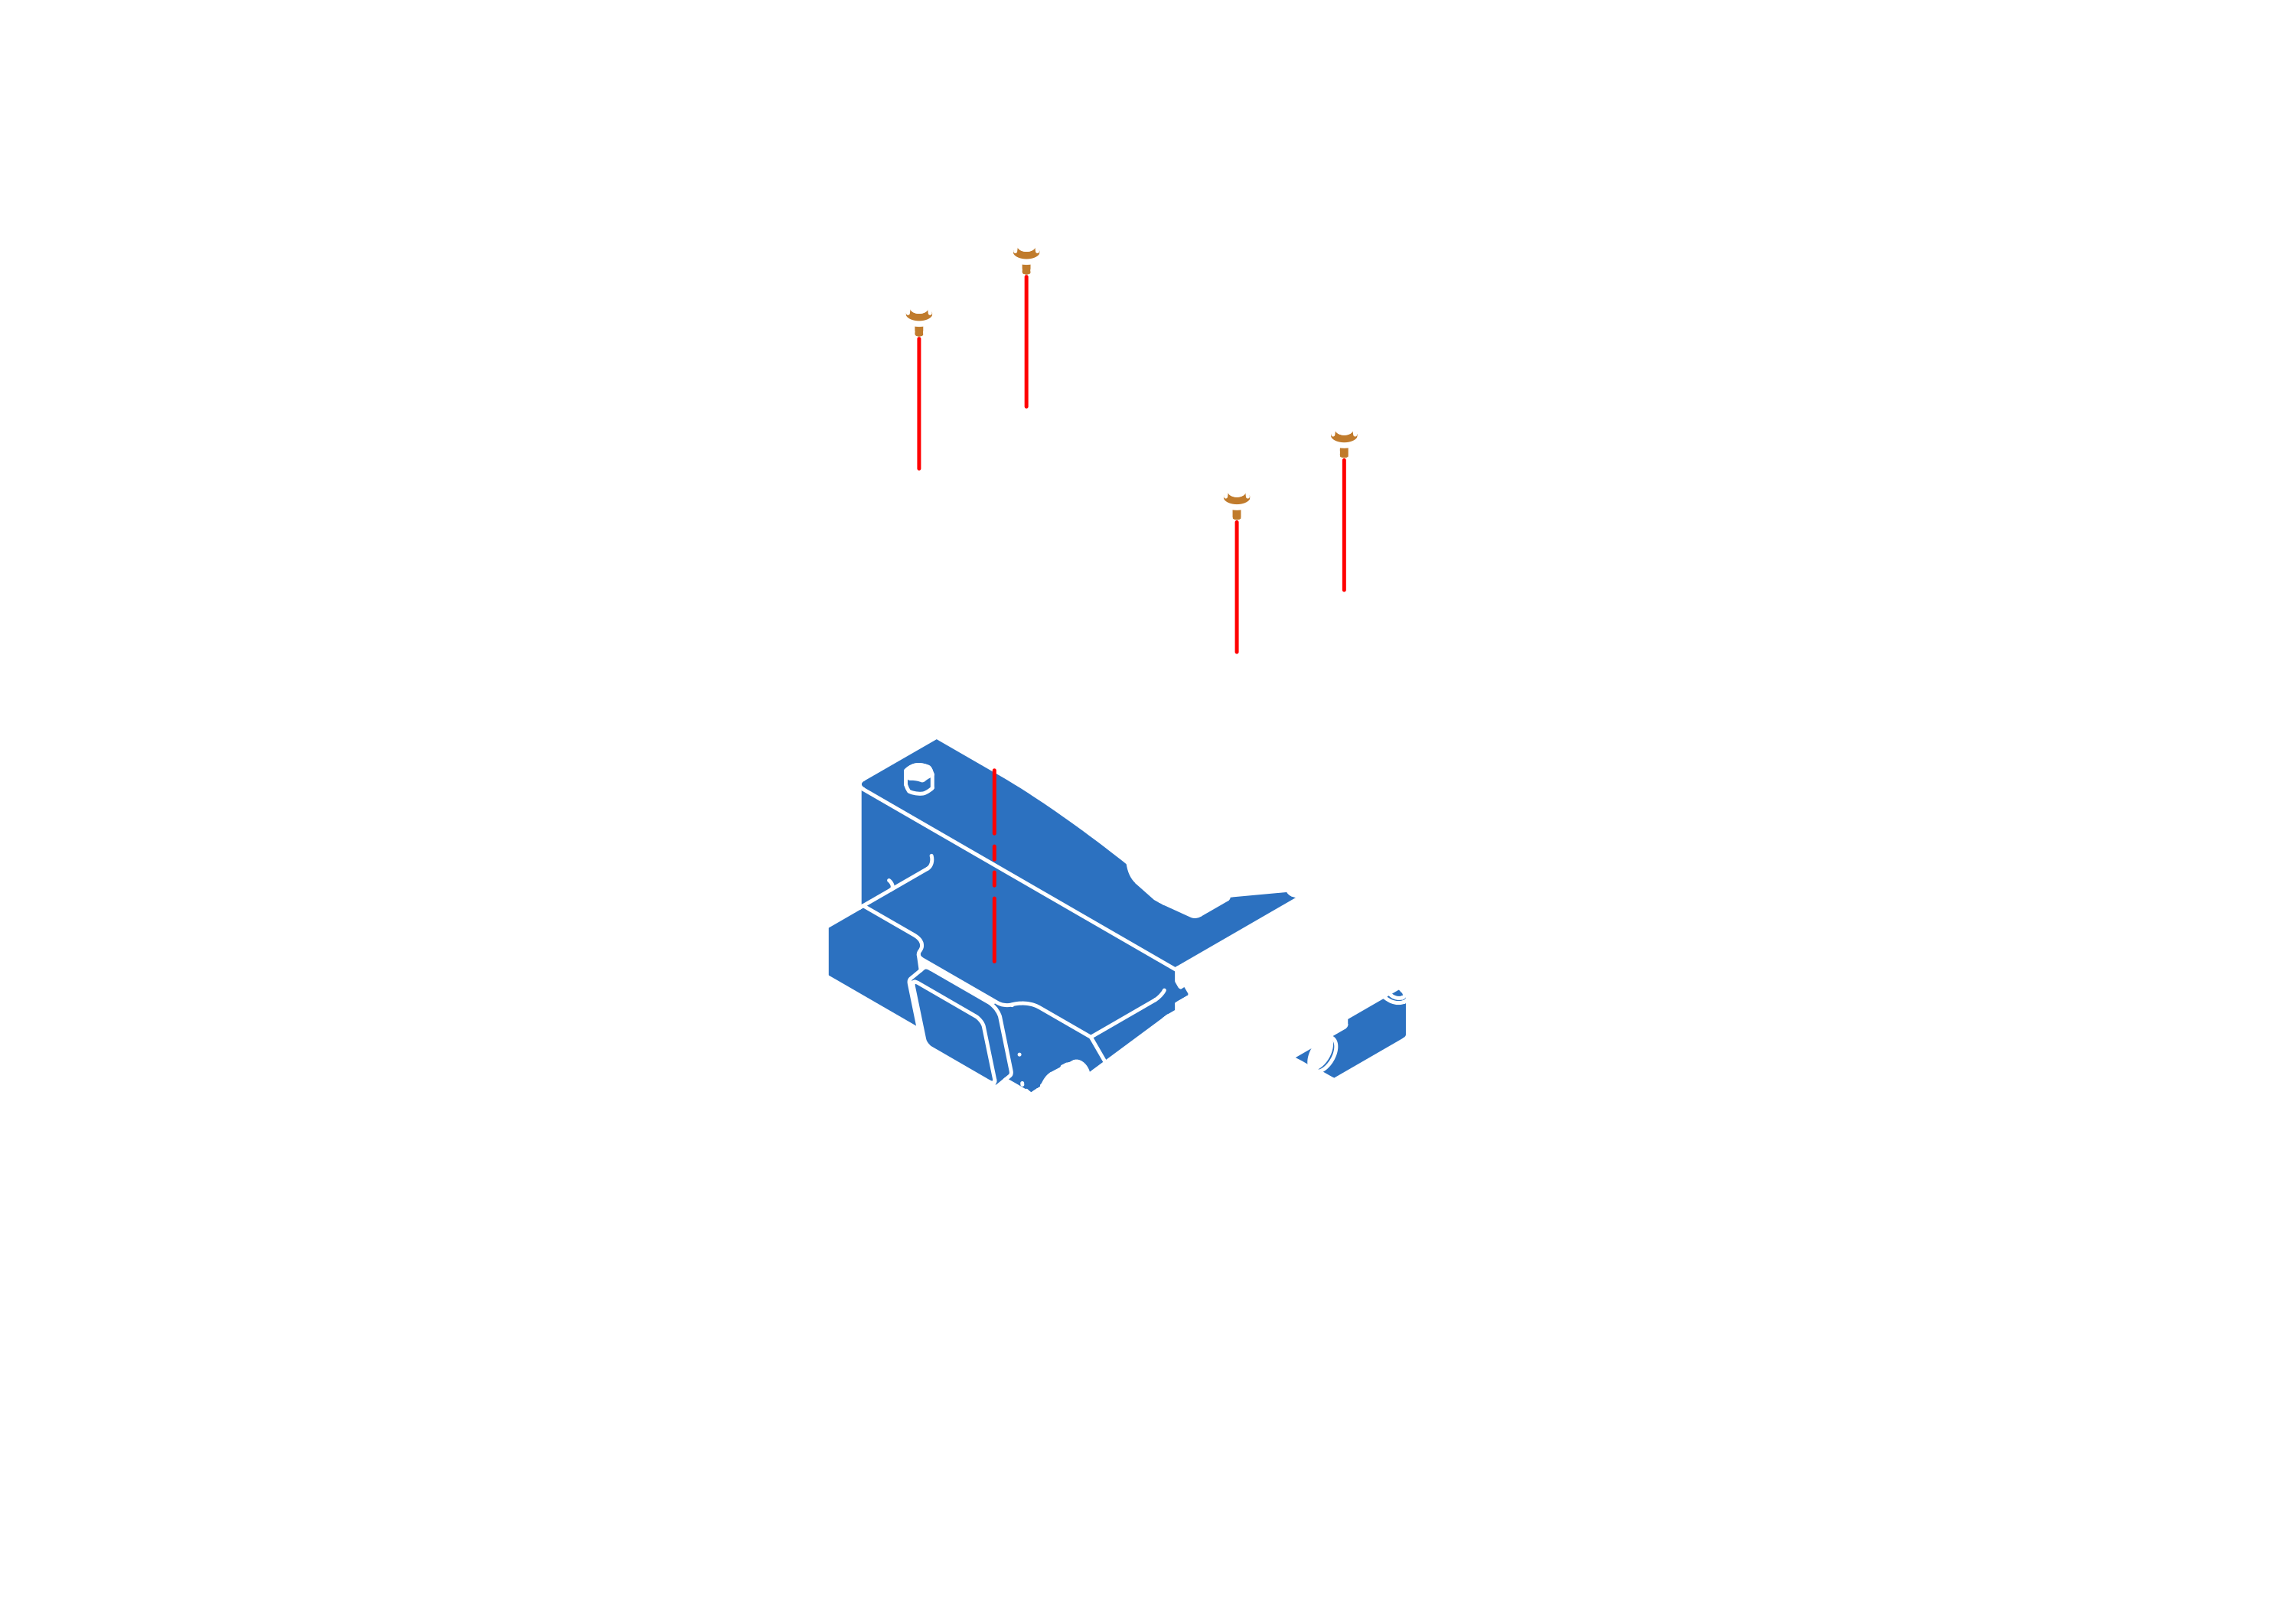
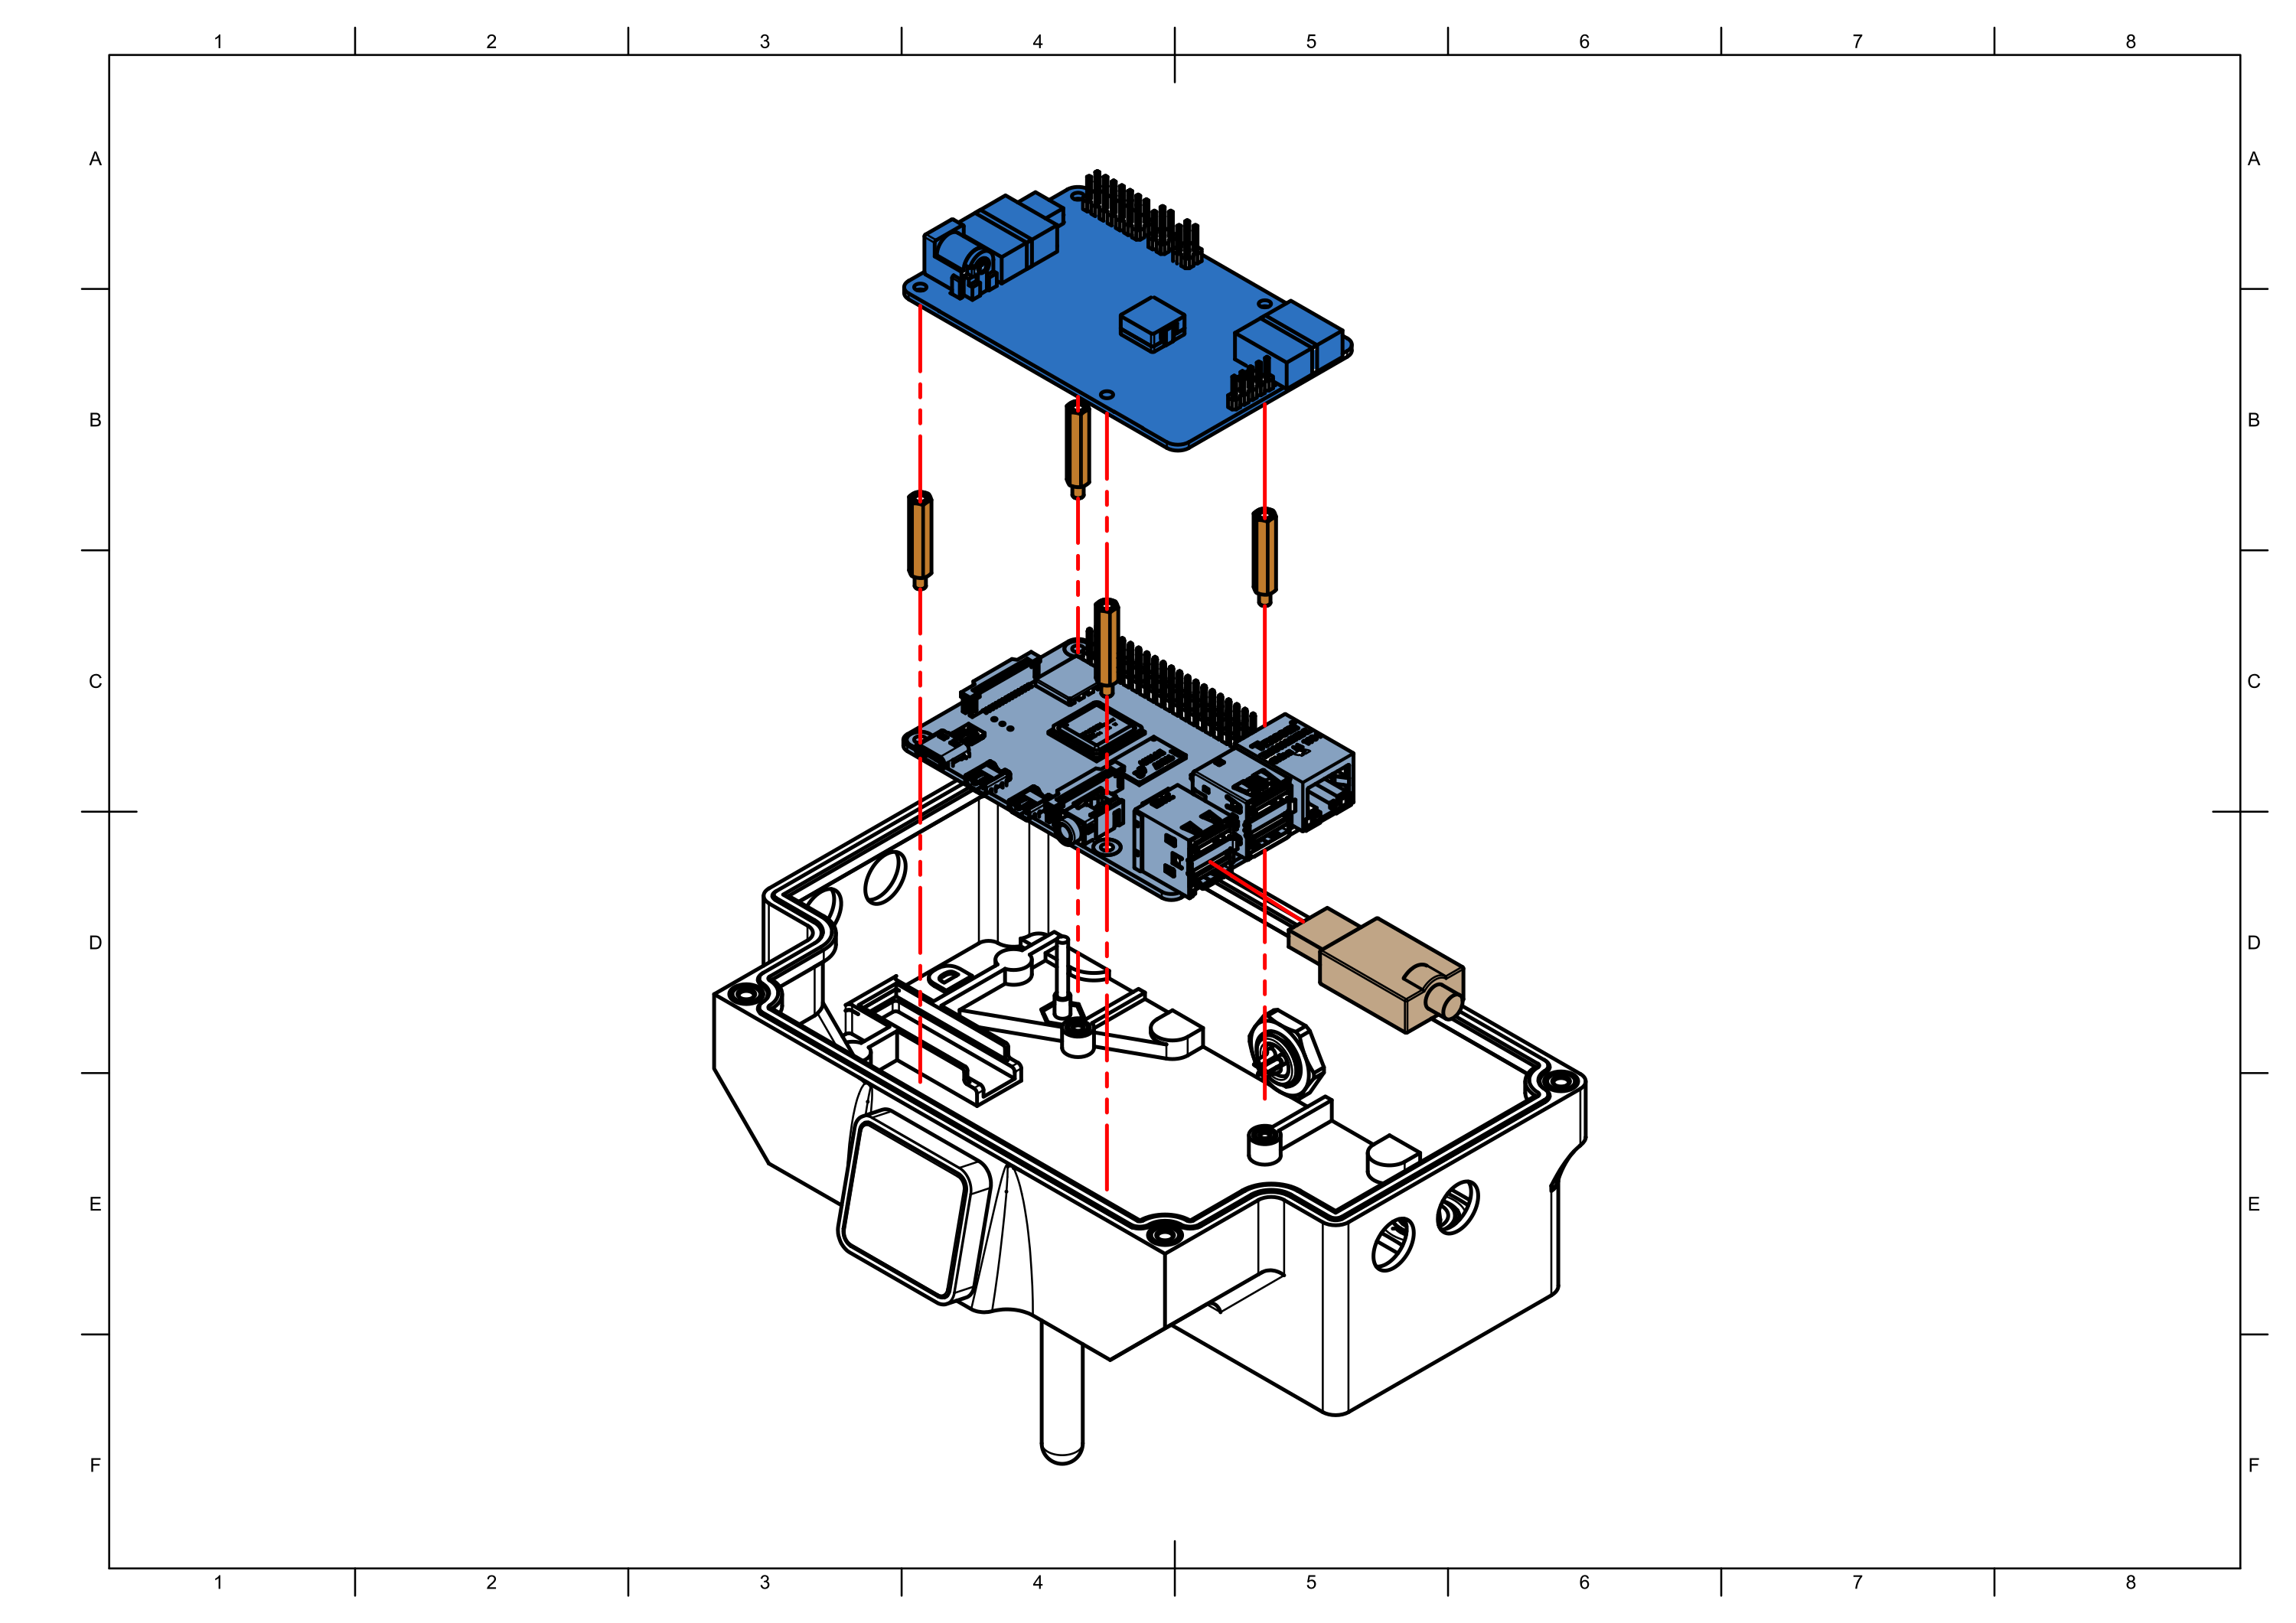
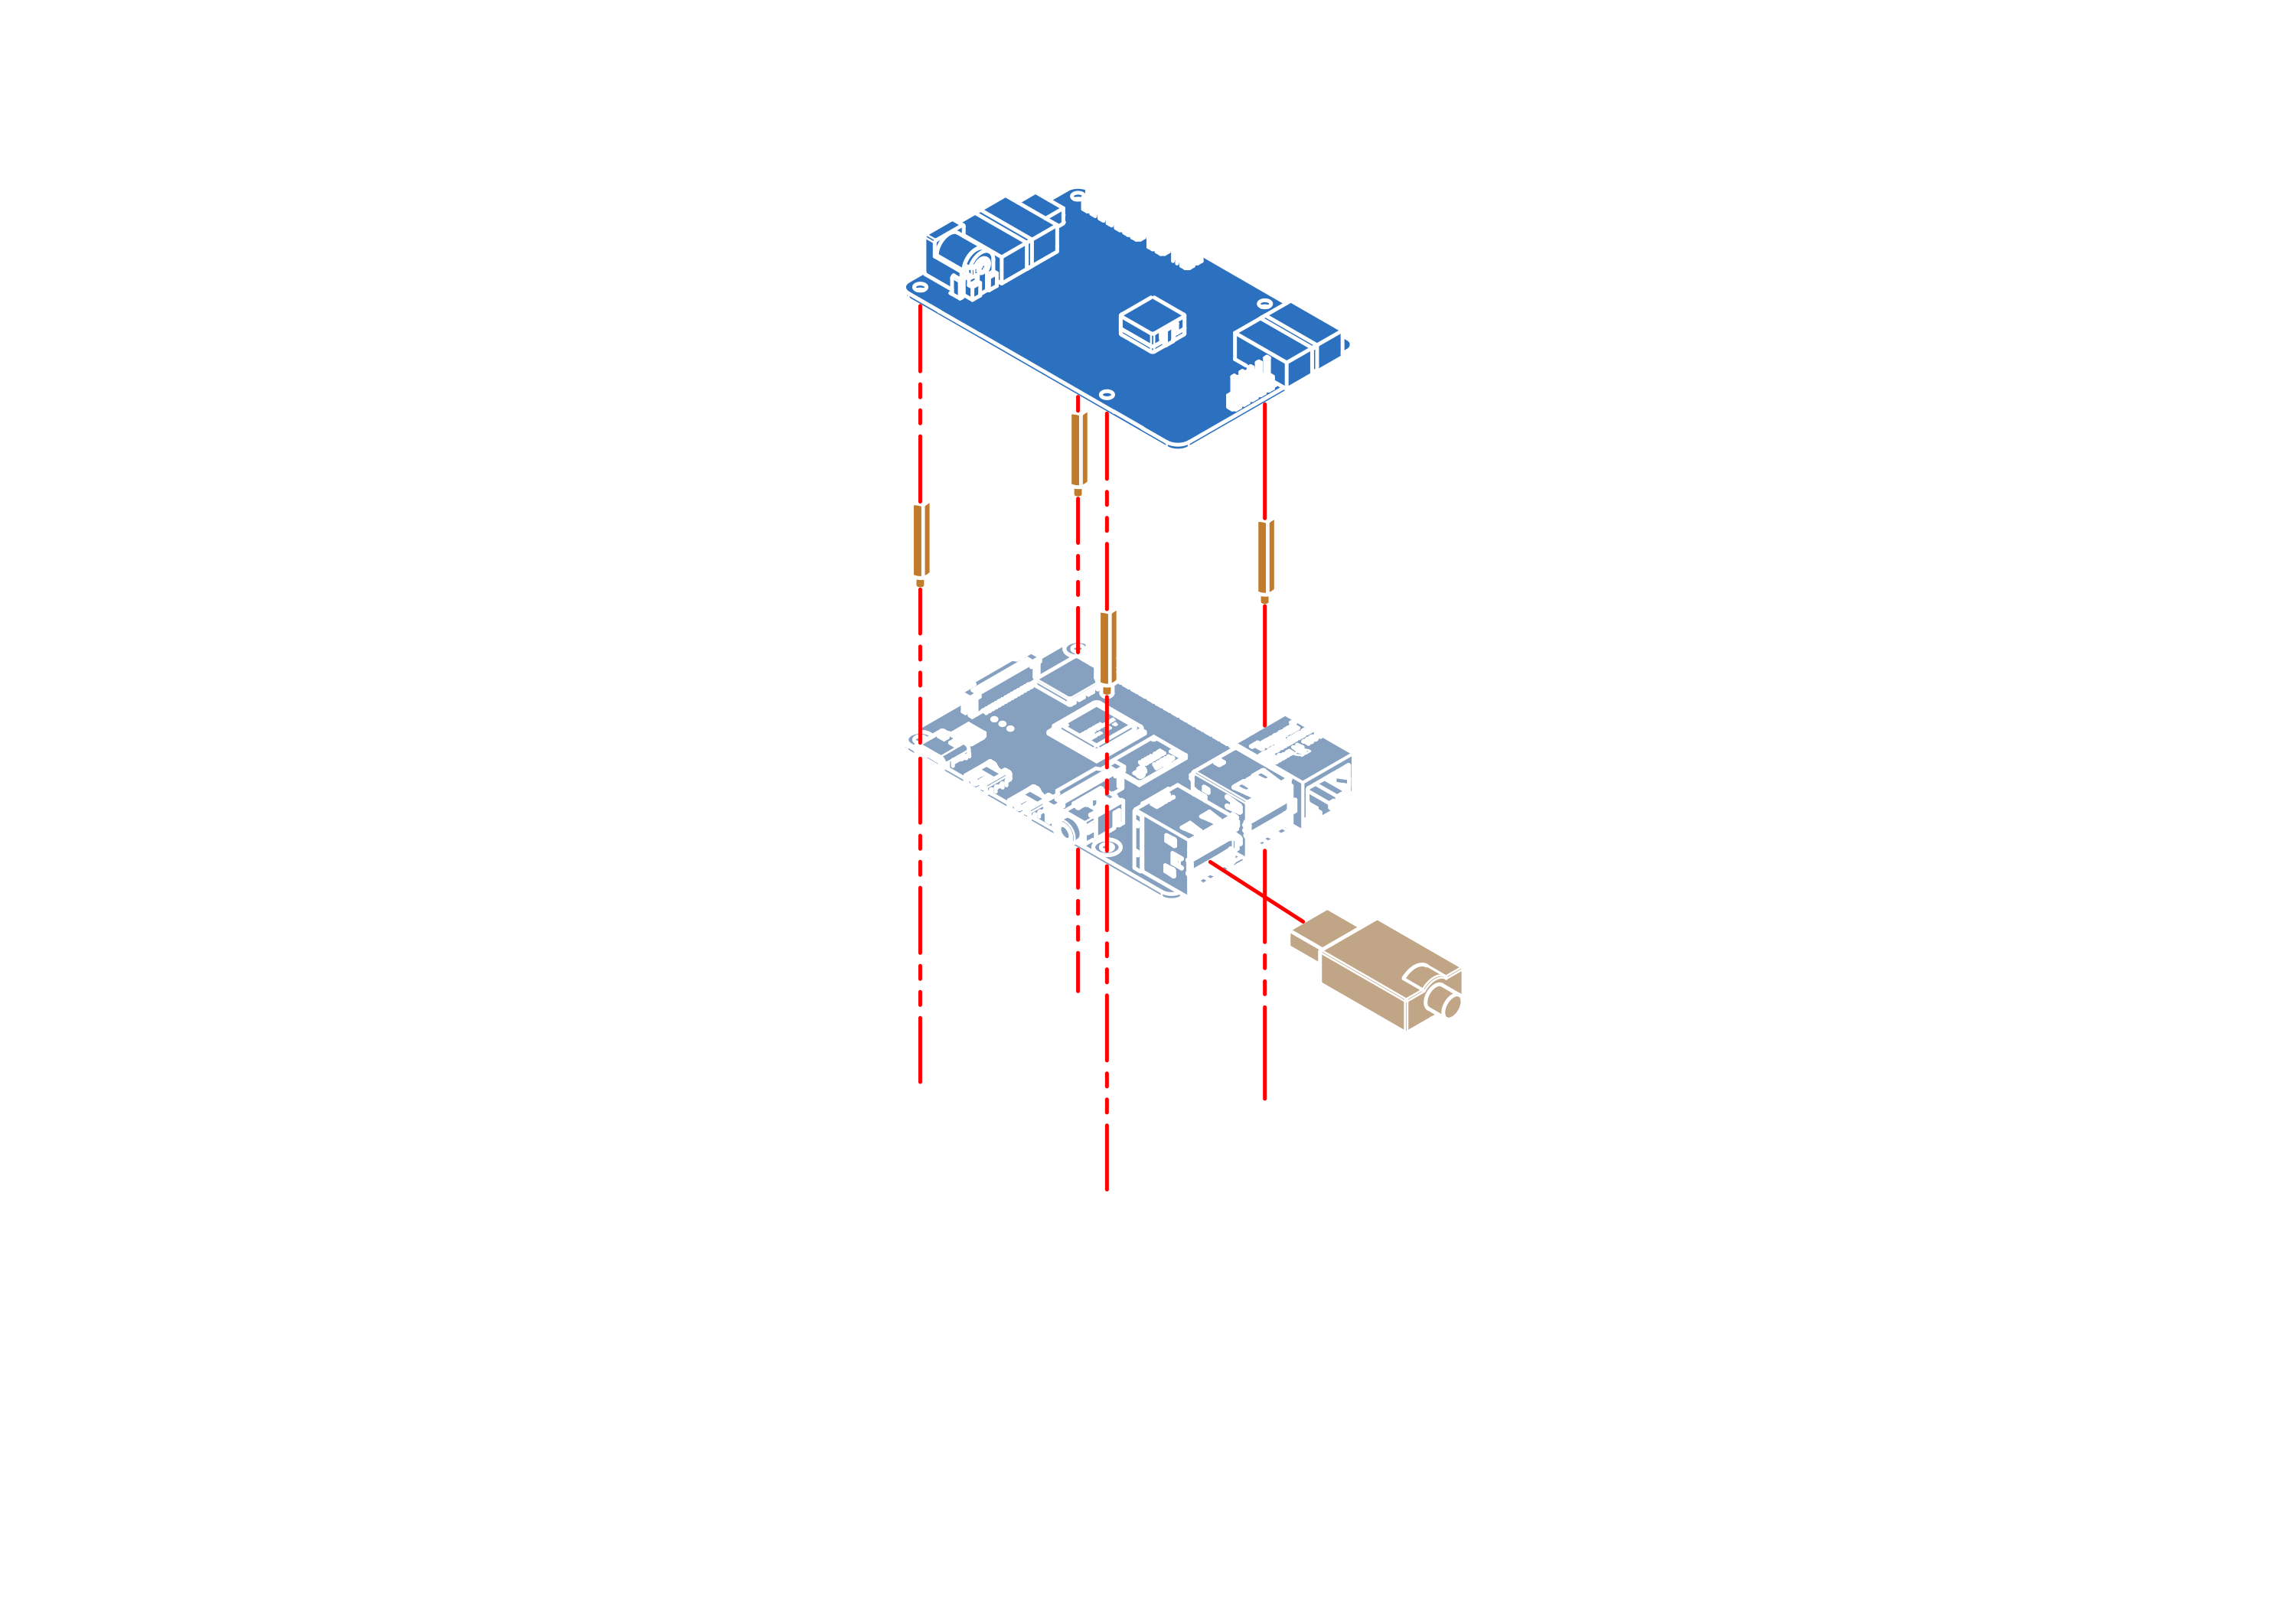
📄Task 2: Main electronics box (MEB)
Detailed instructions for assembling Leo Rover's Main electronics box,
including necessary tools and estimated time.
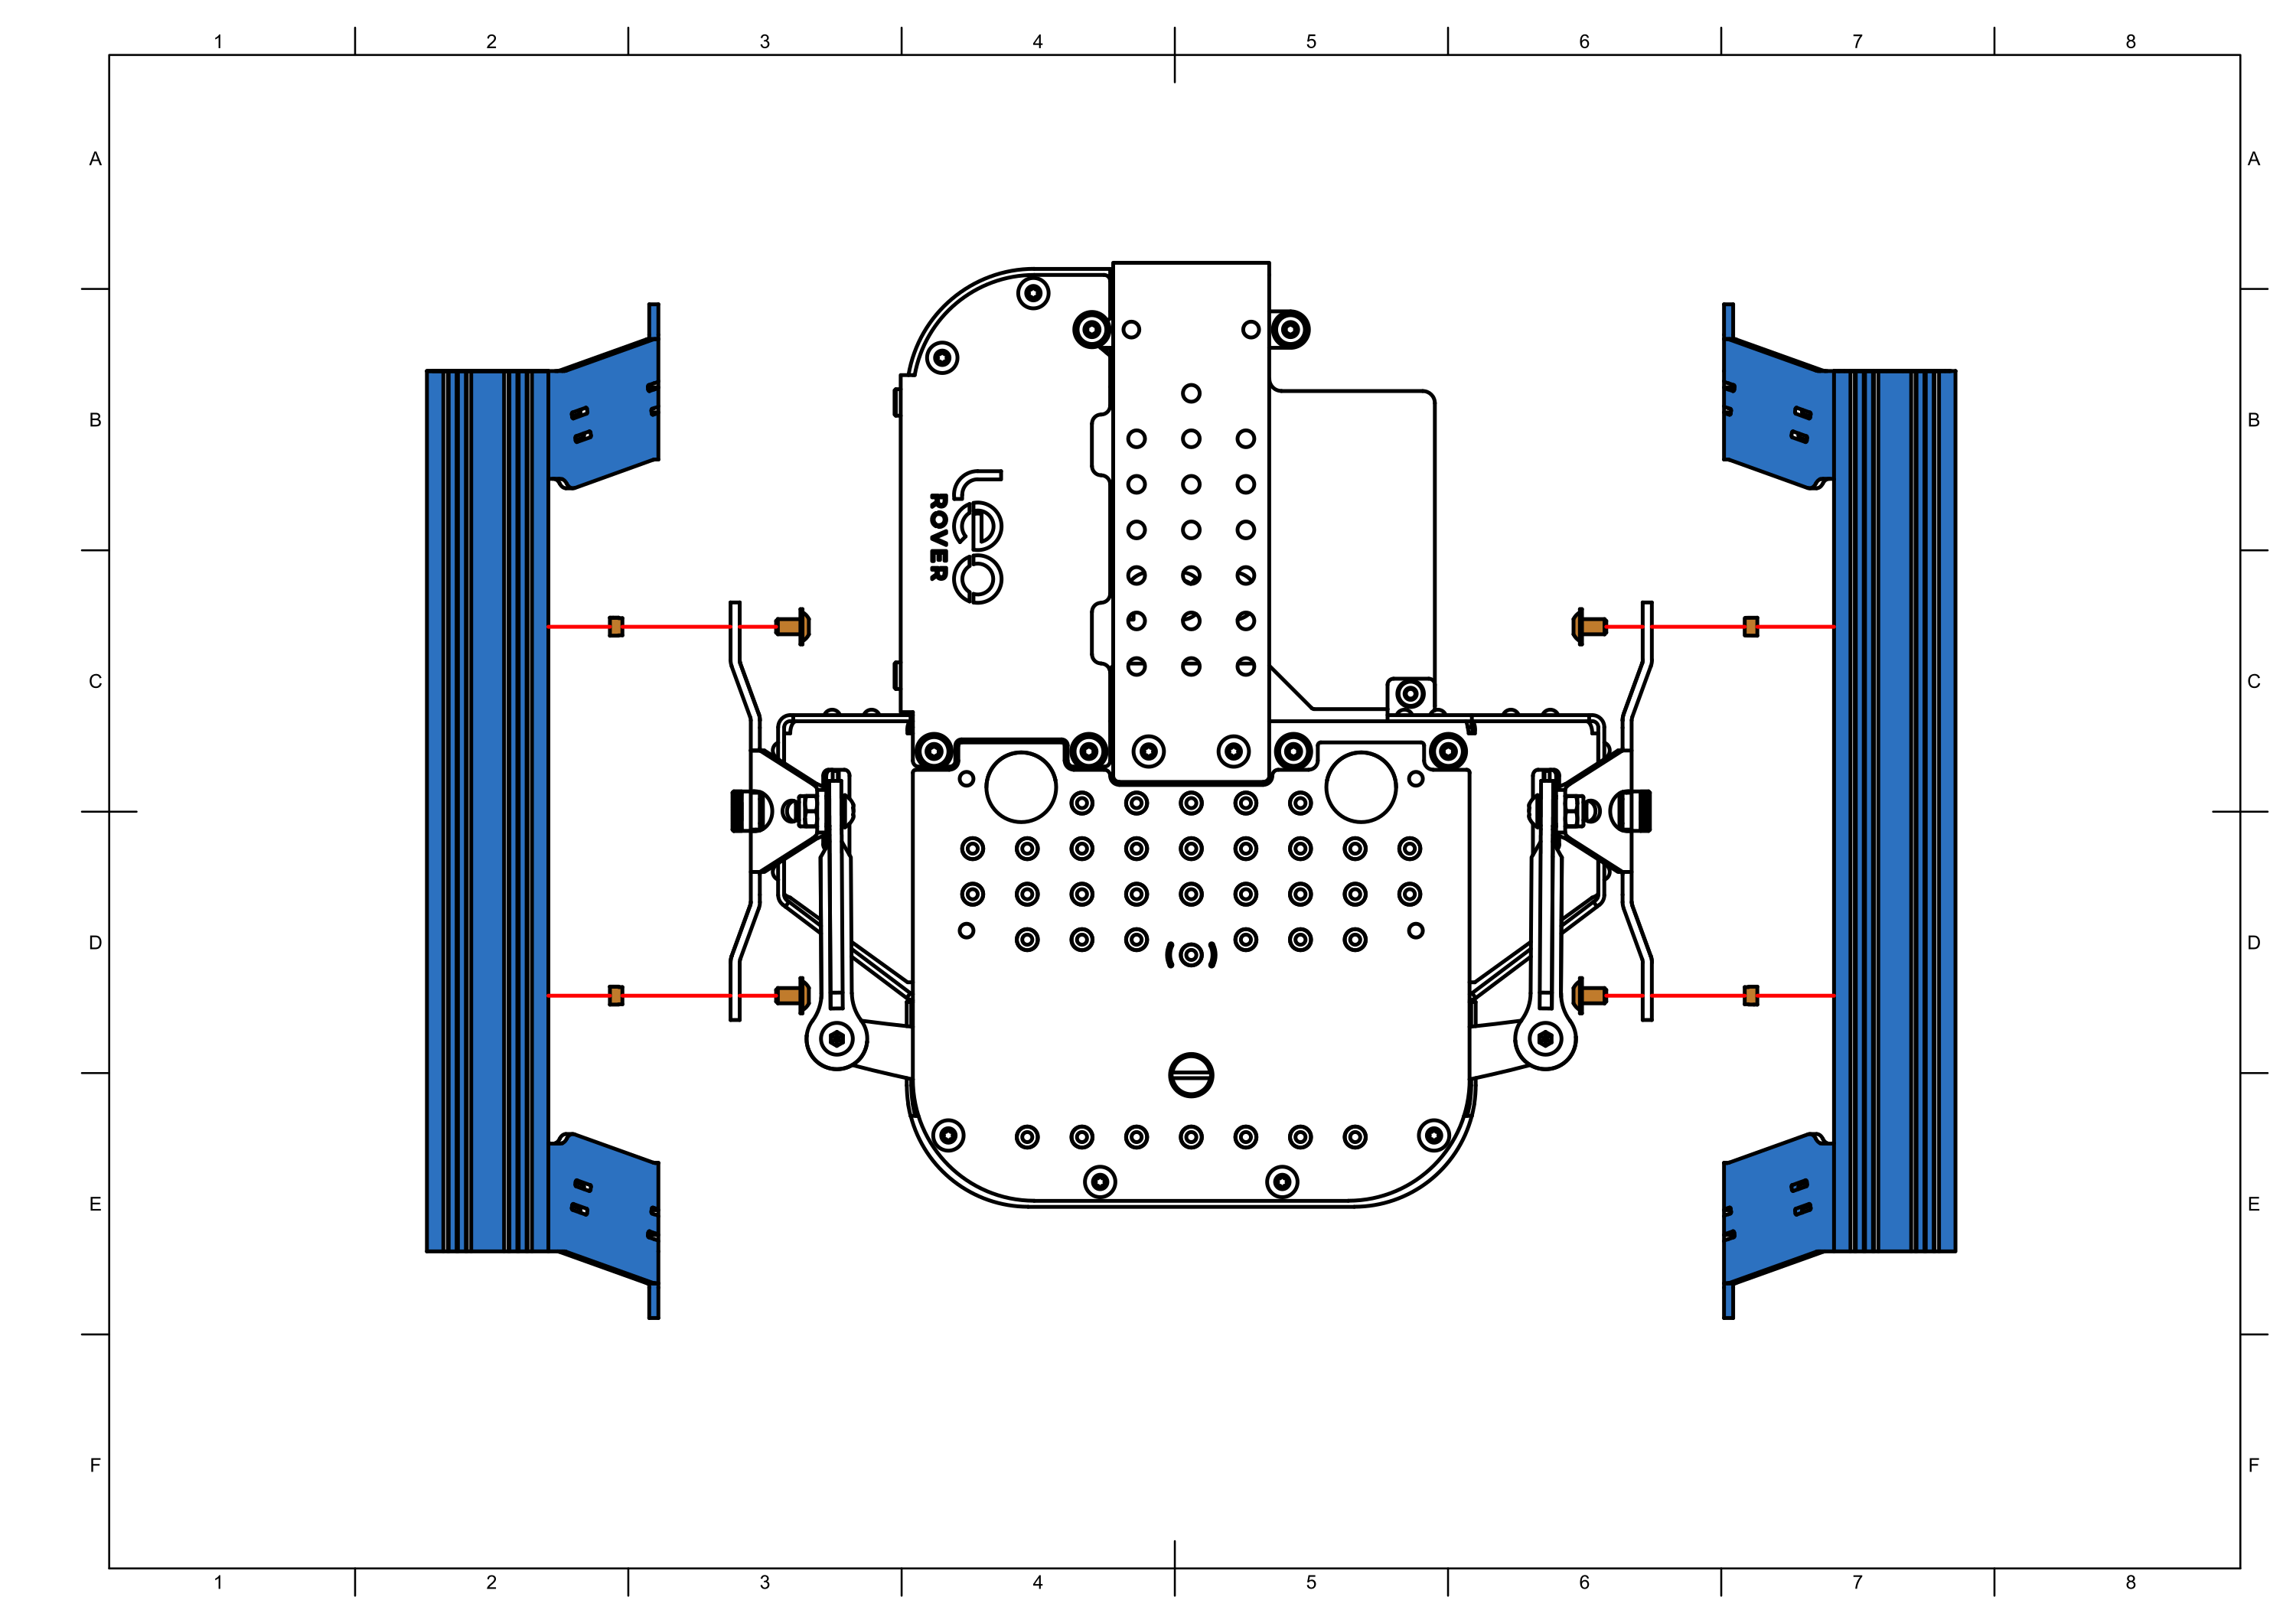
Step 2


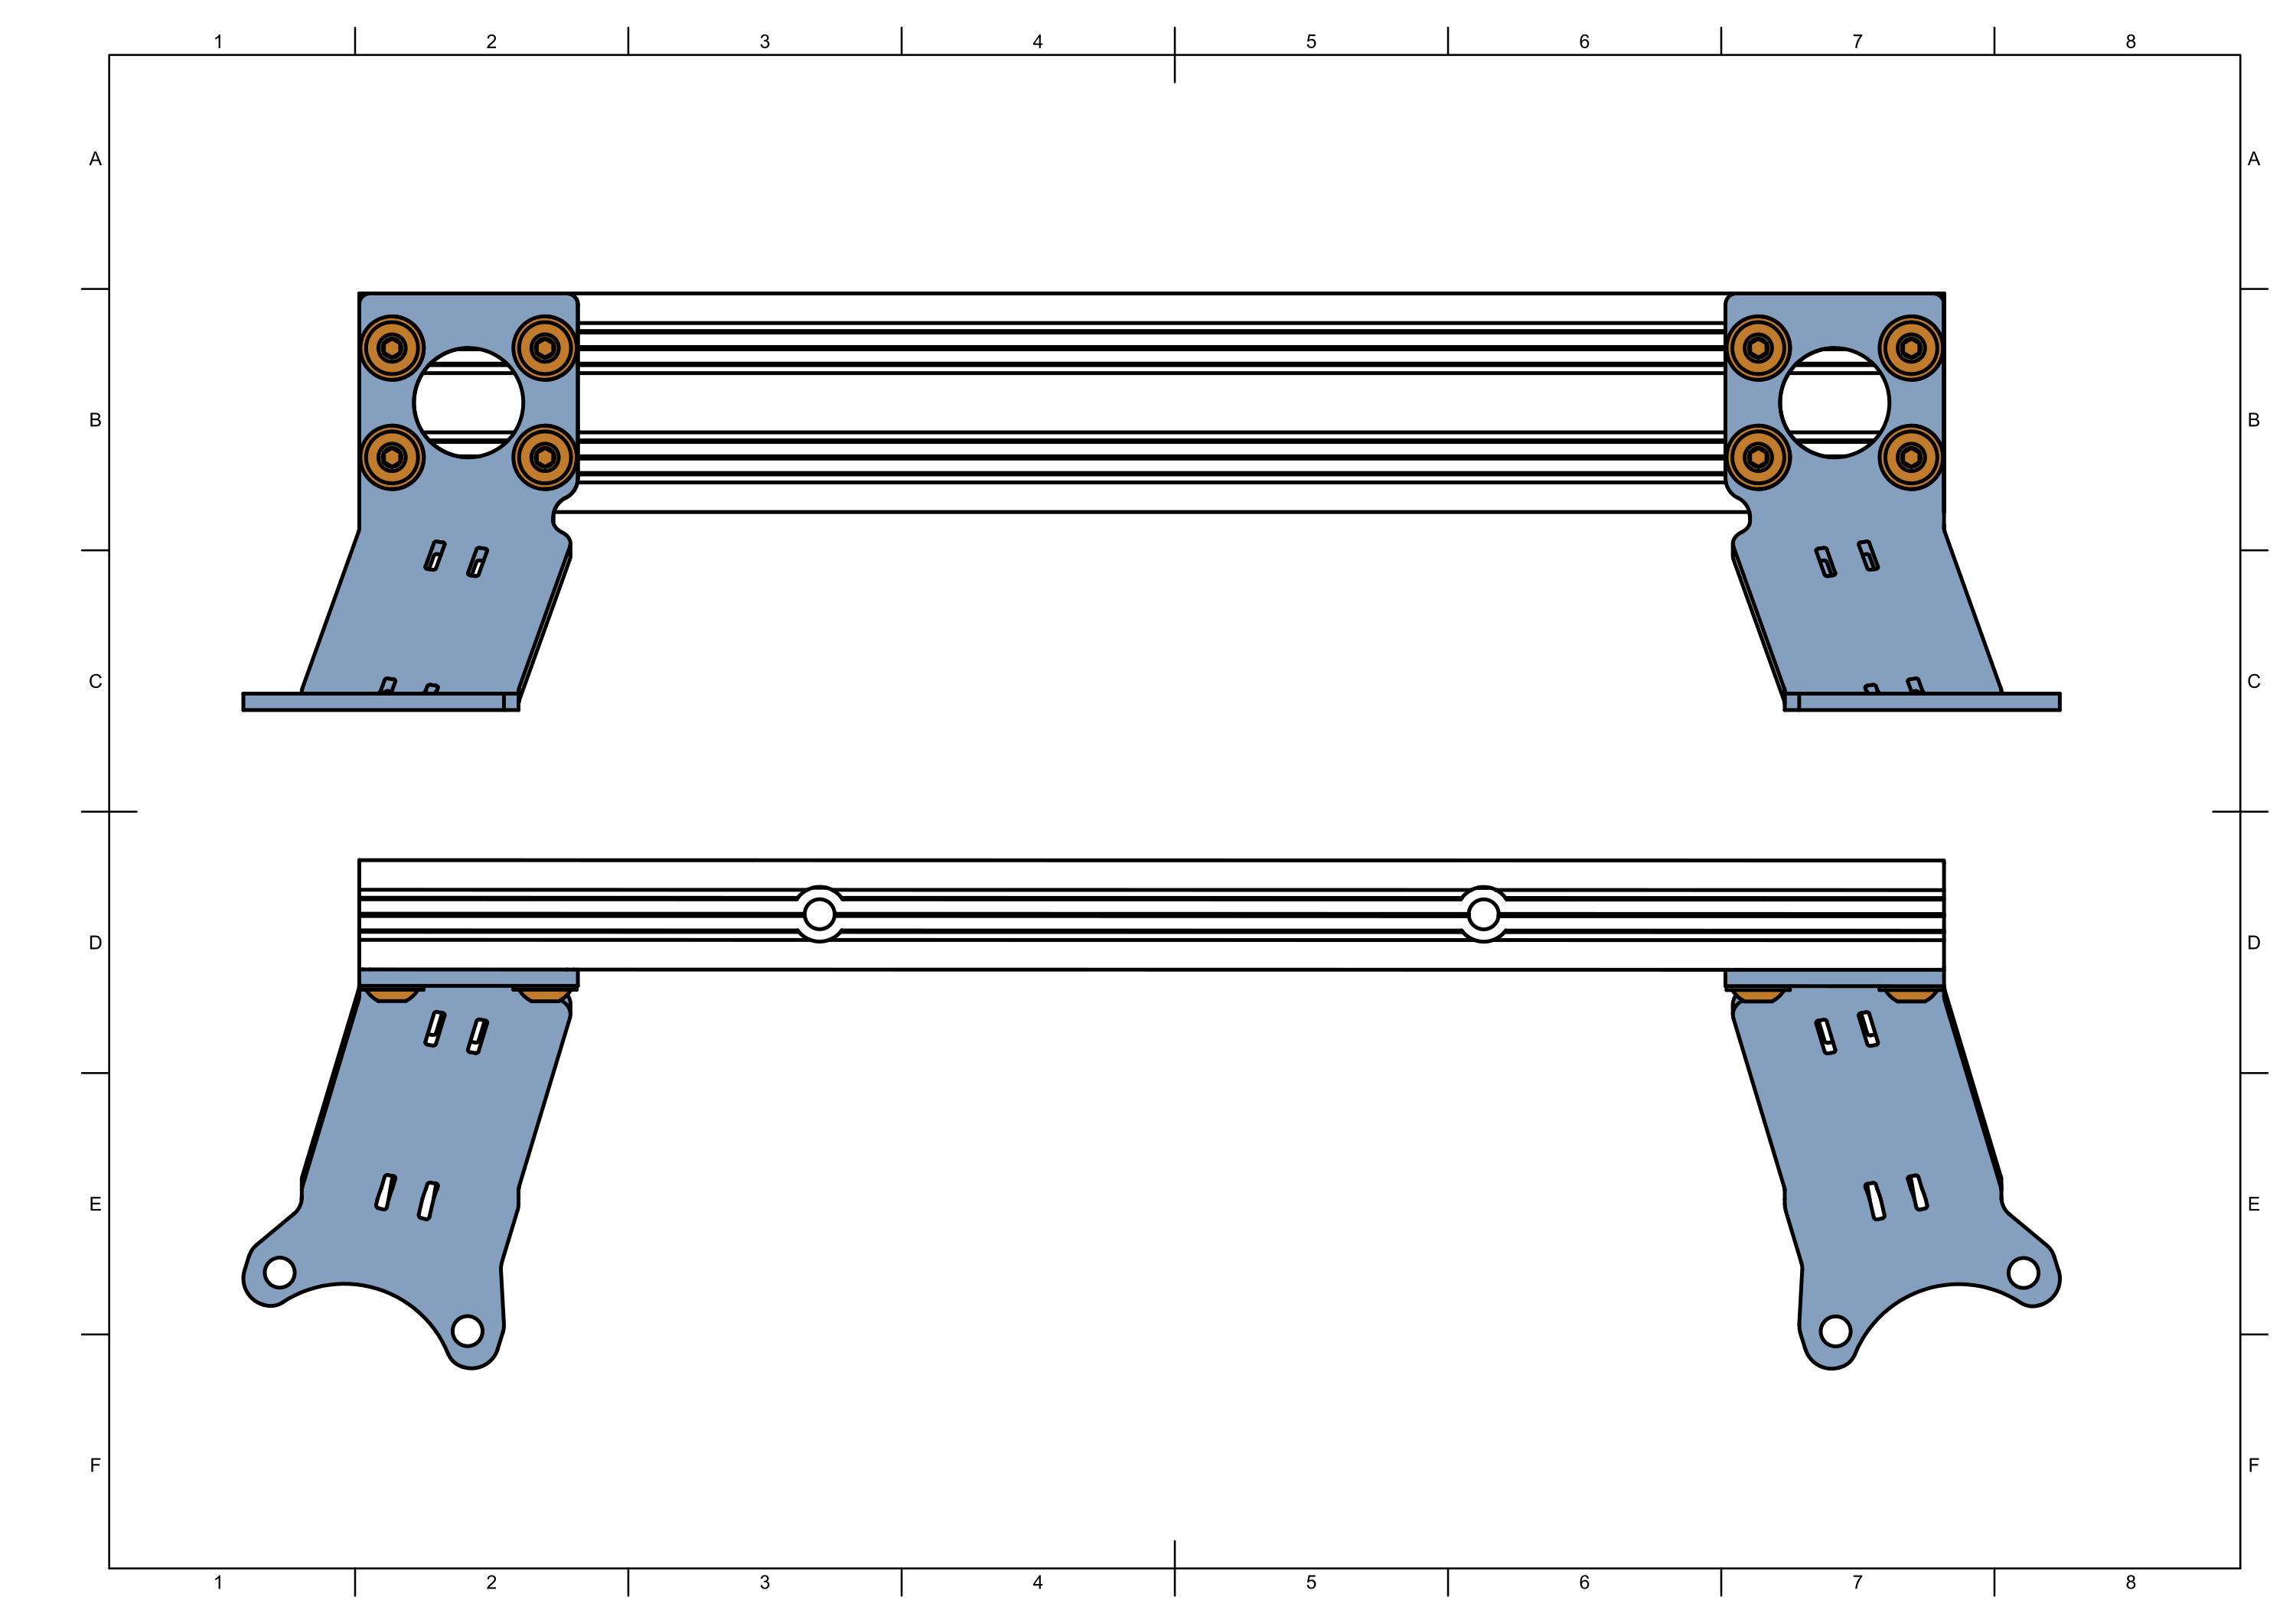
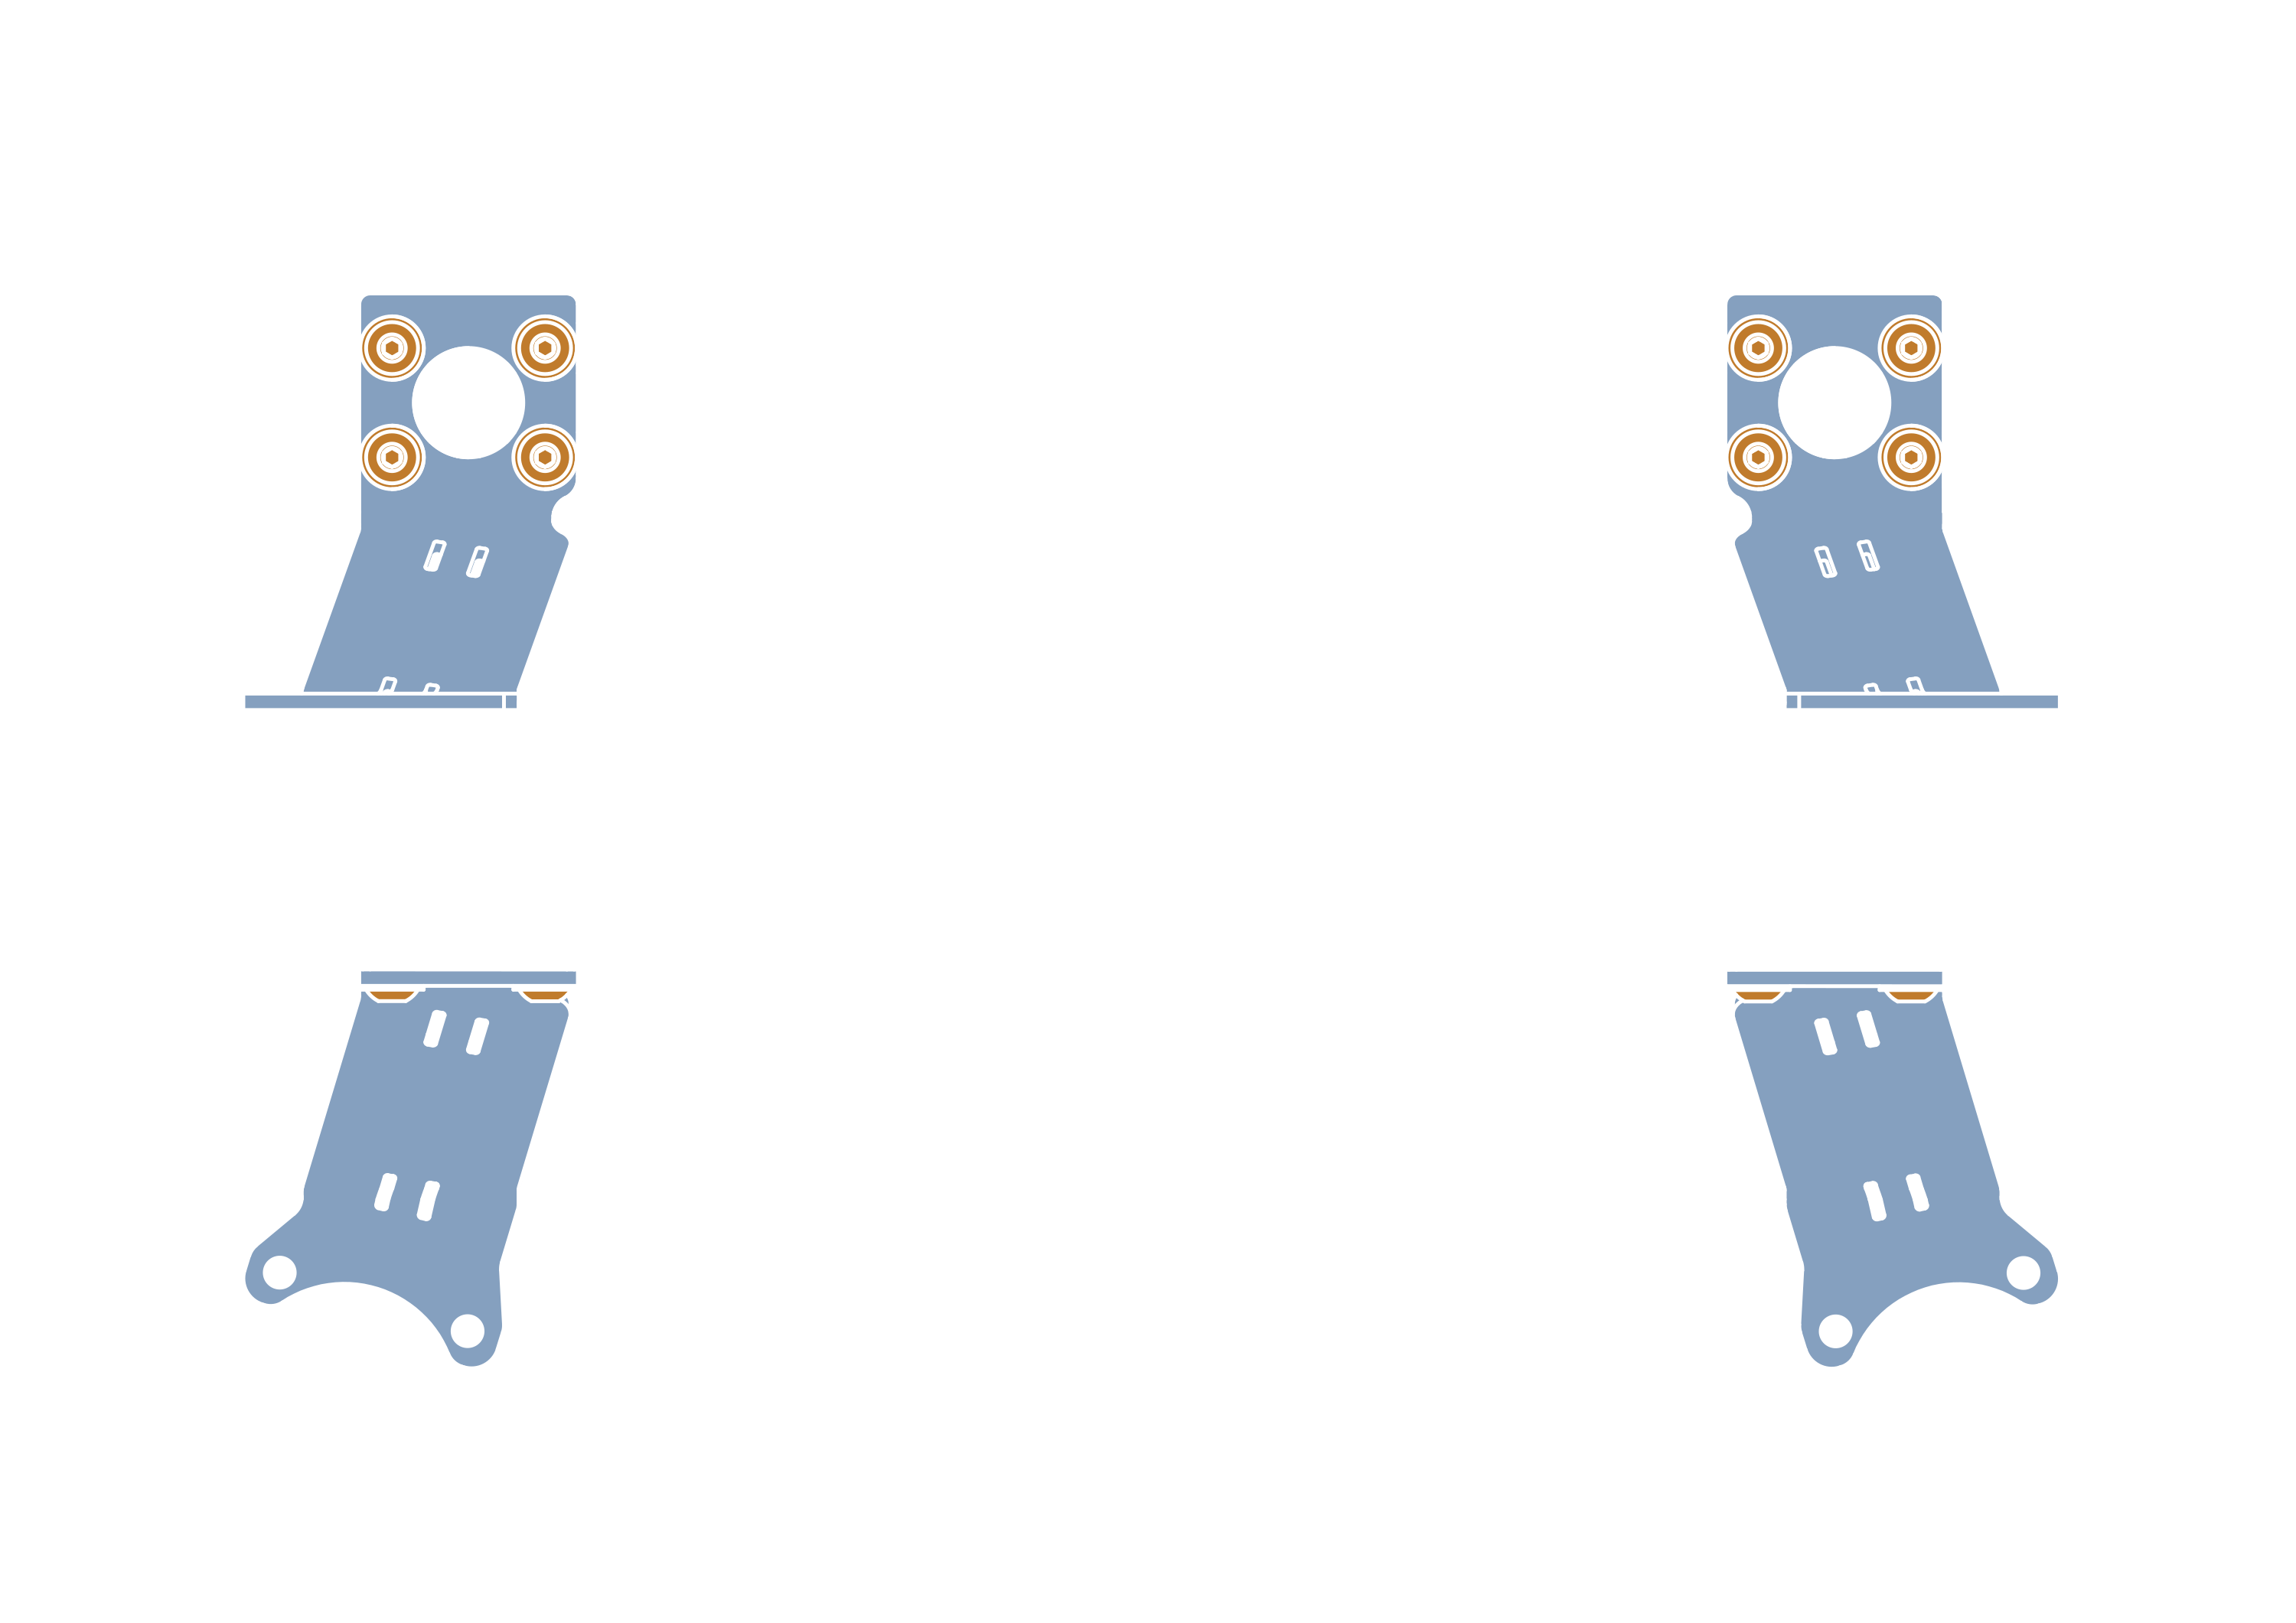
info
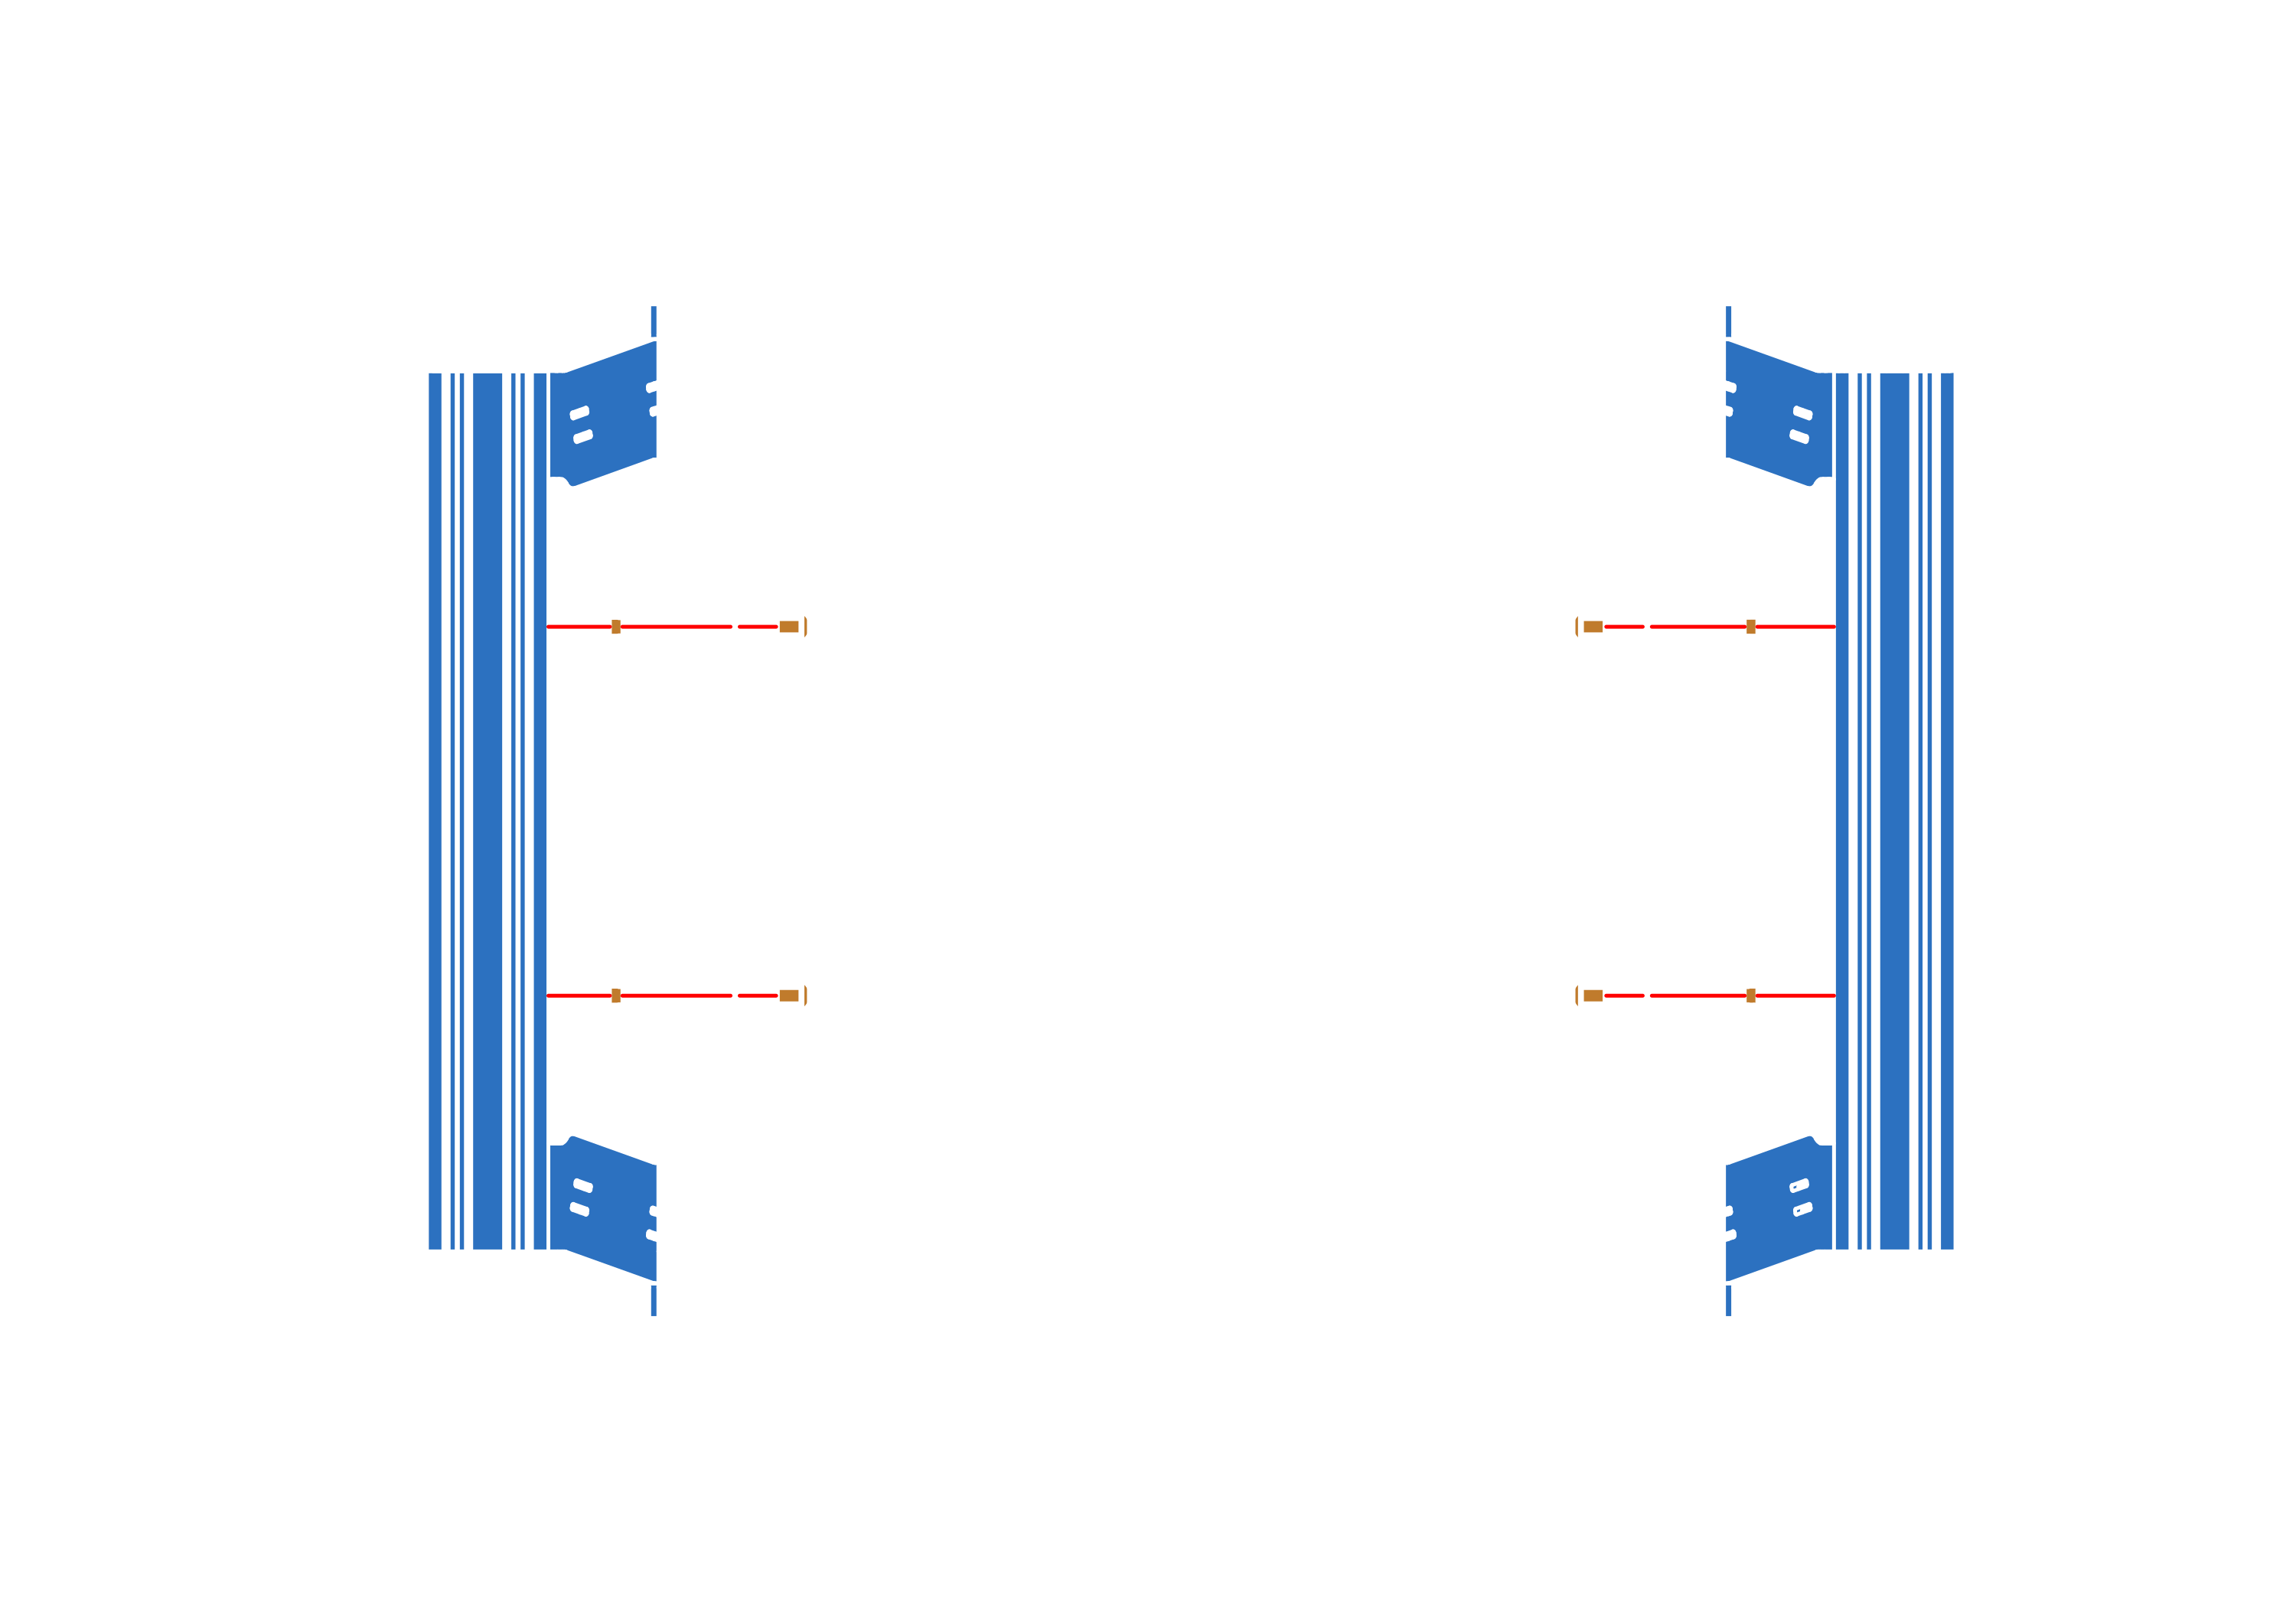
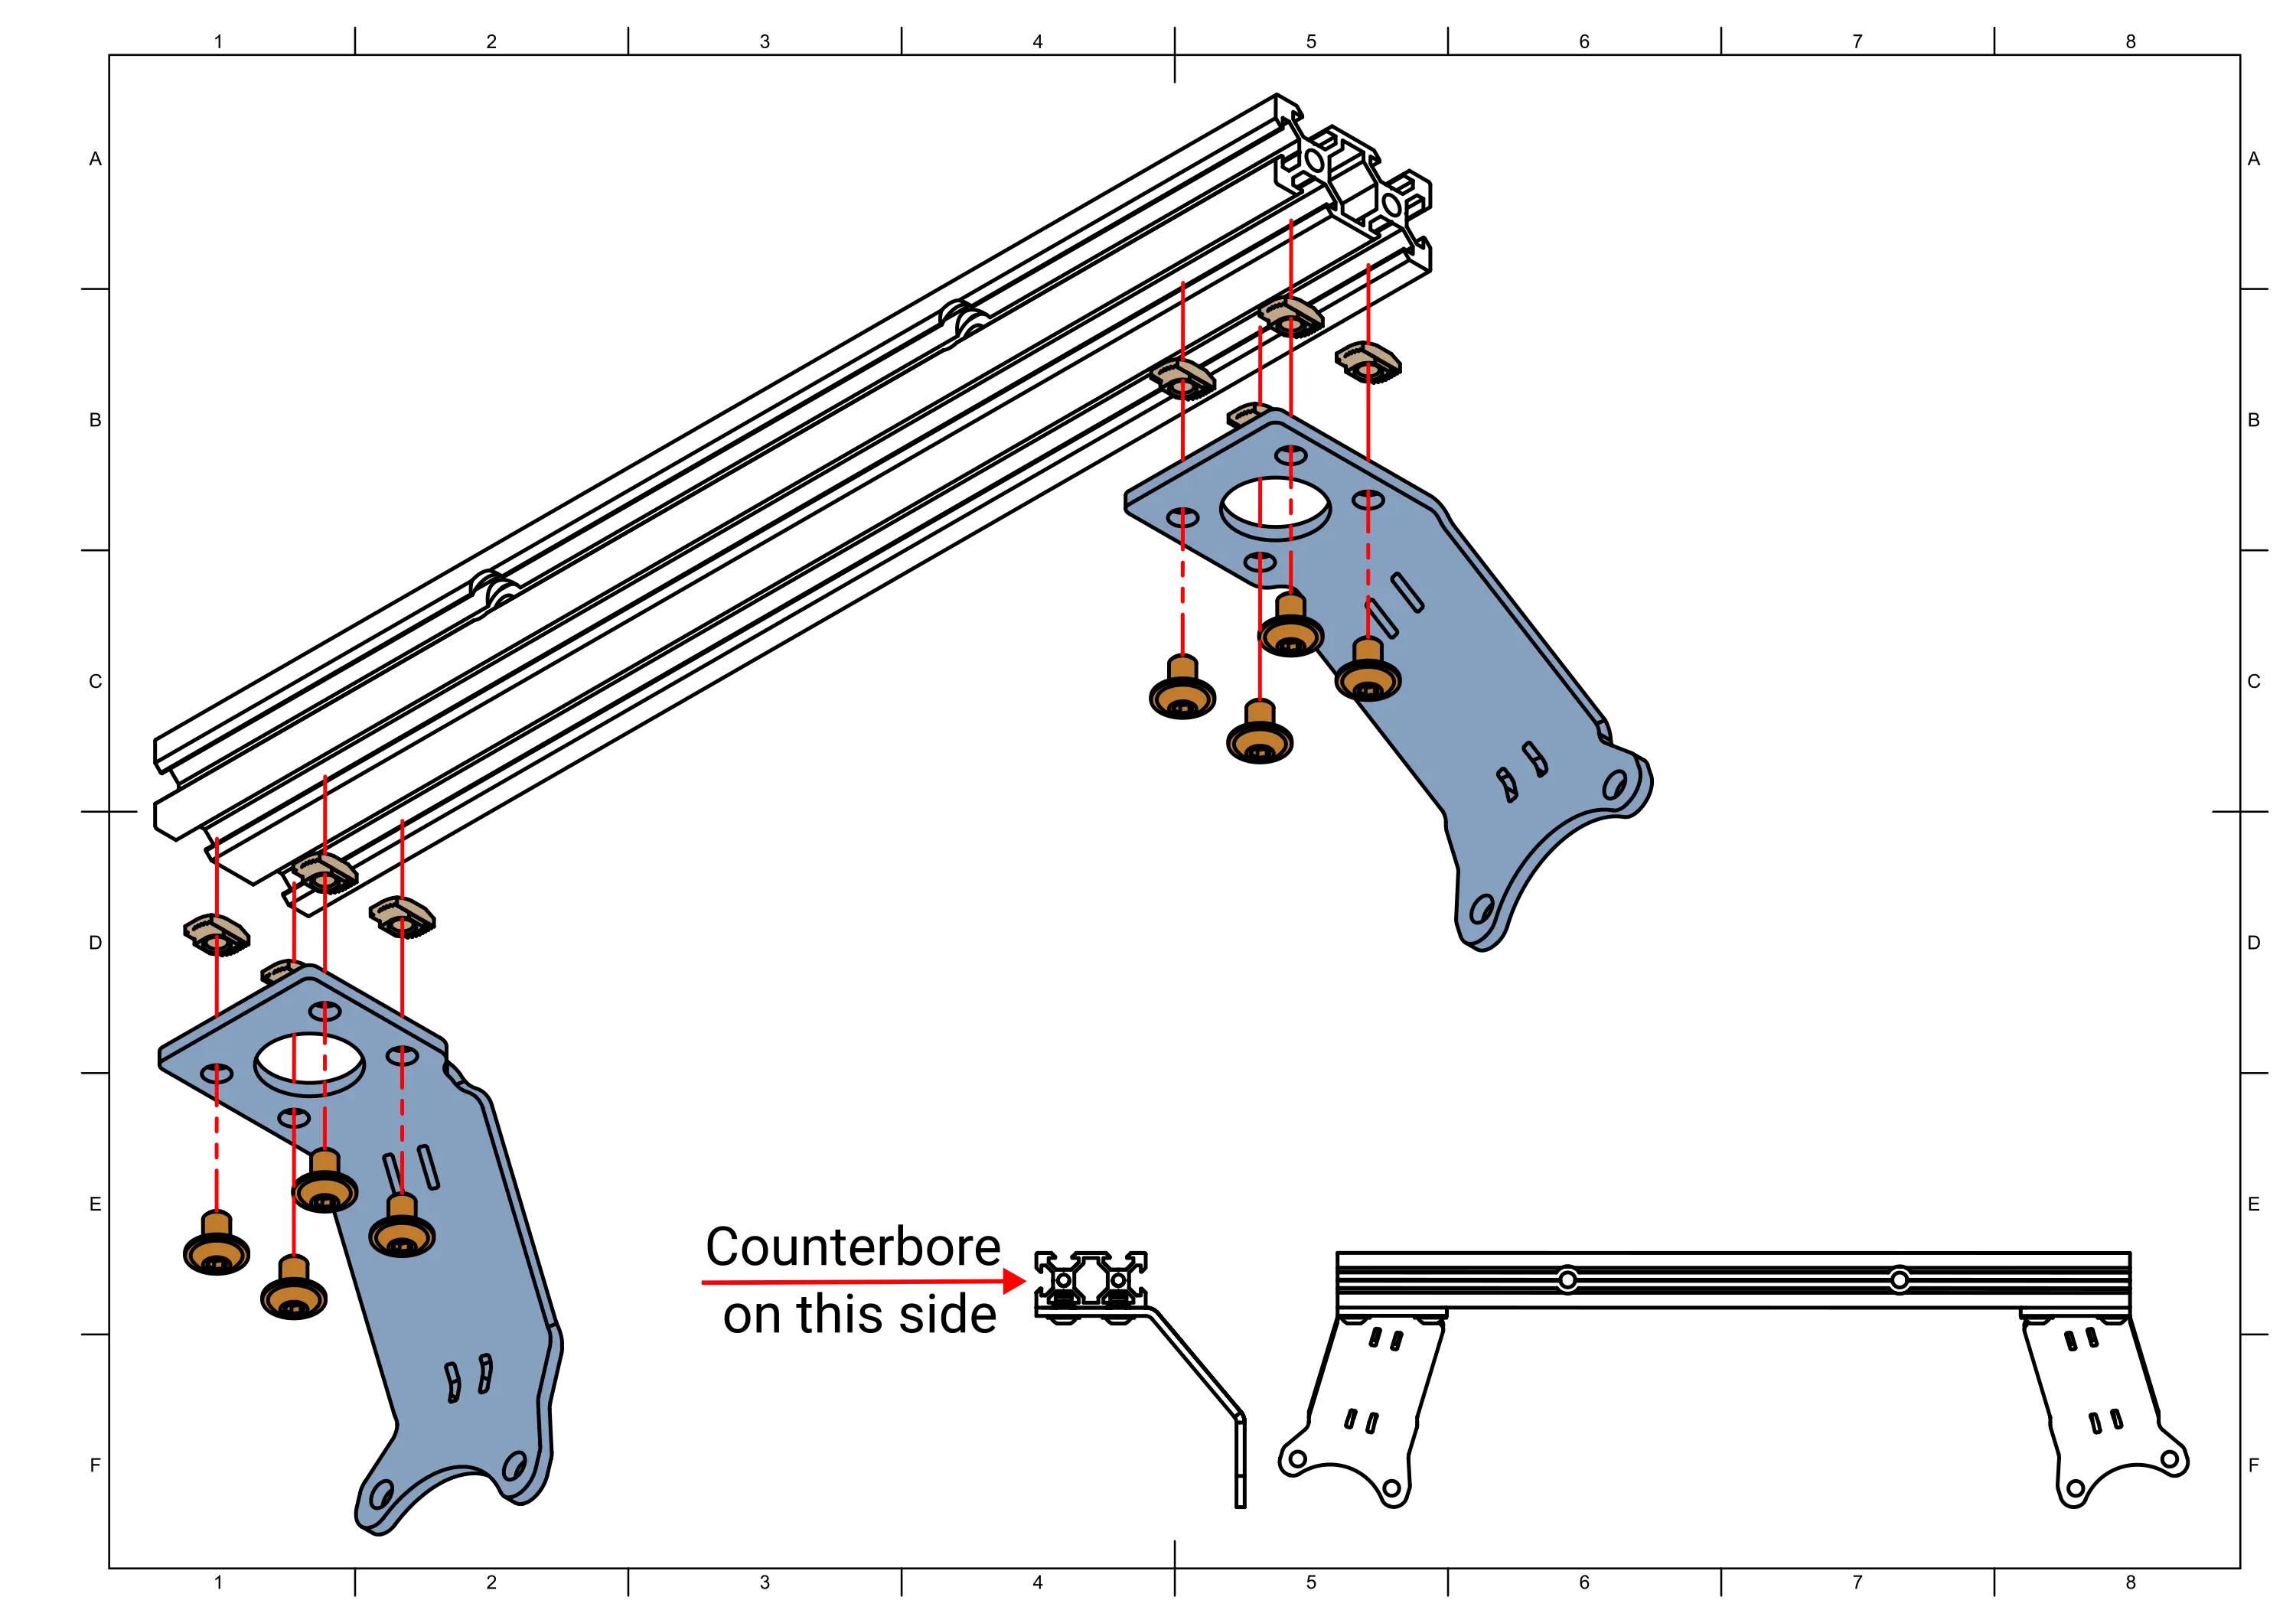
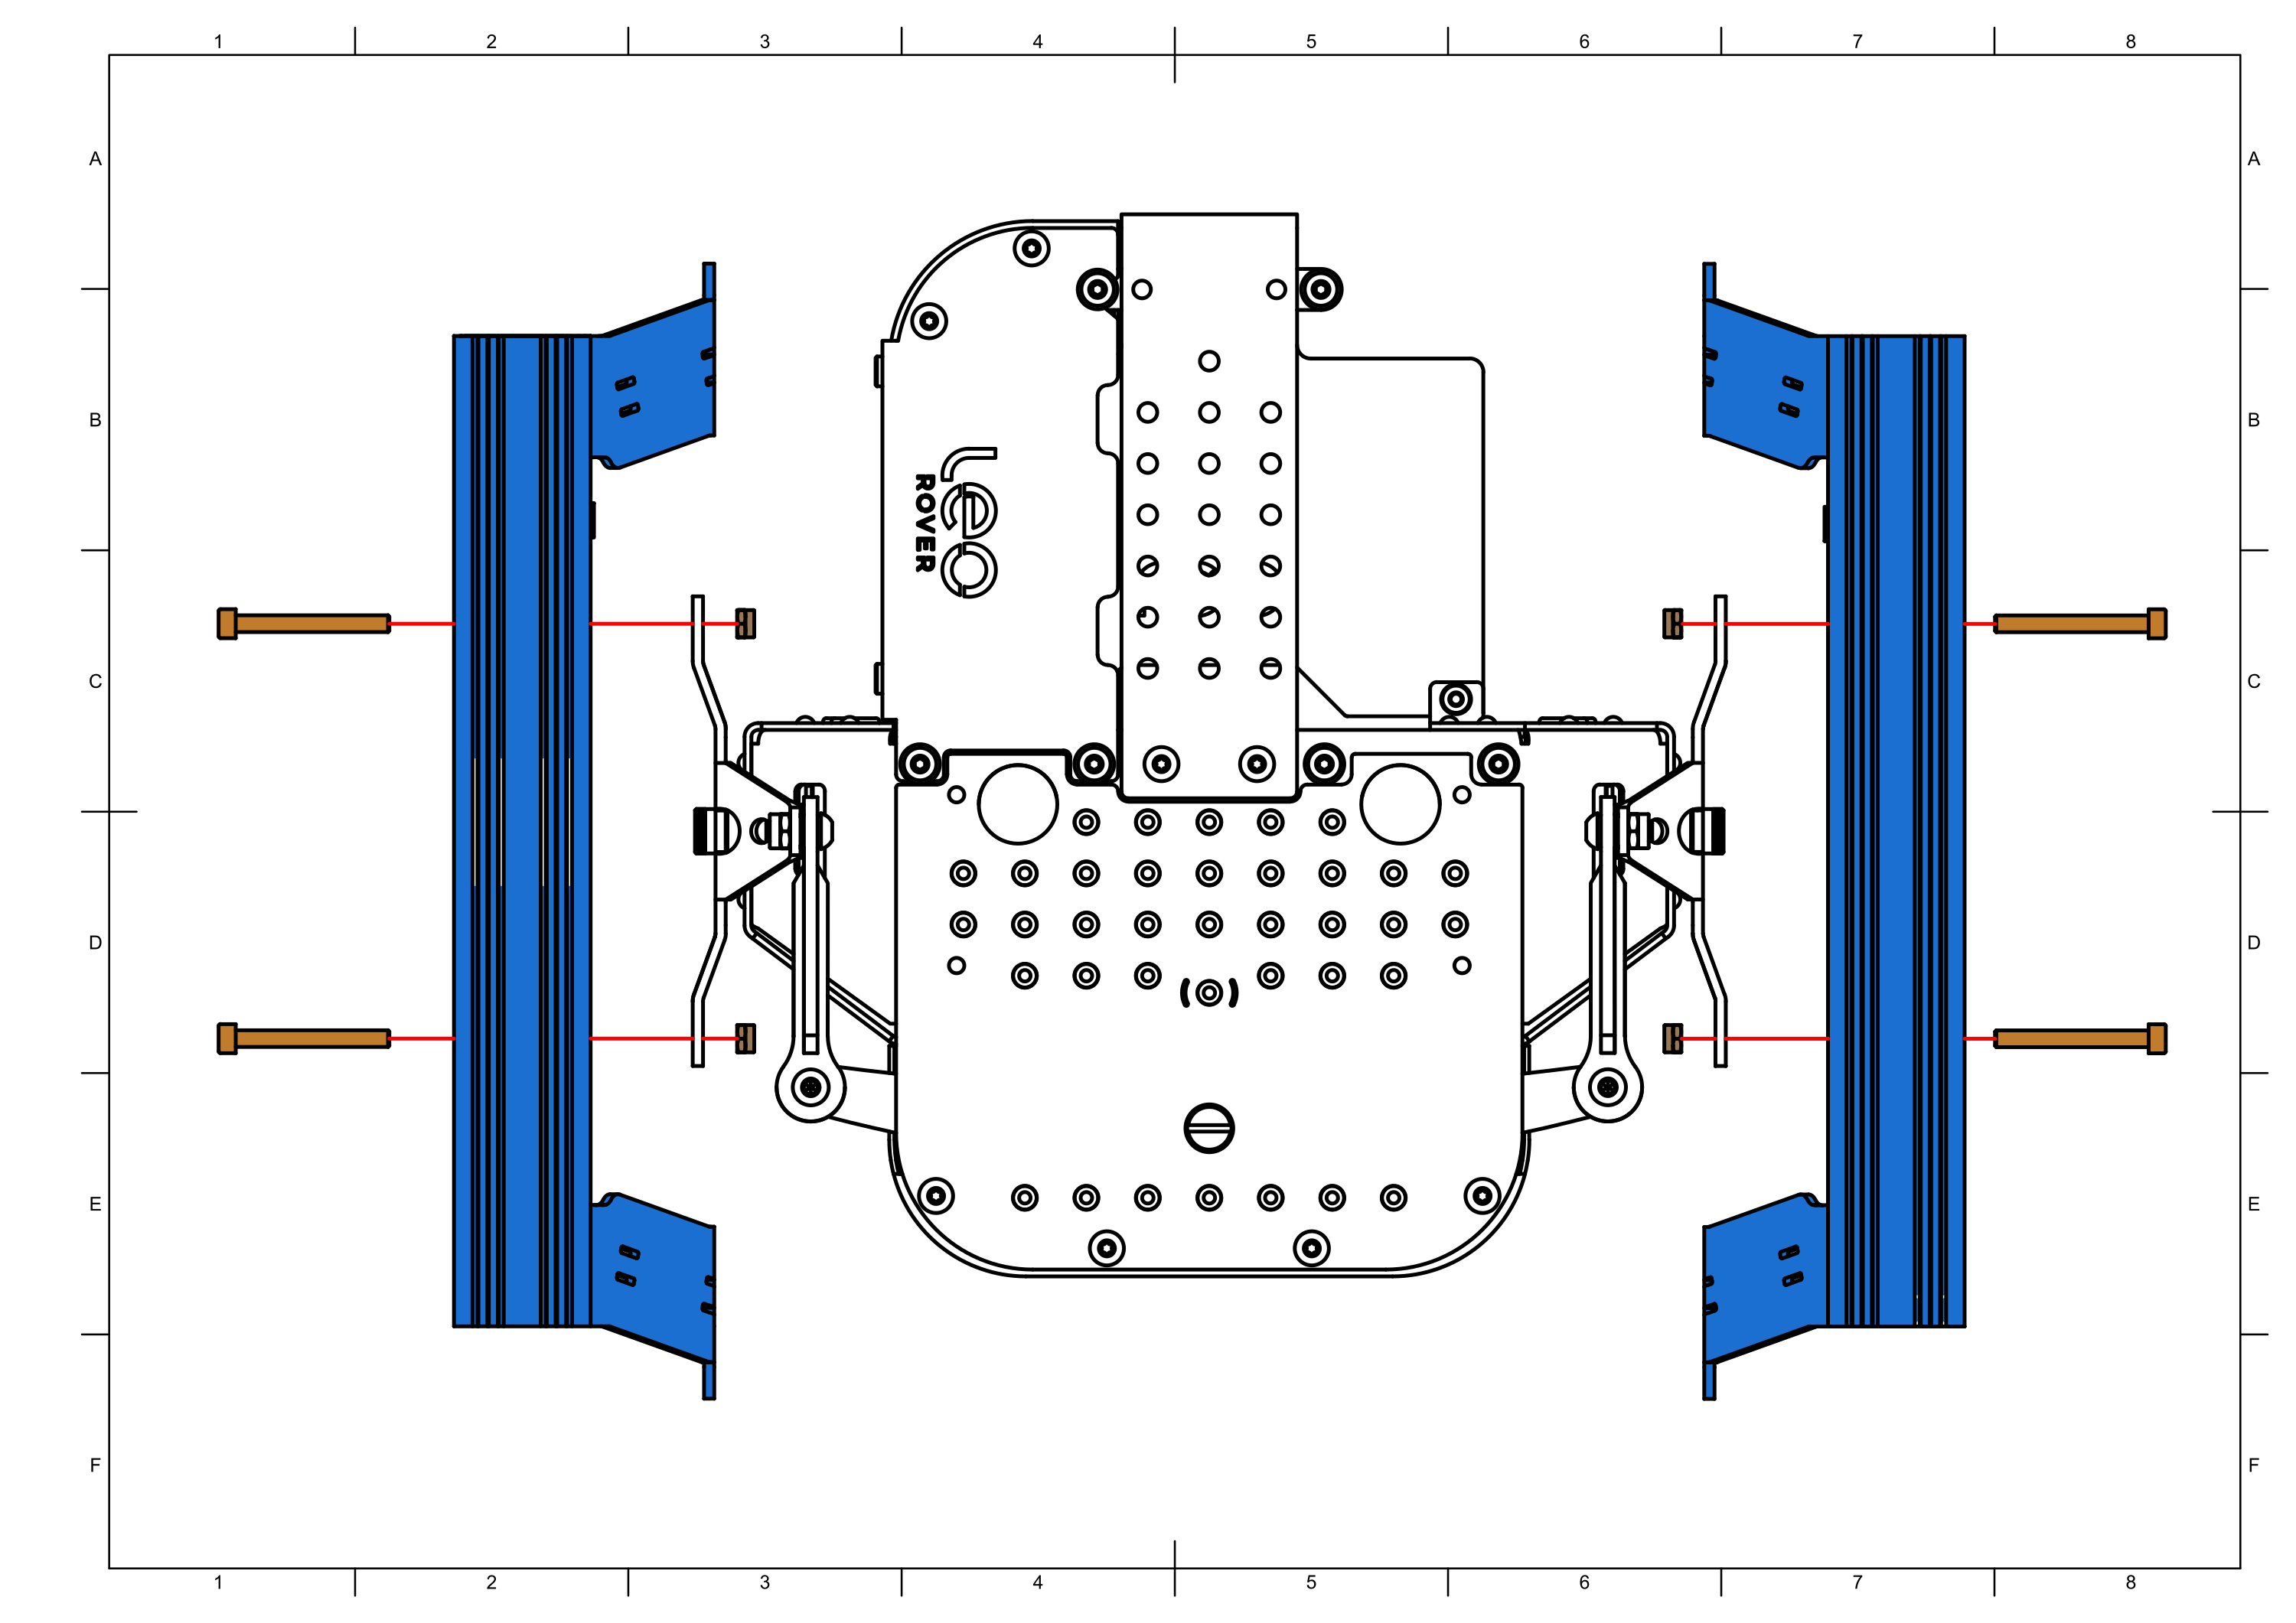
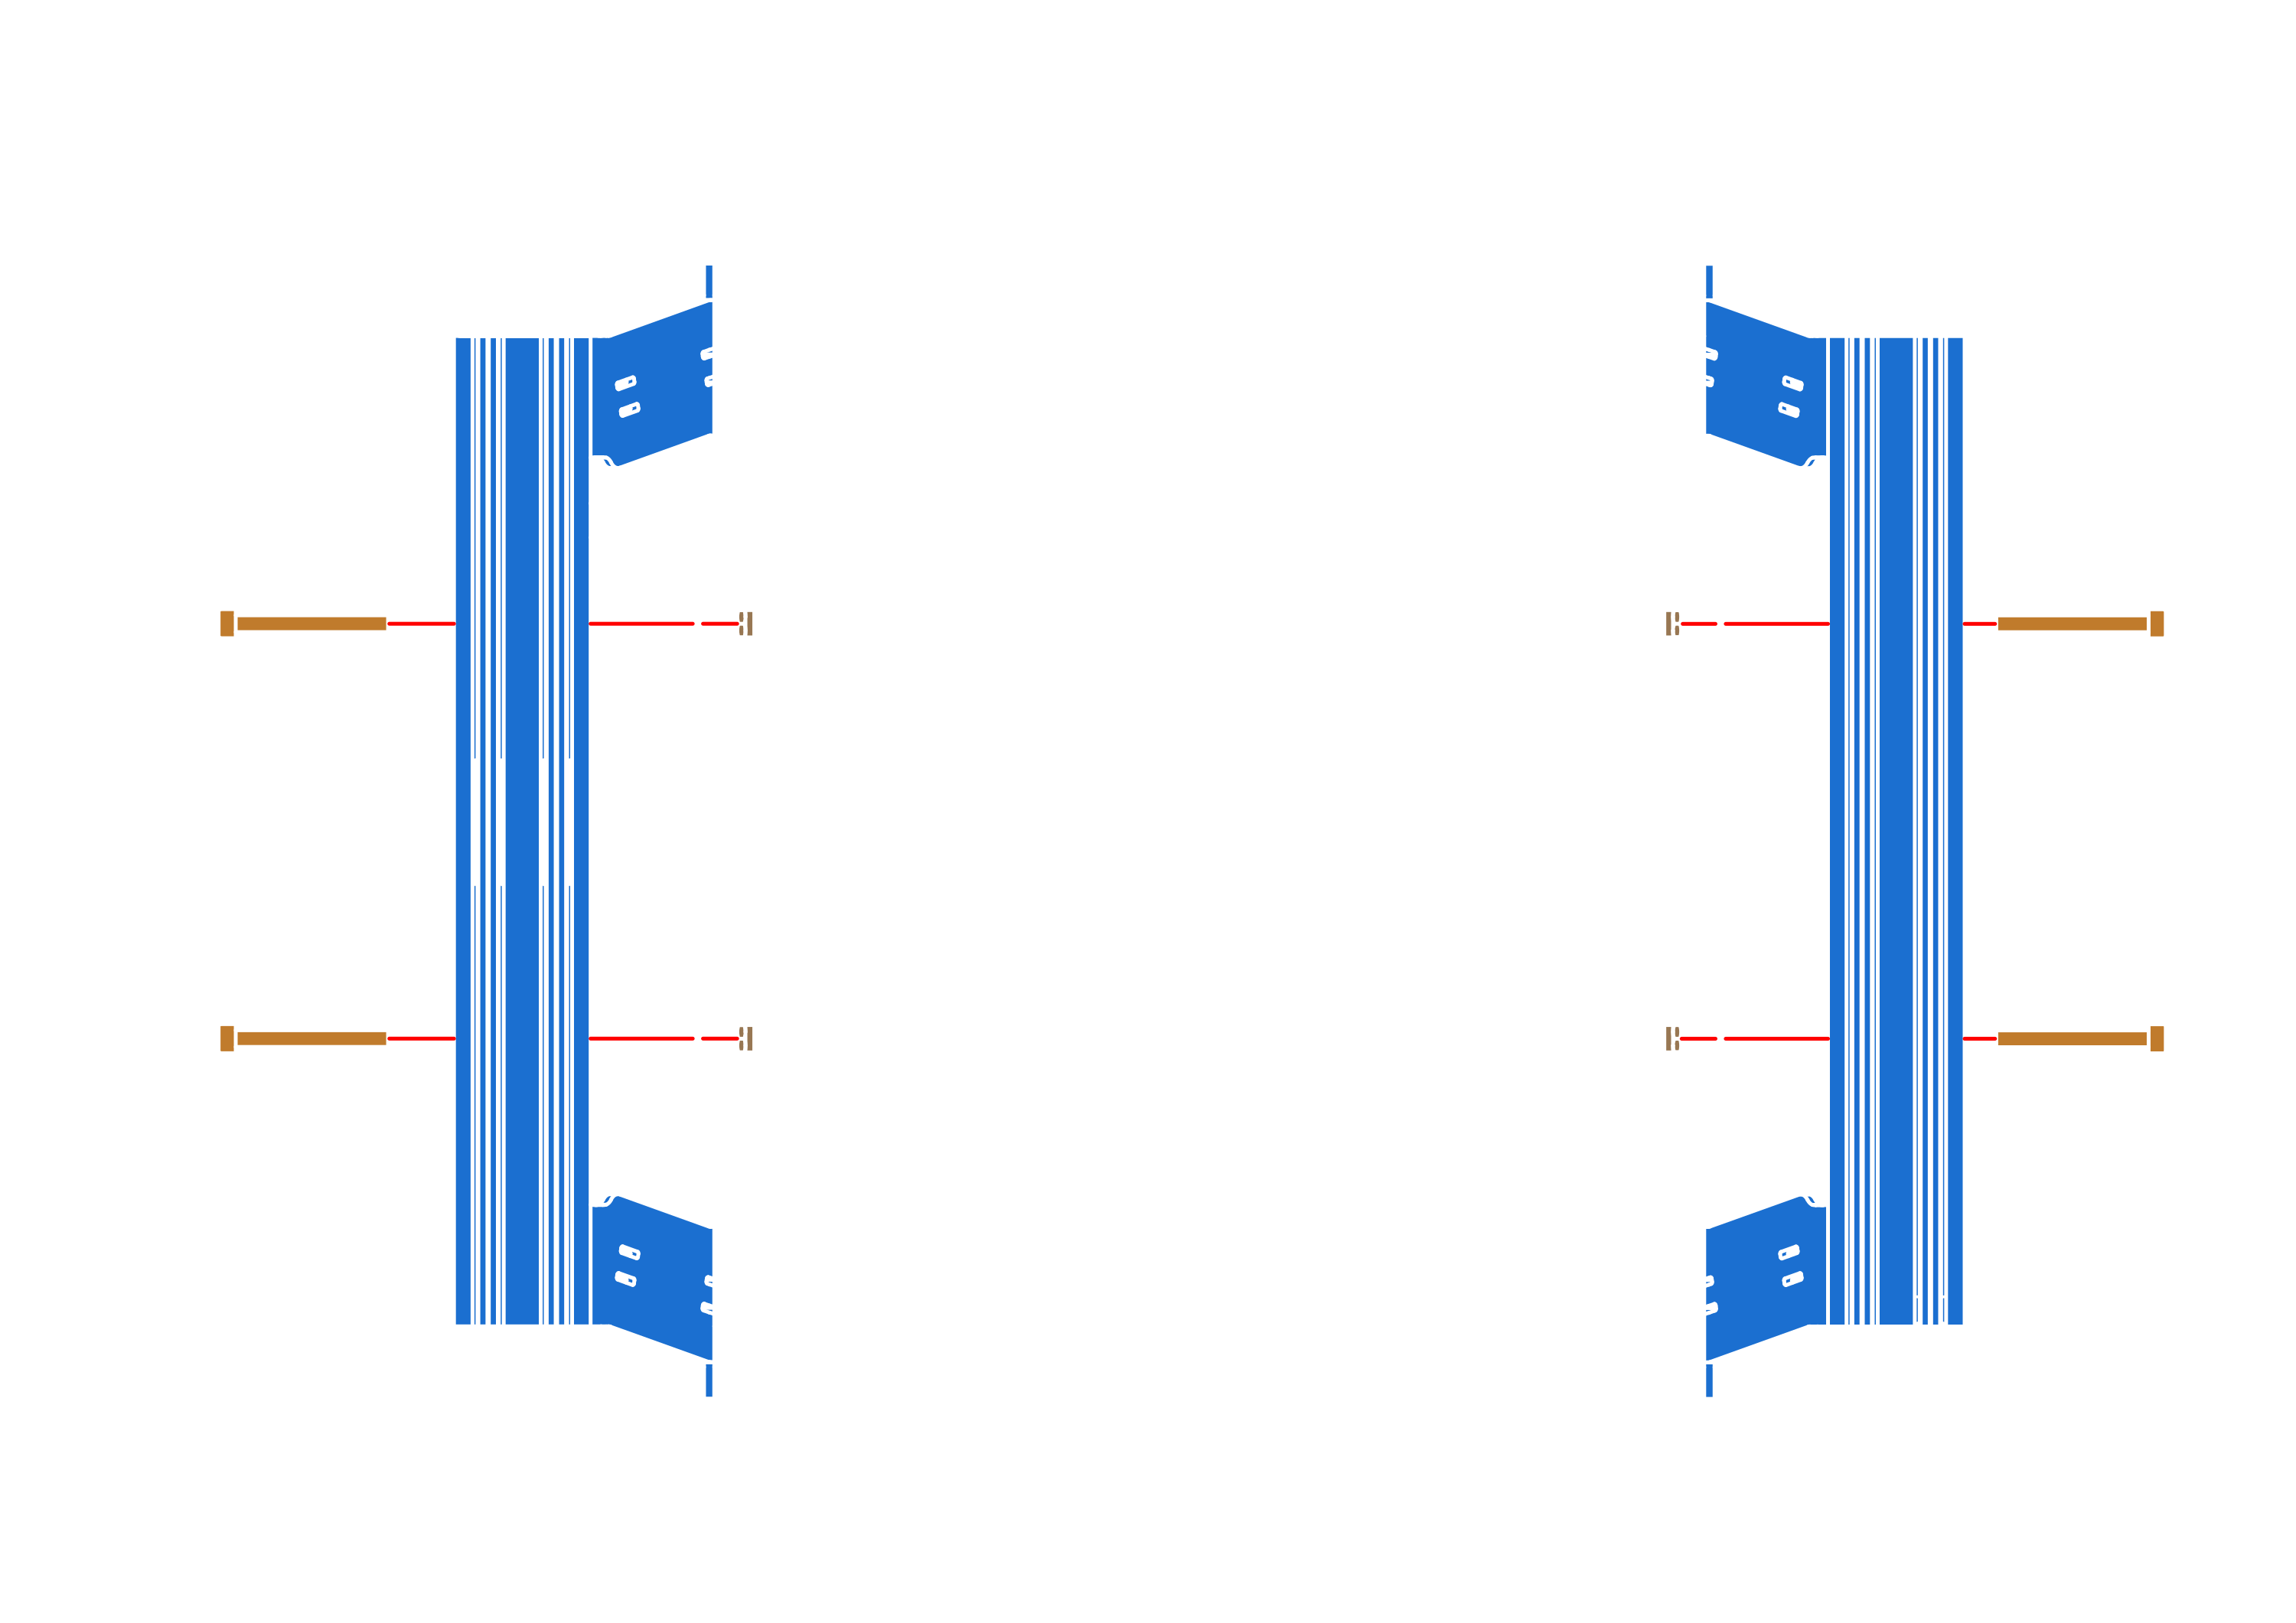
Repeat the process until you have 2 side beams with rocker arms attached.
Step 3


Step 4


Step 5


Step 6


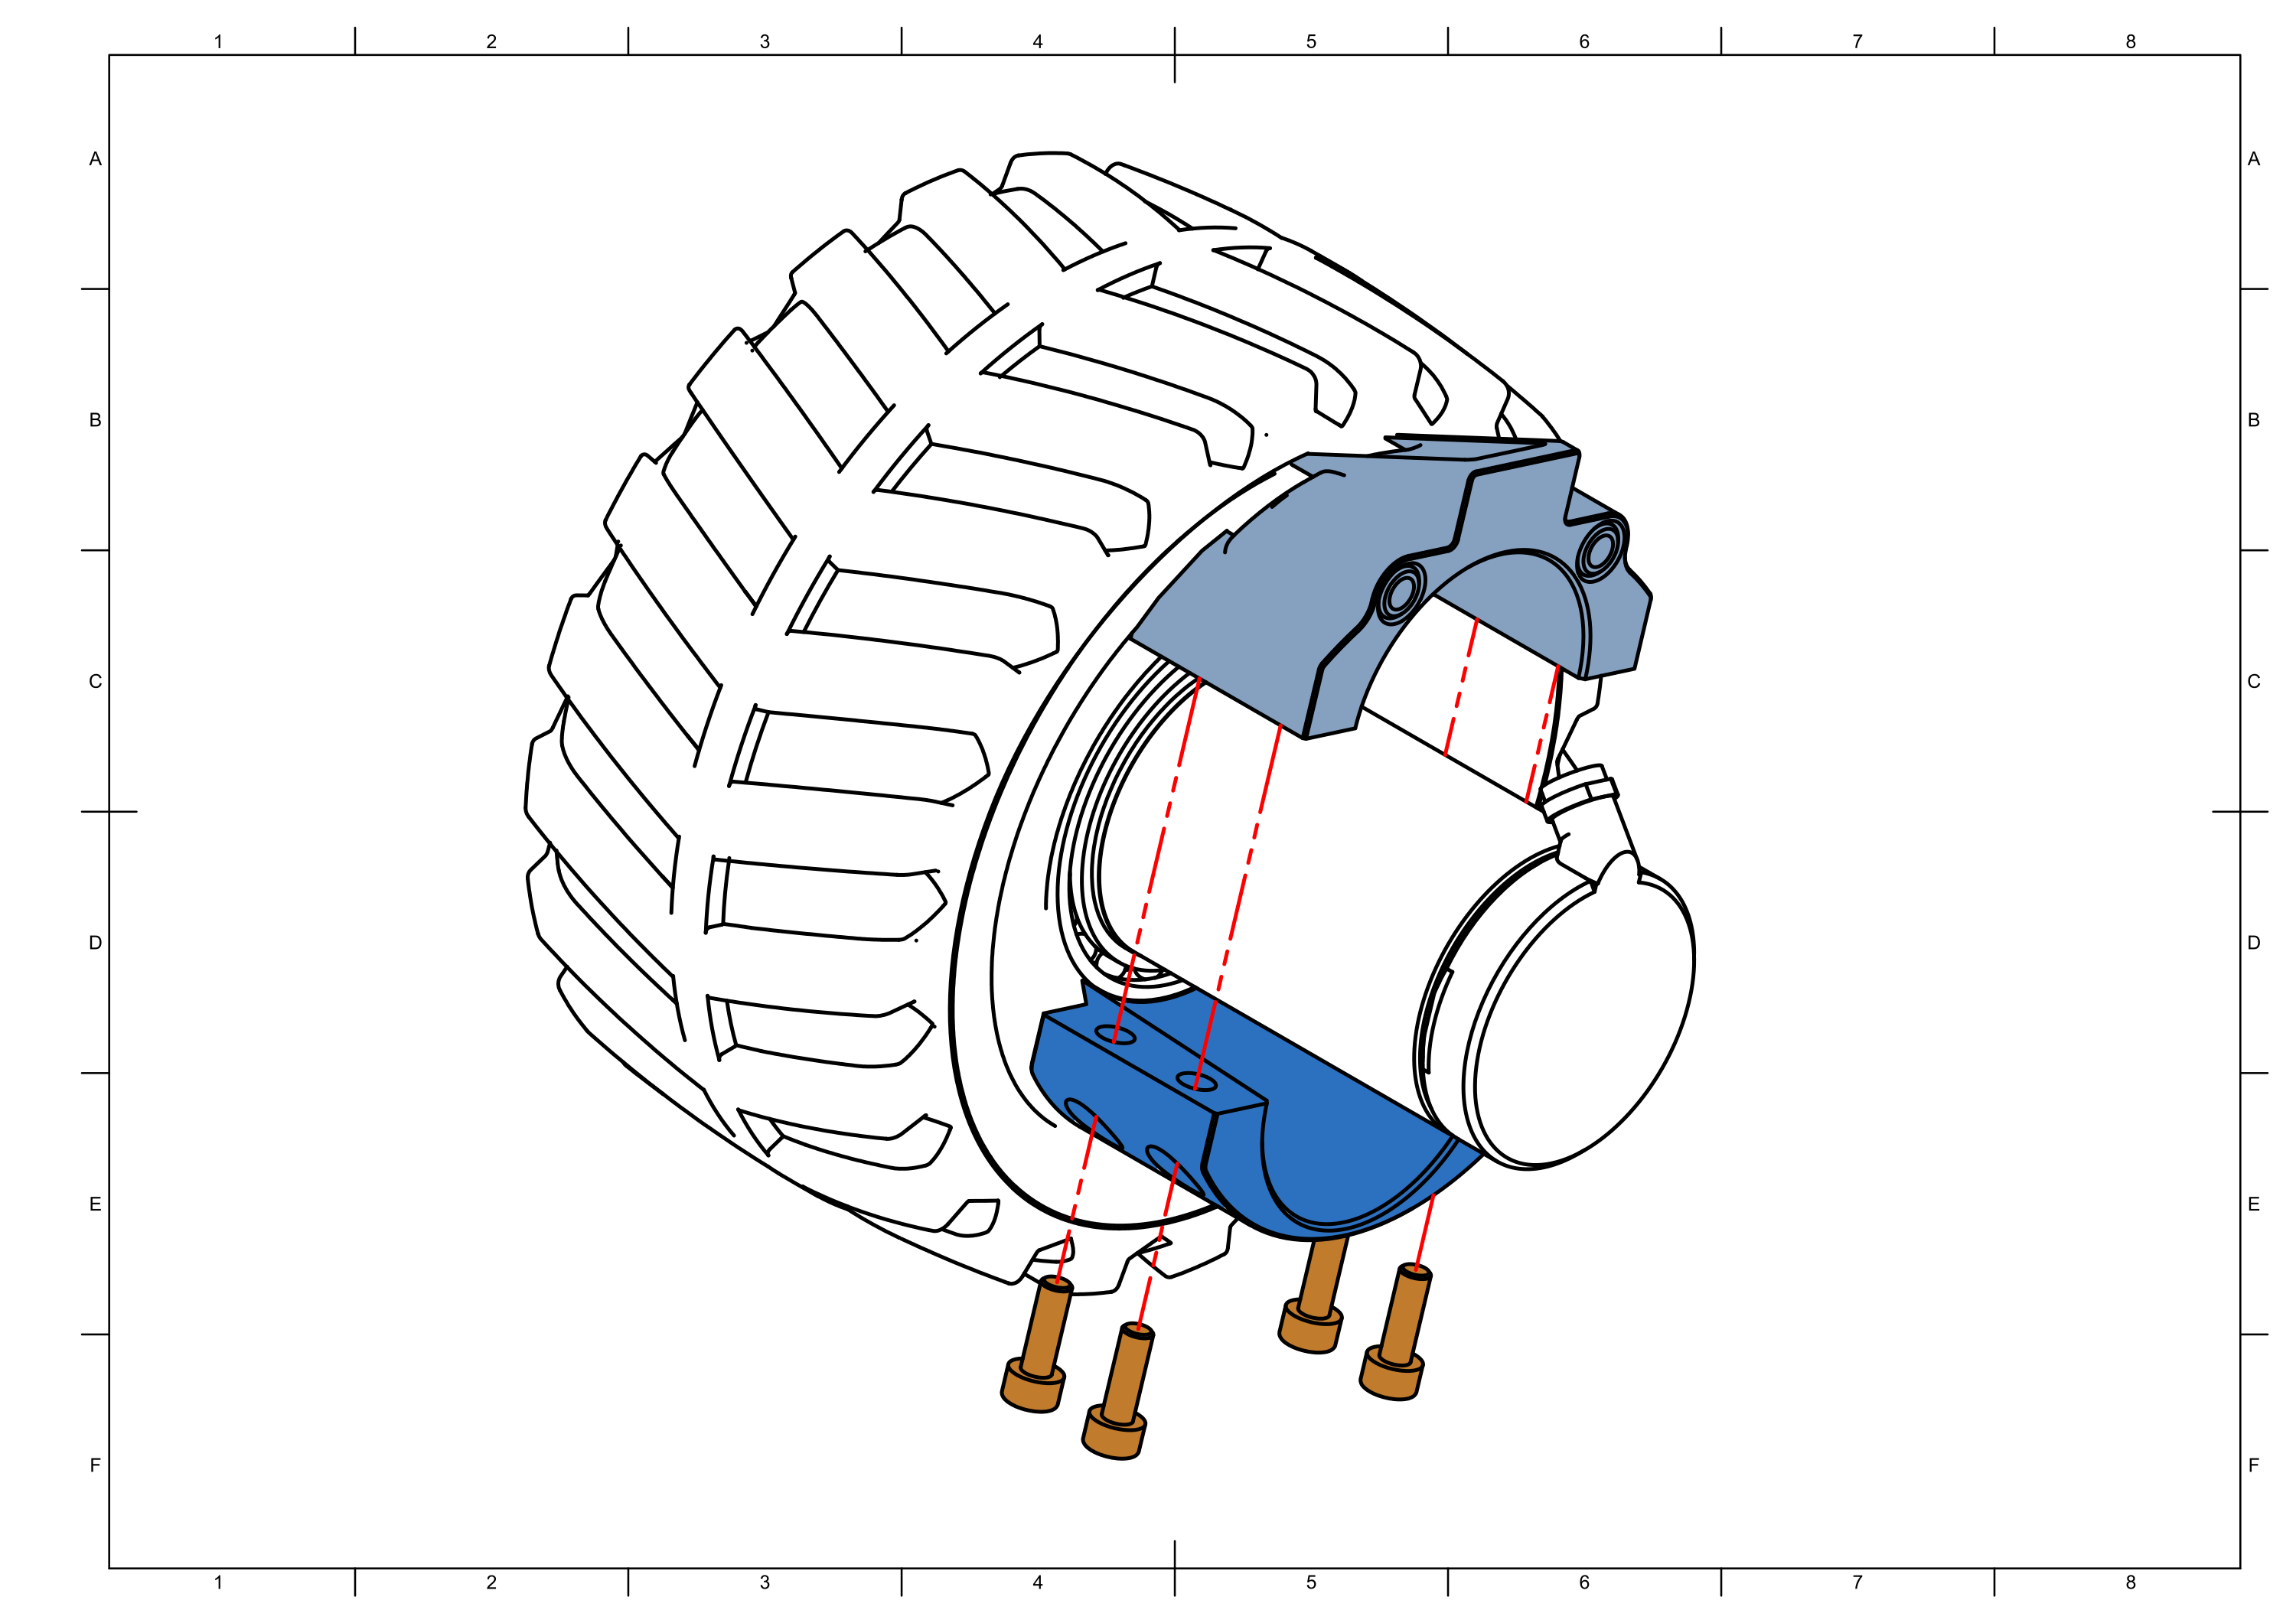
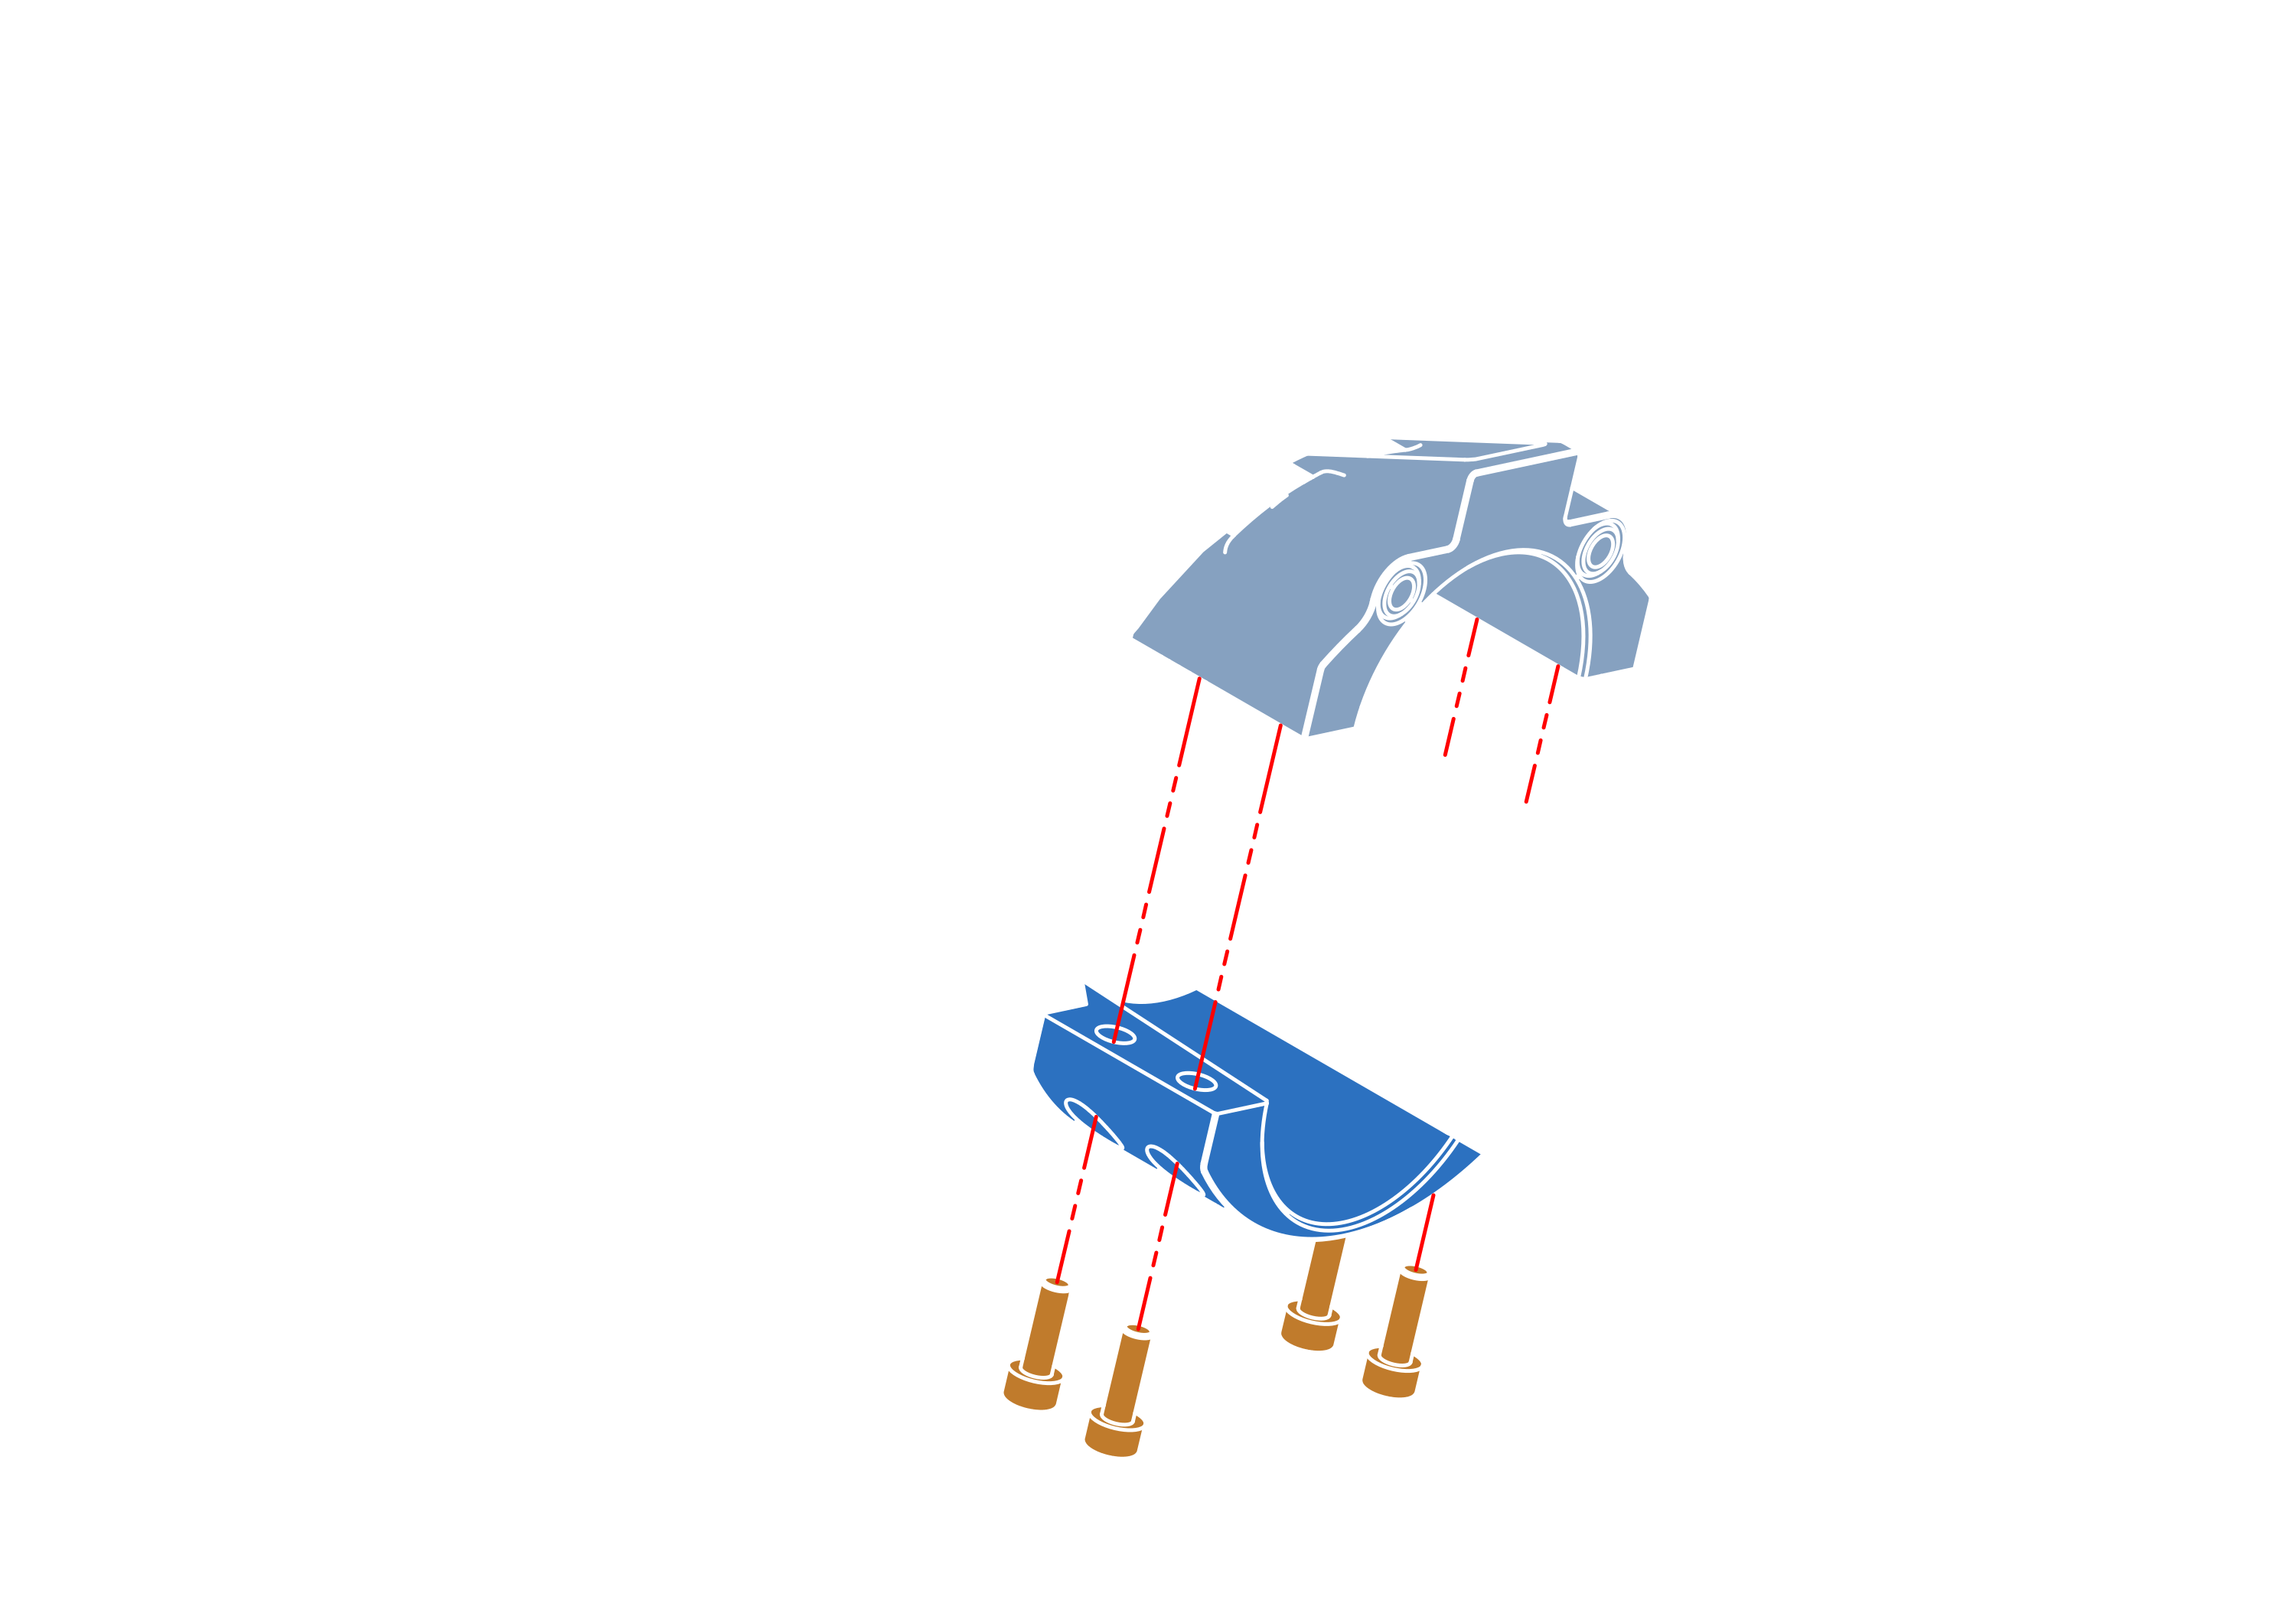
Step 7

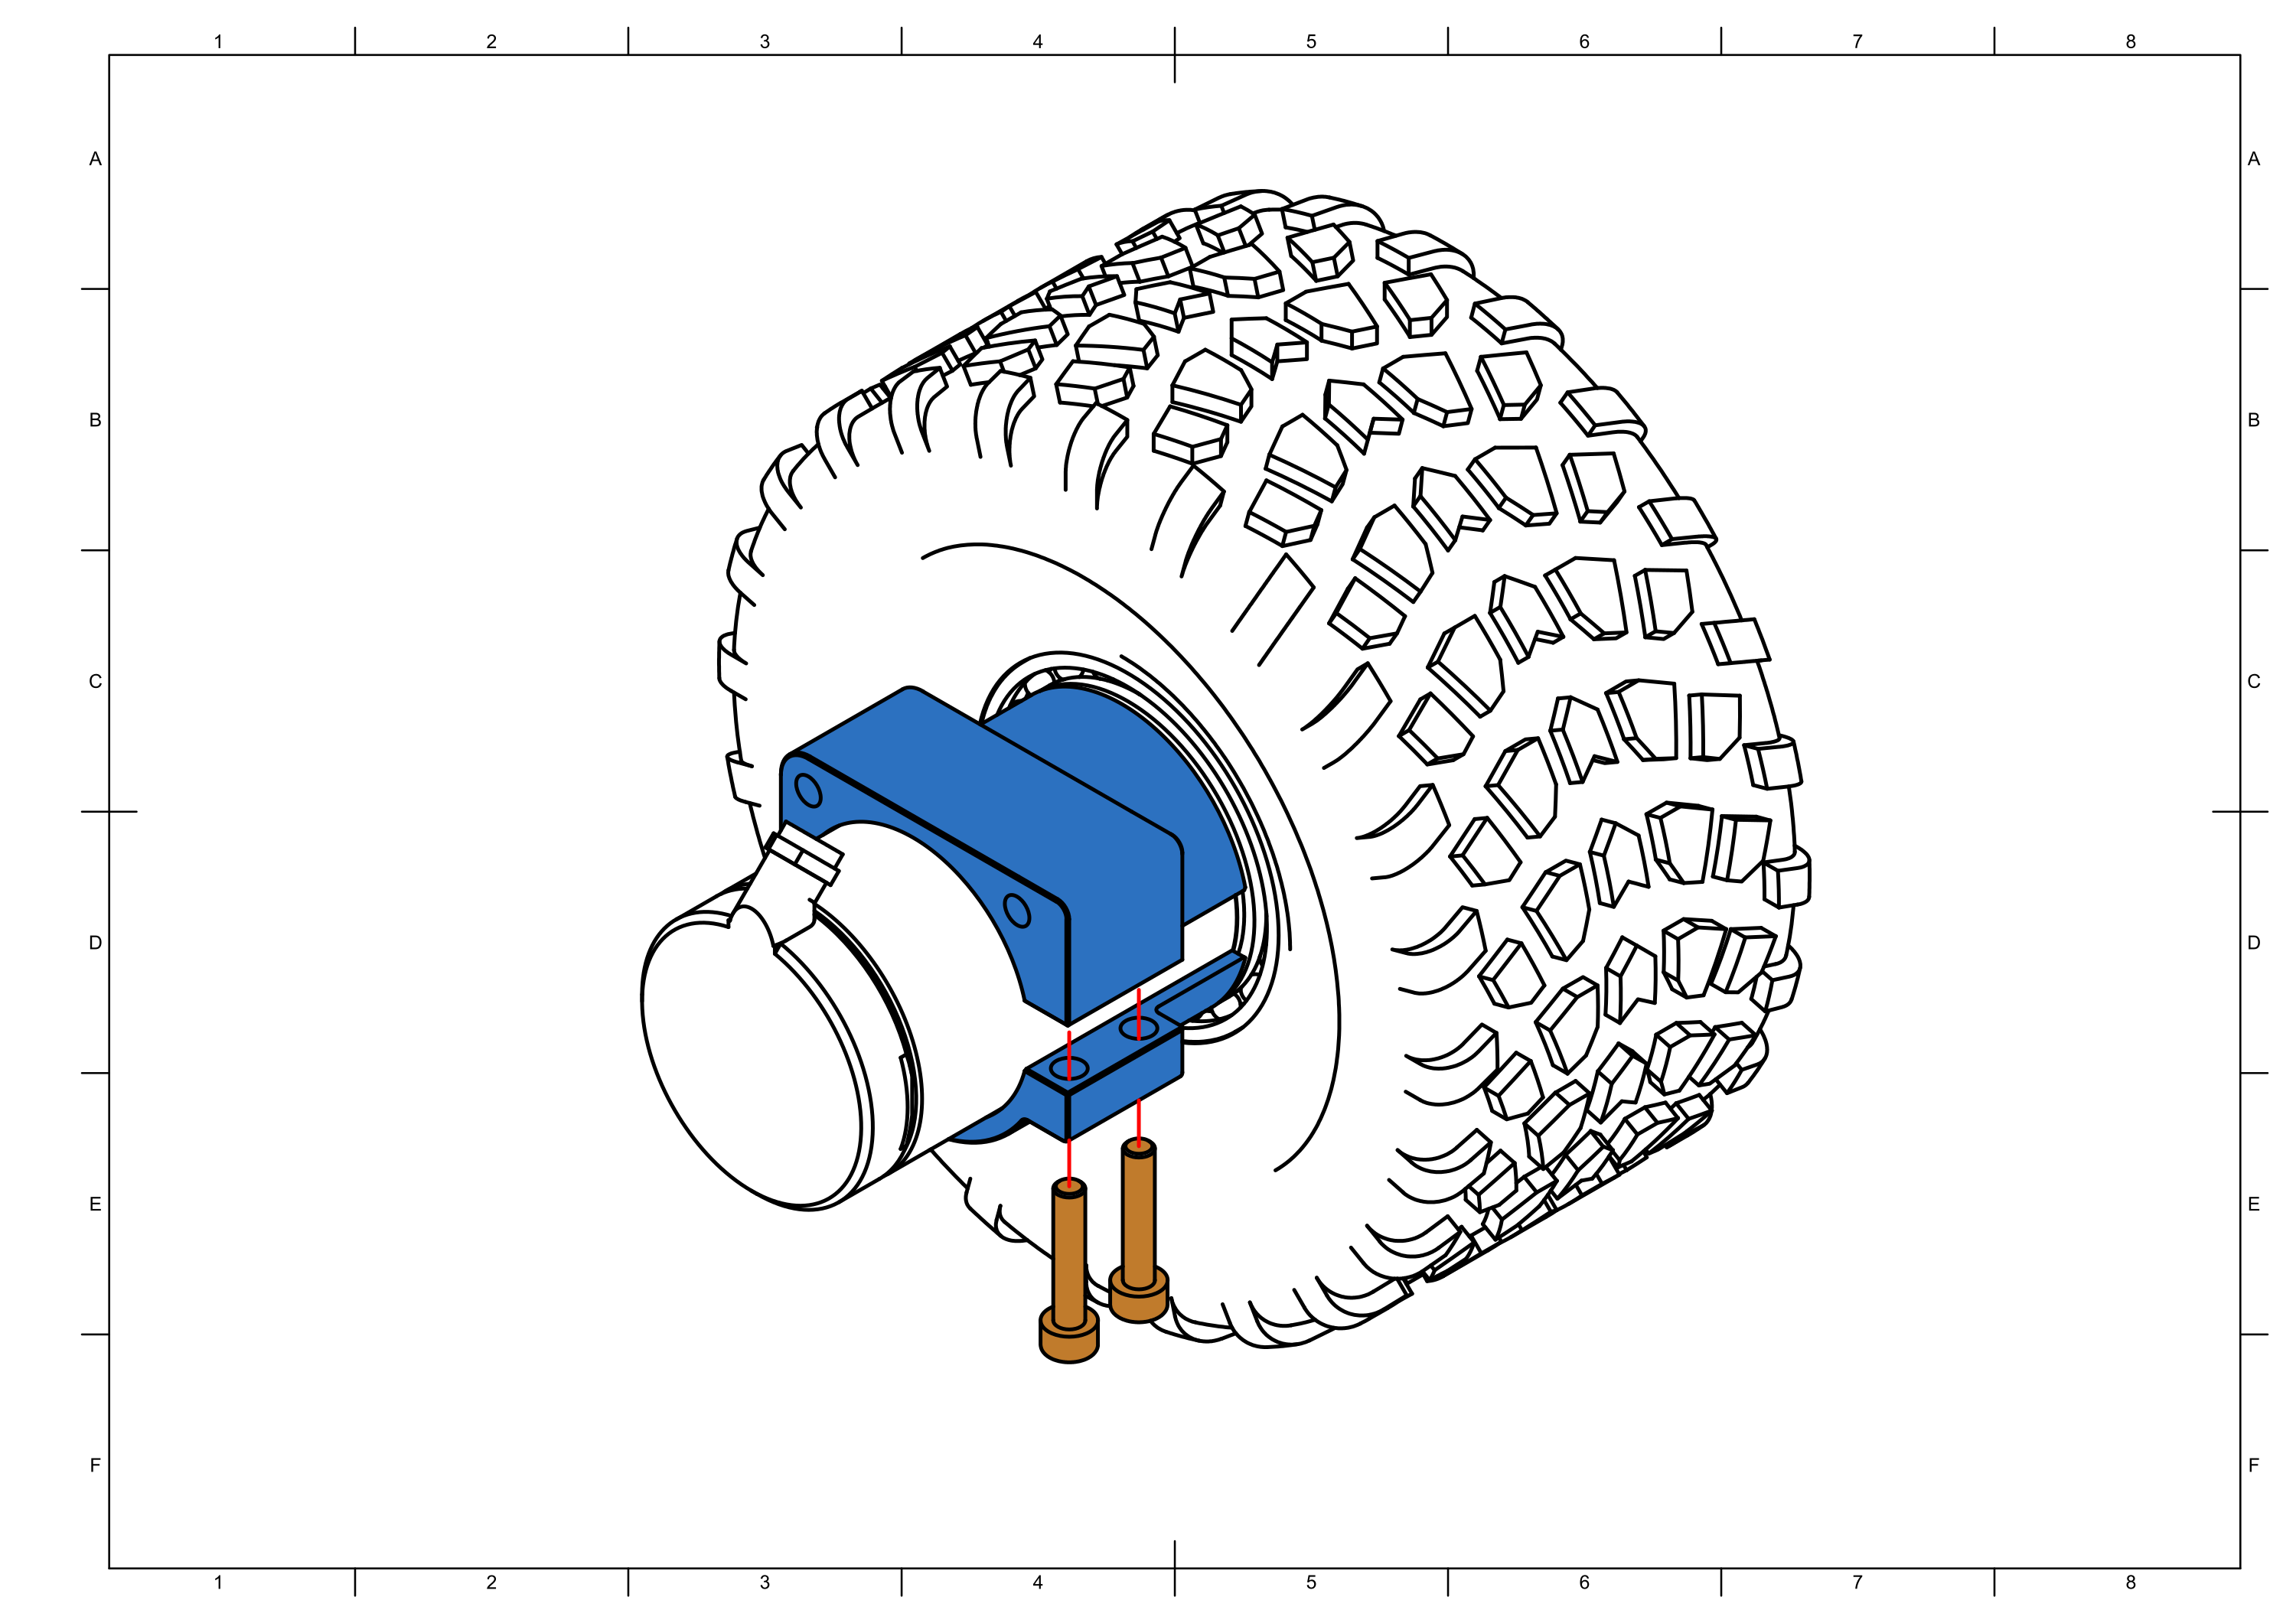
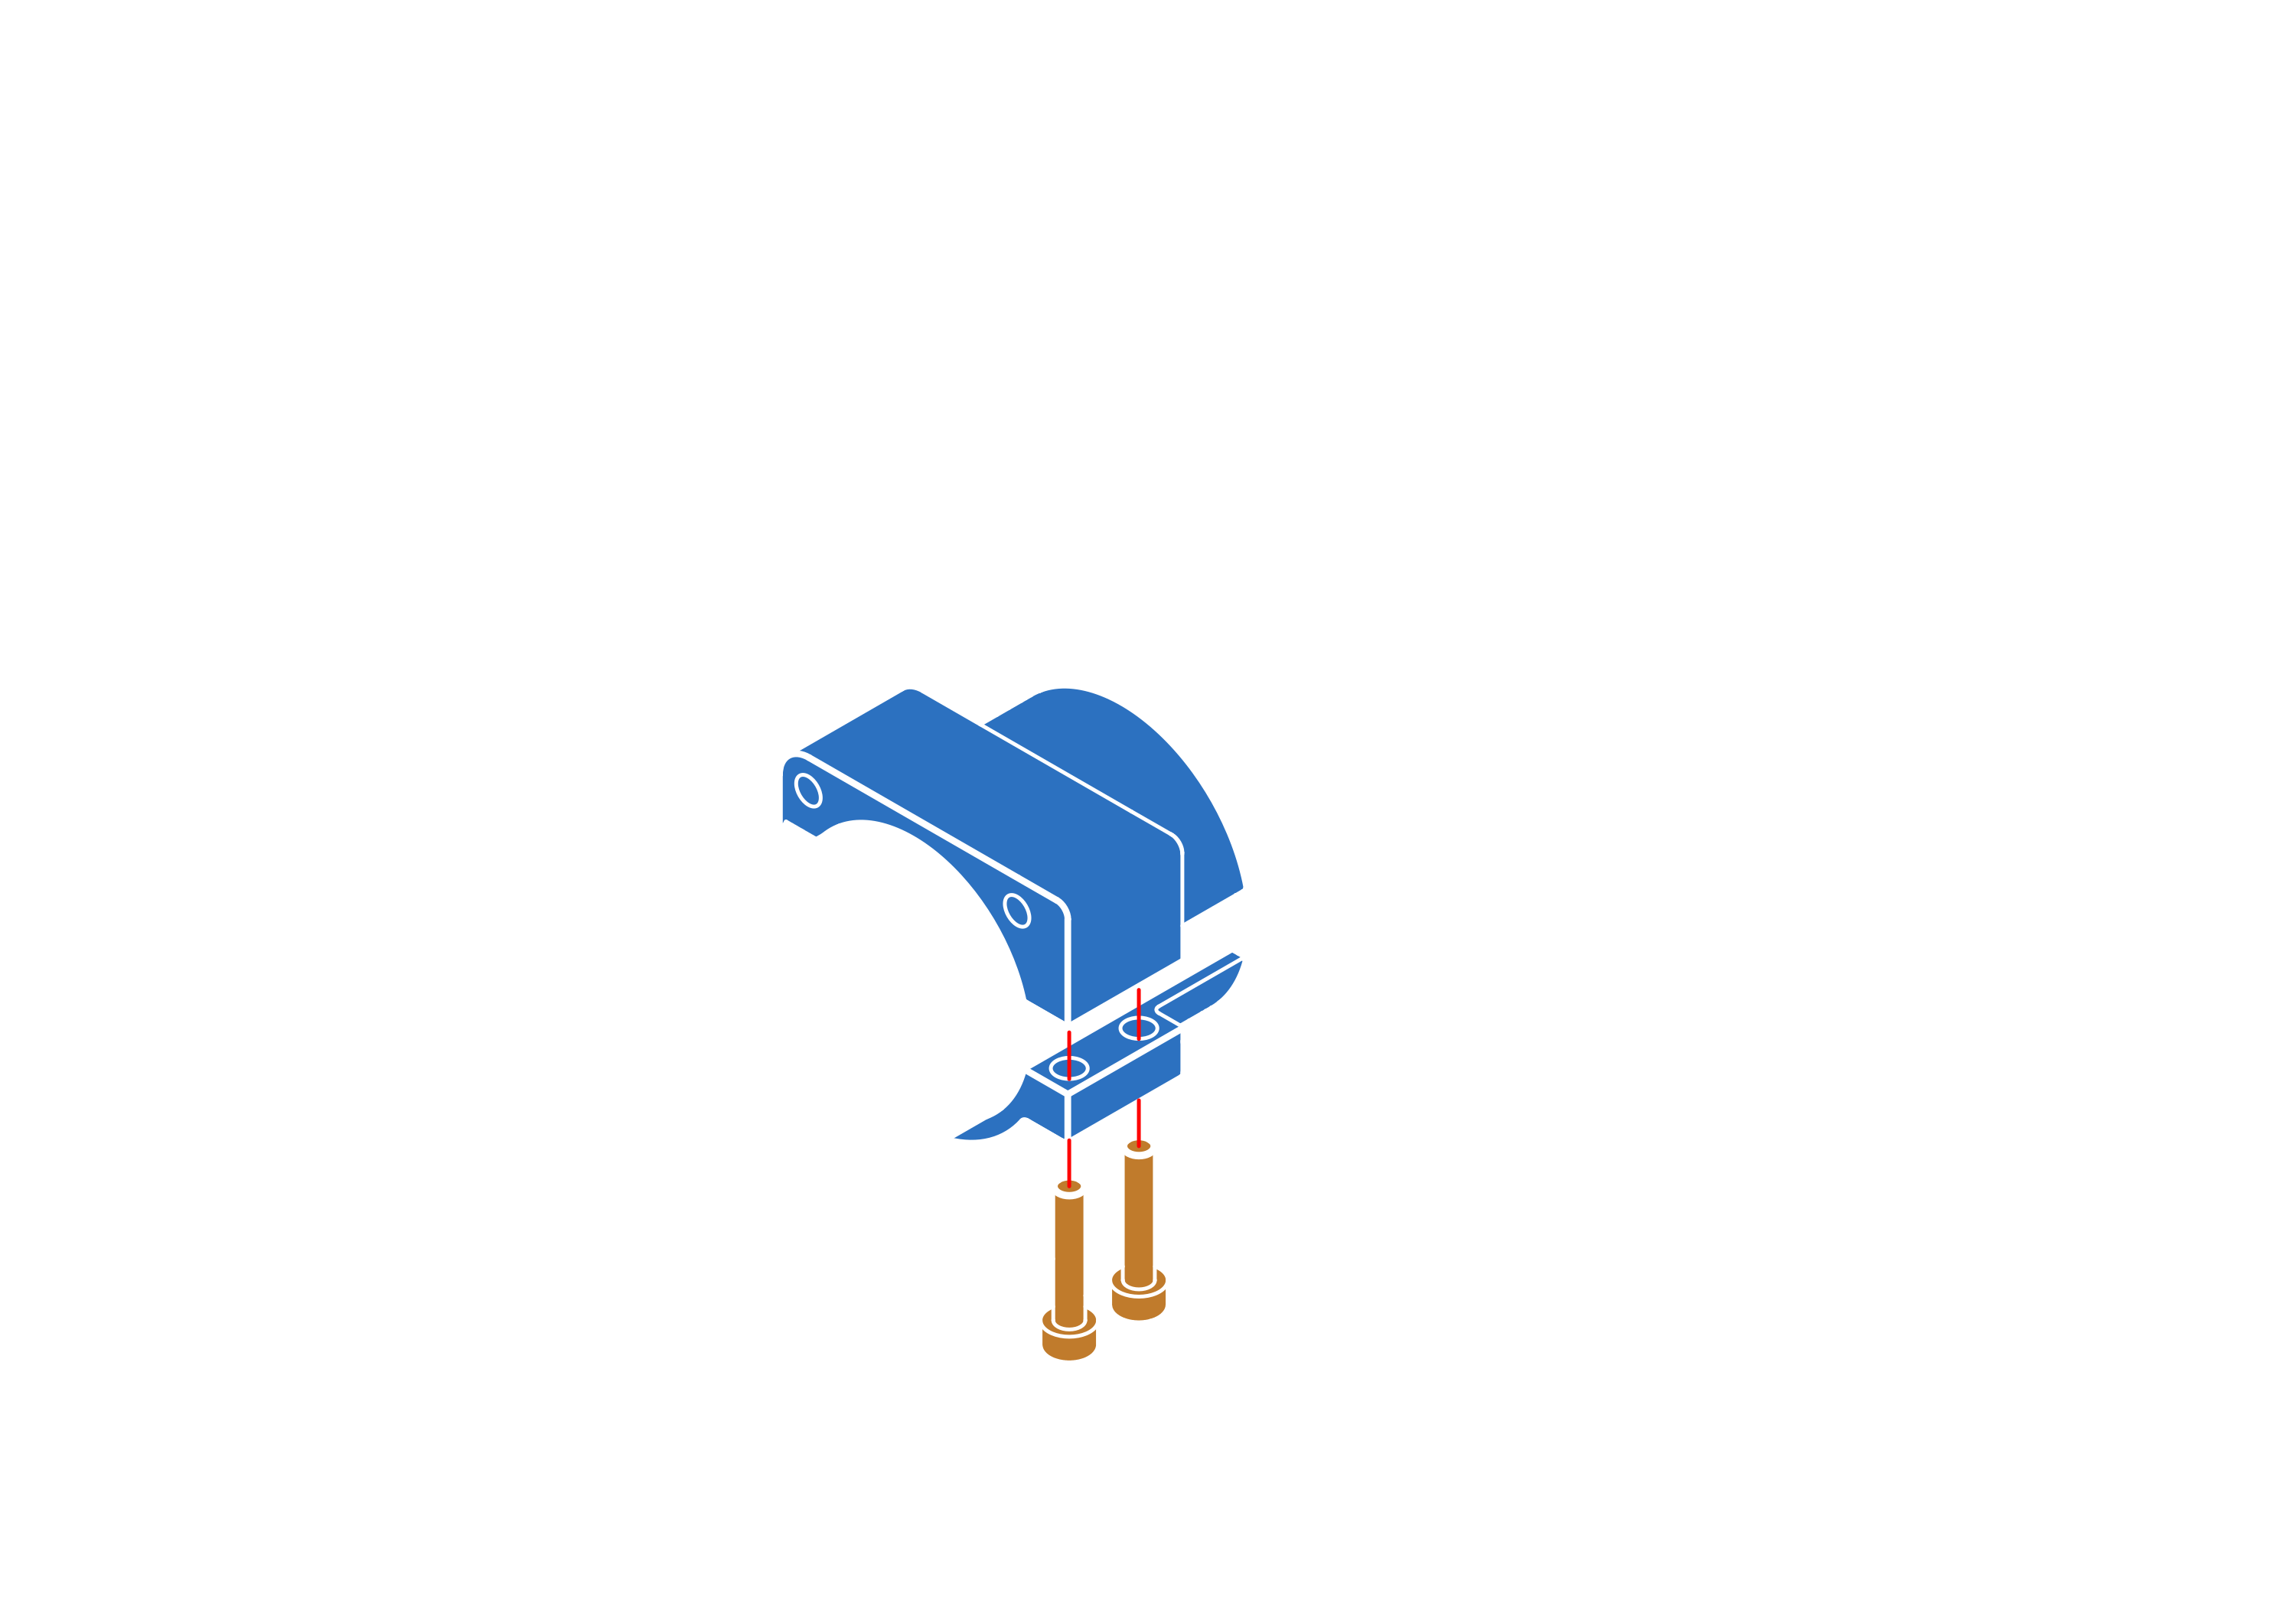
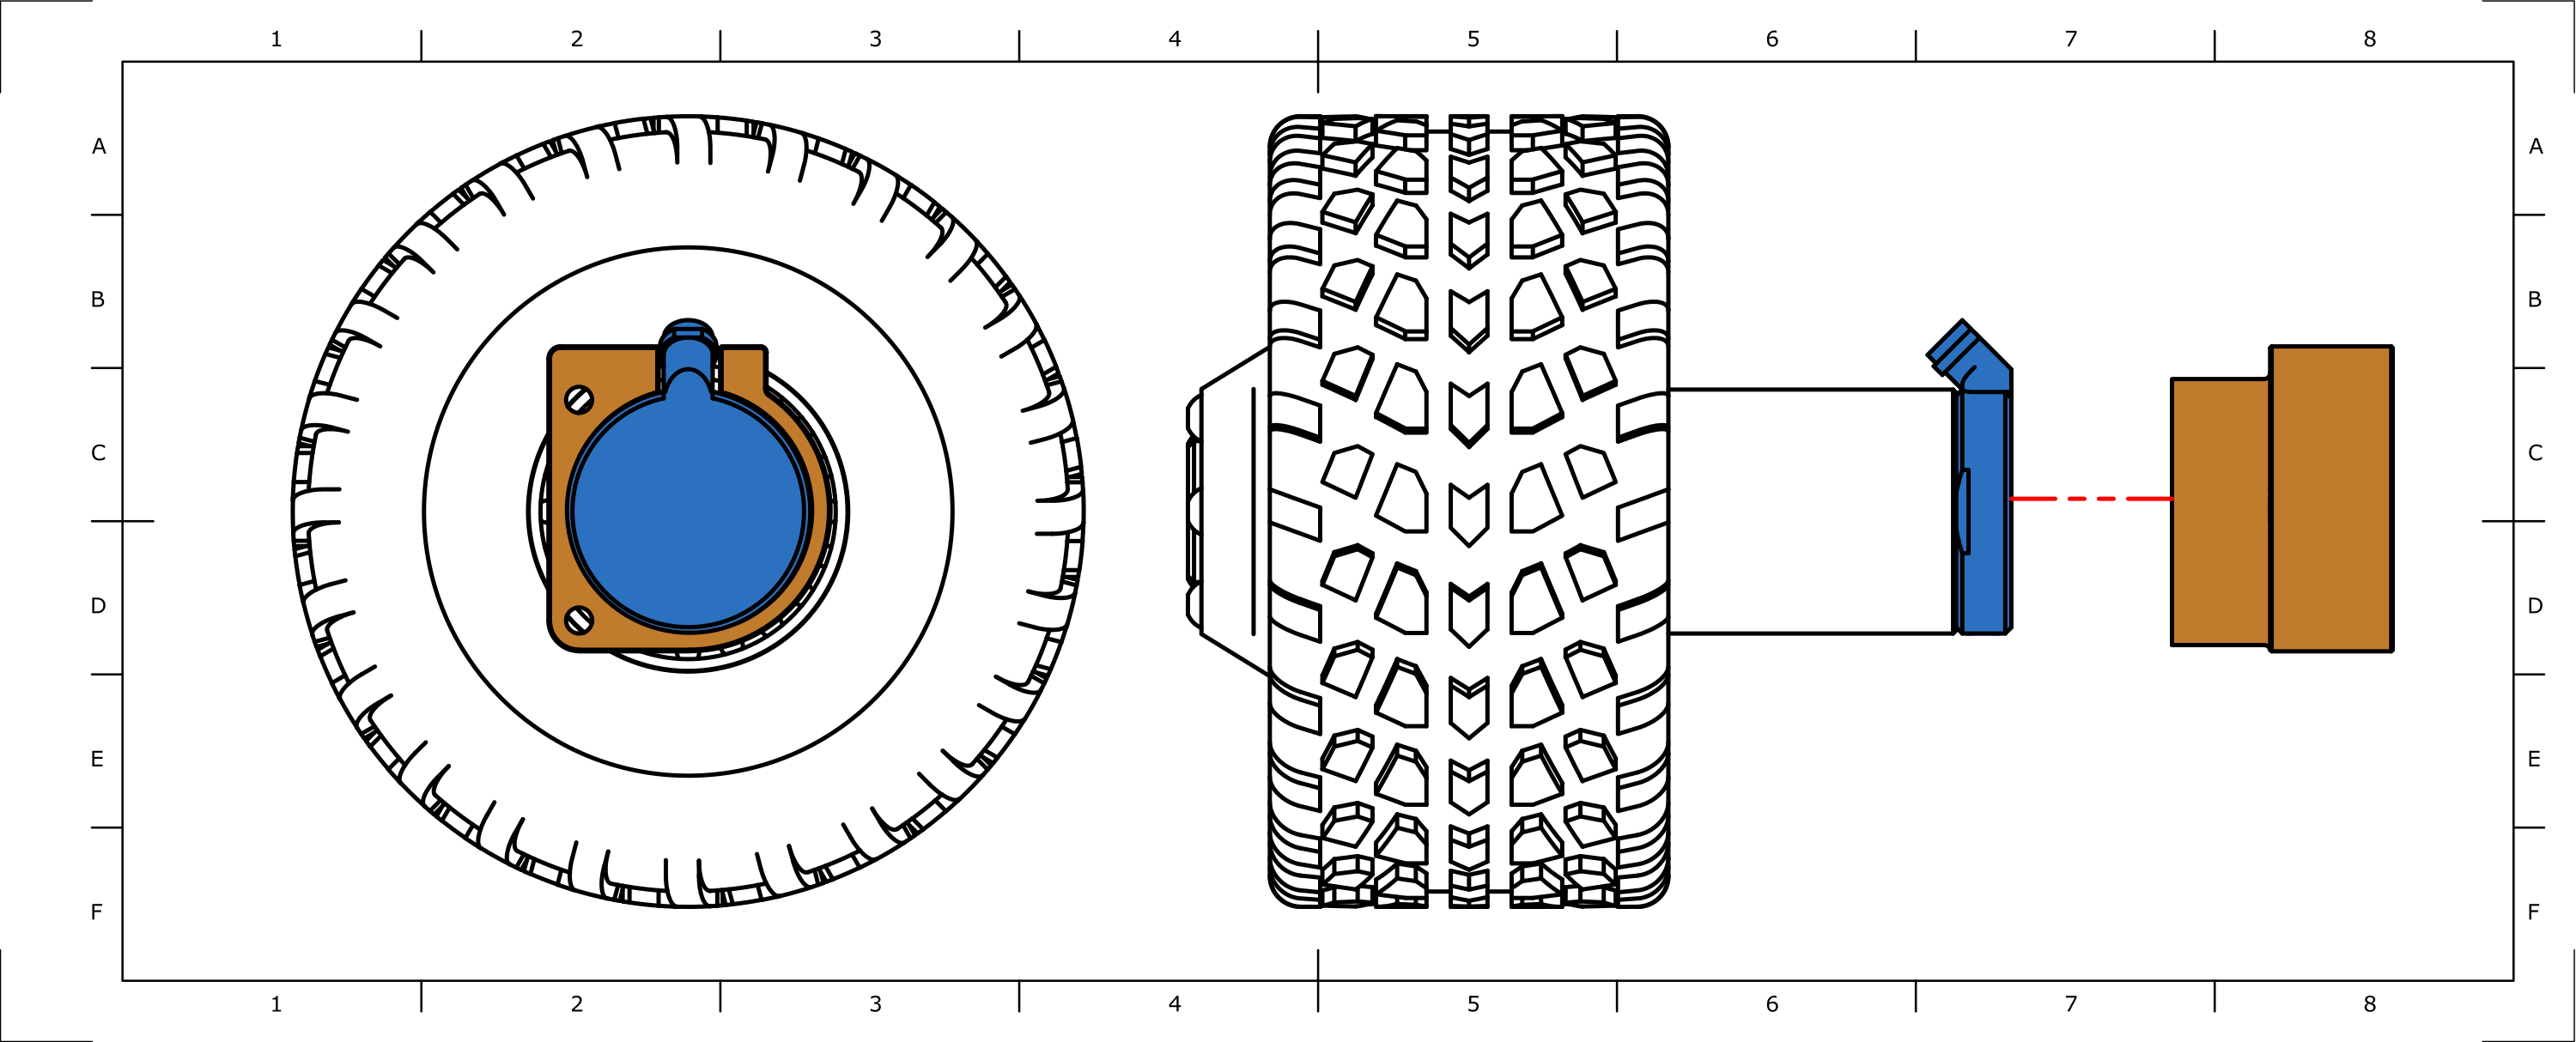
note
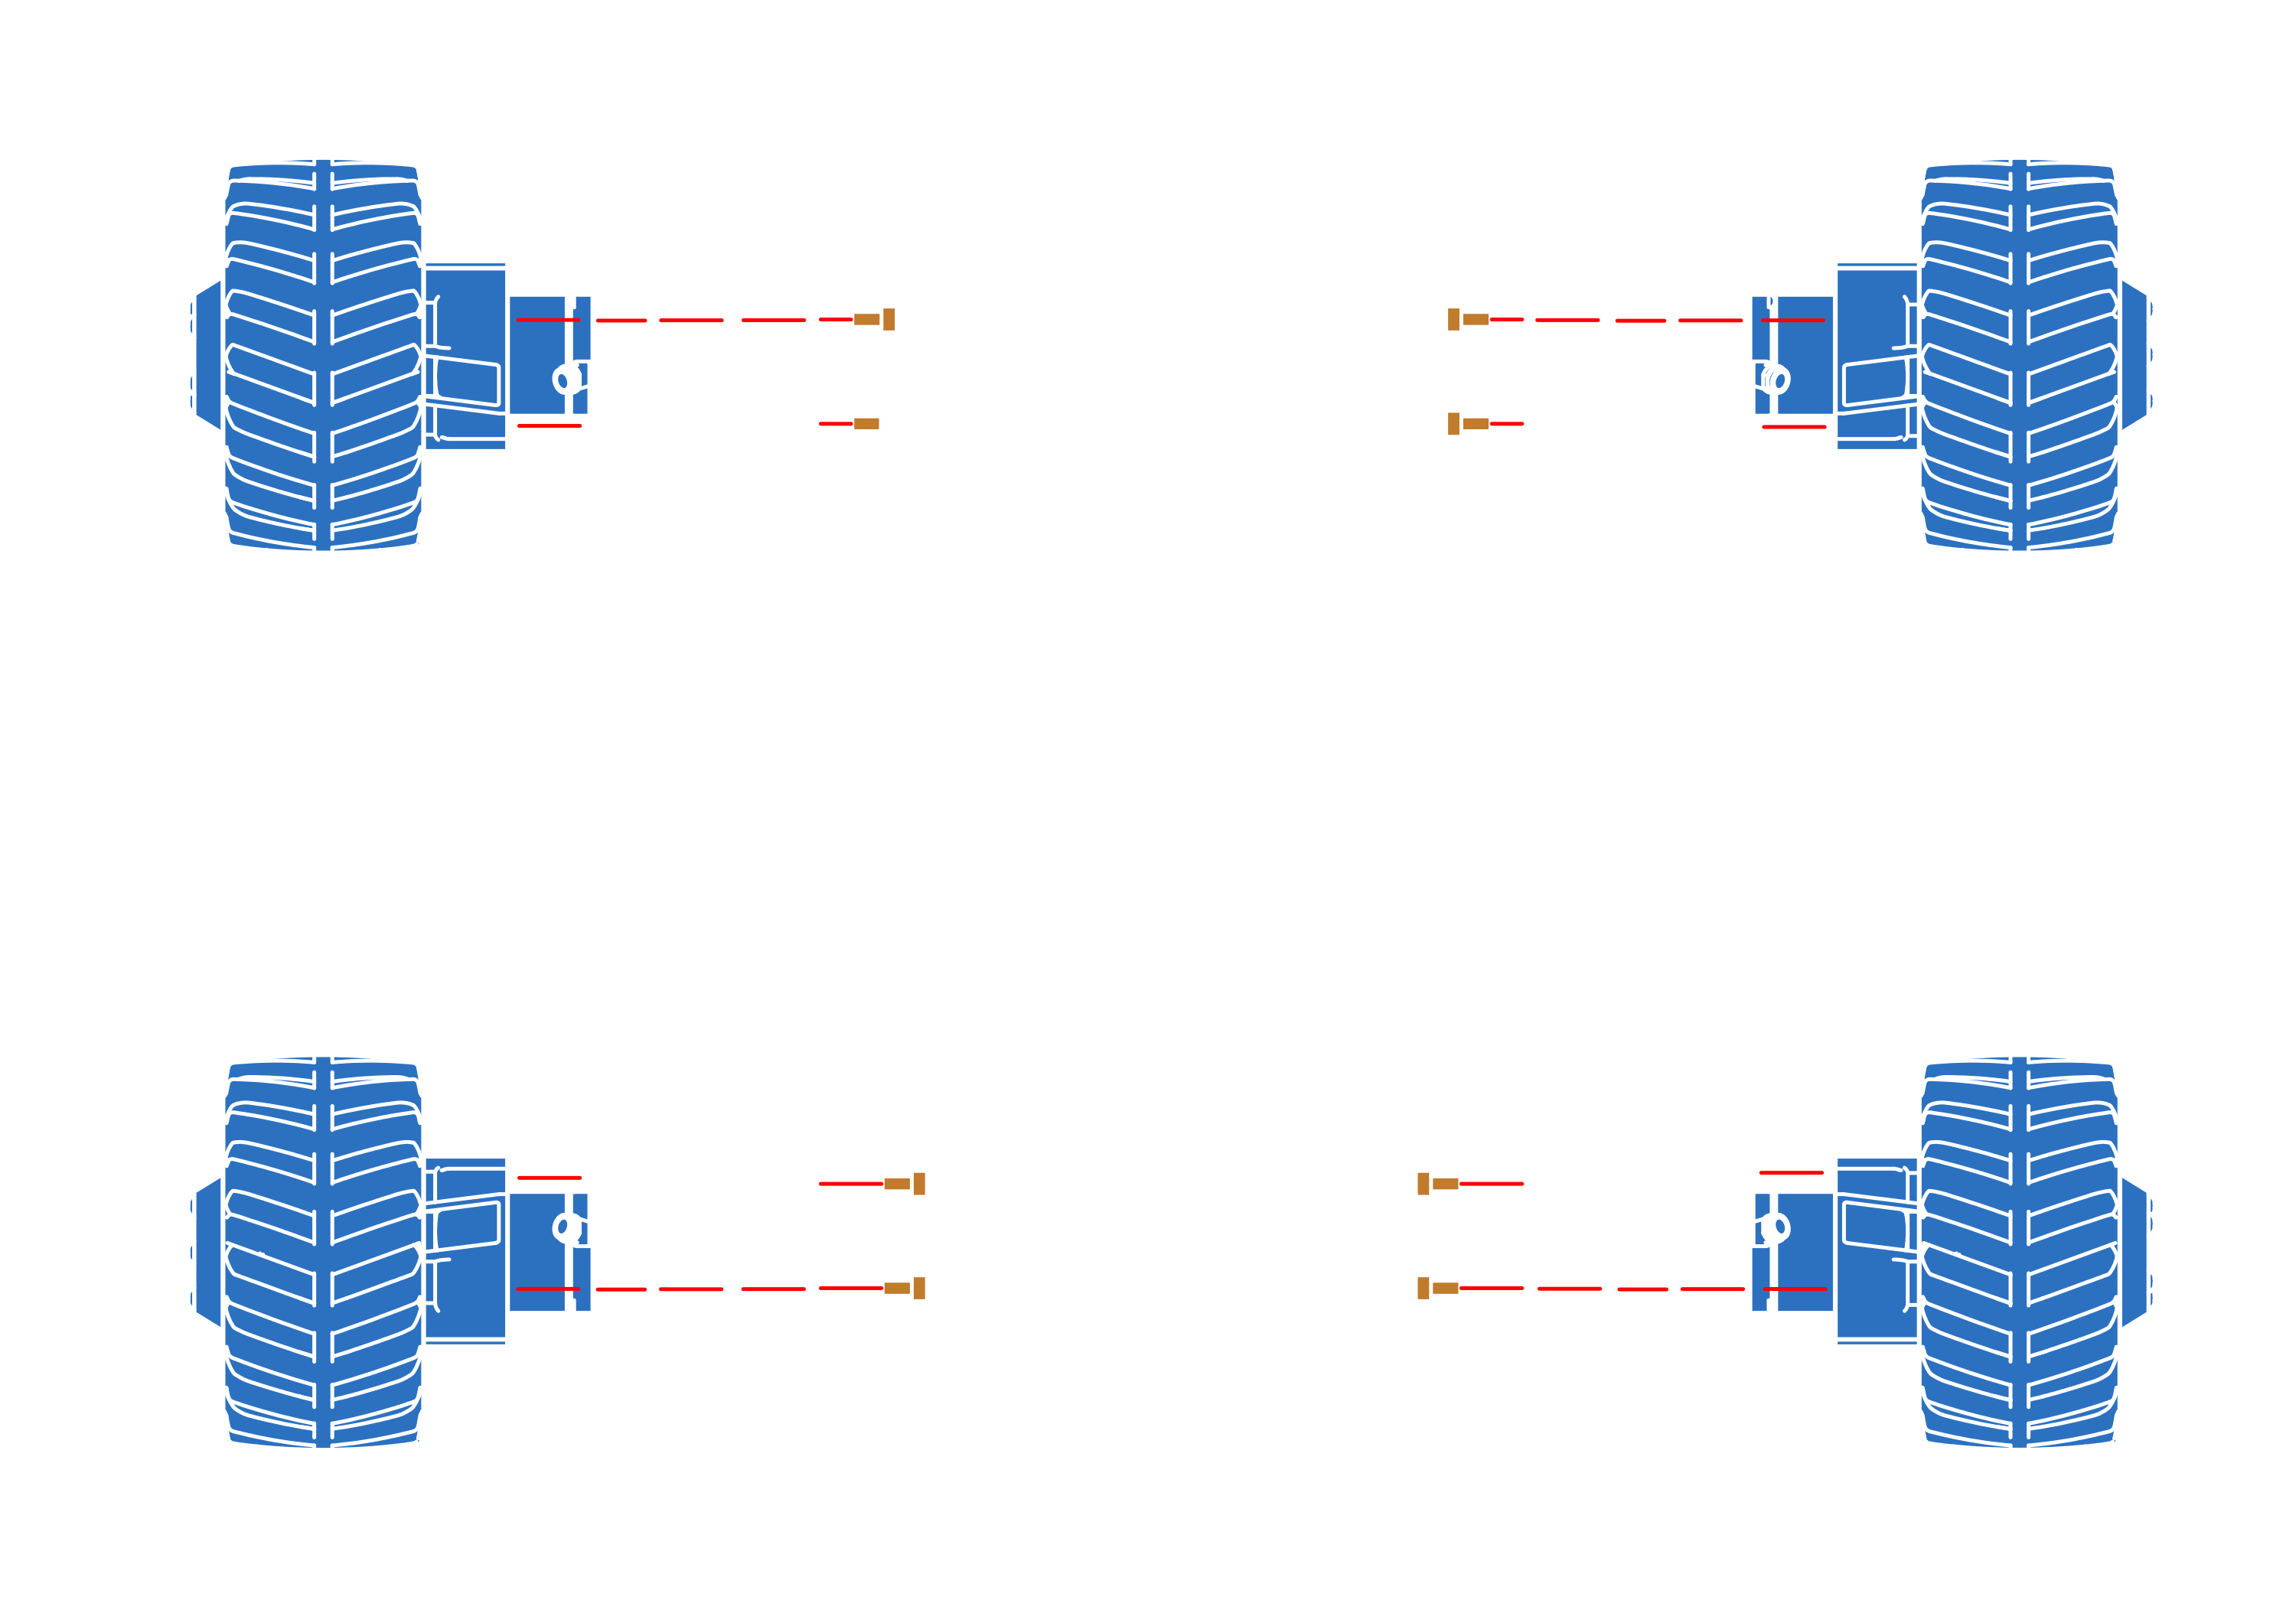
Repeat steps 6 and 7 for all 4 wheels.
Step 8

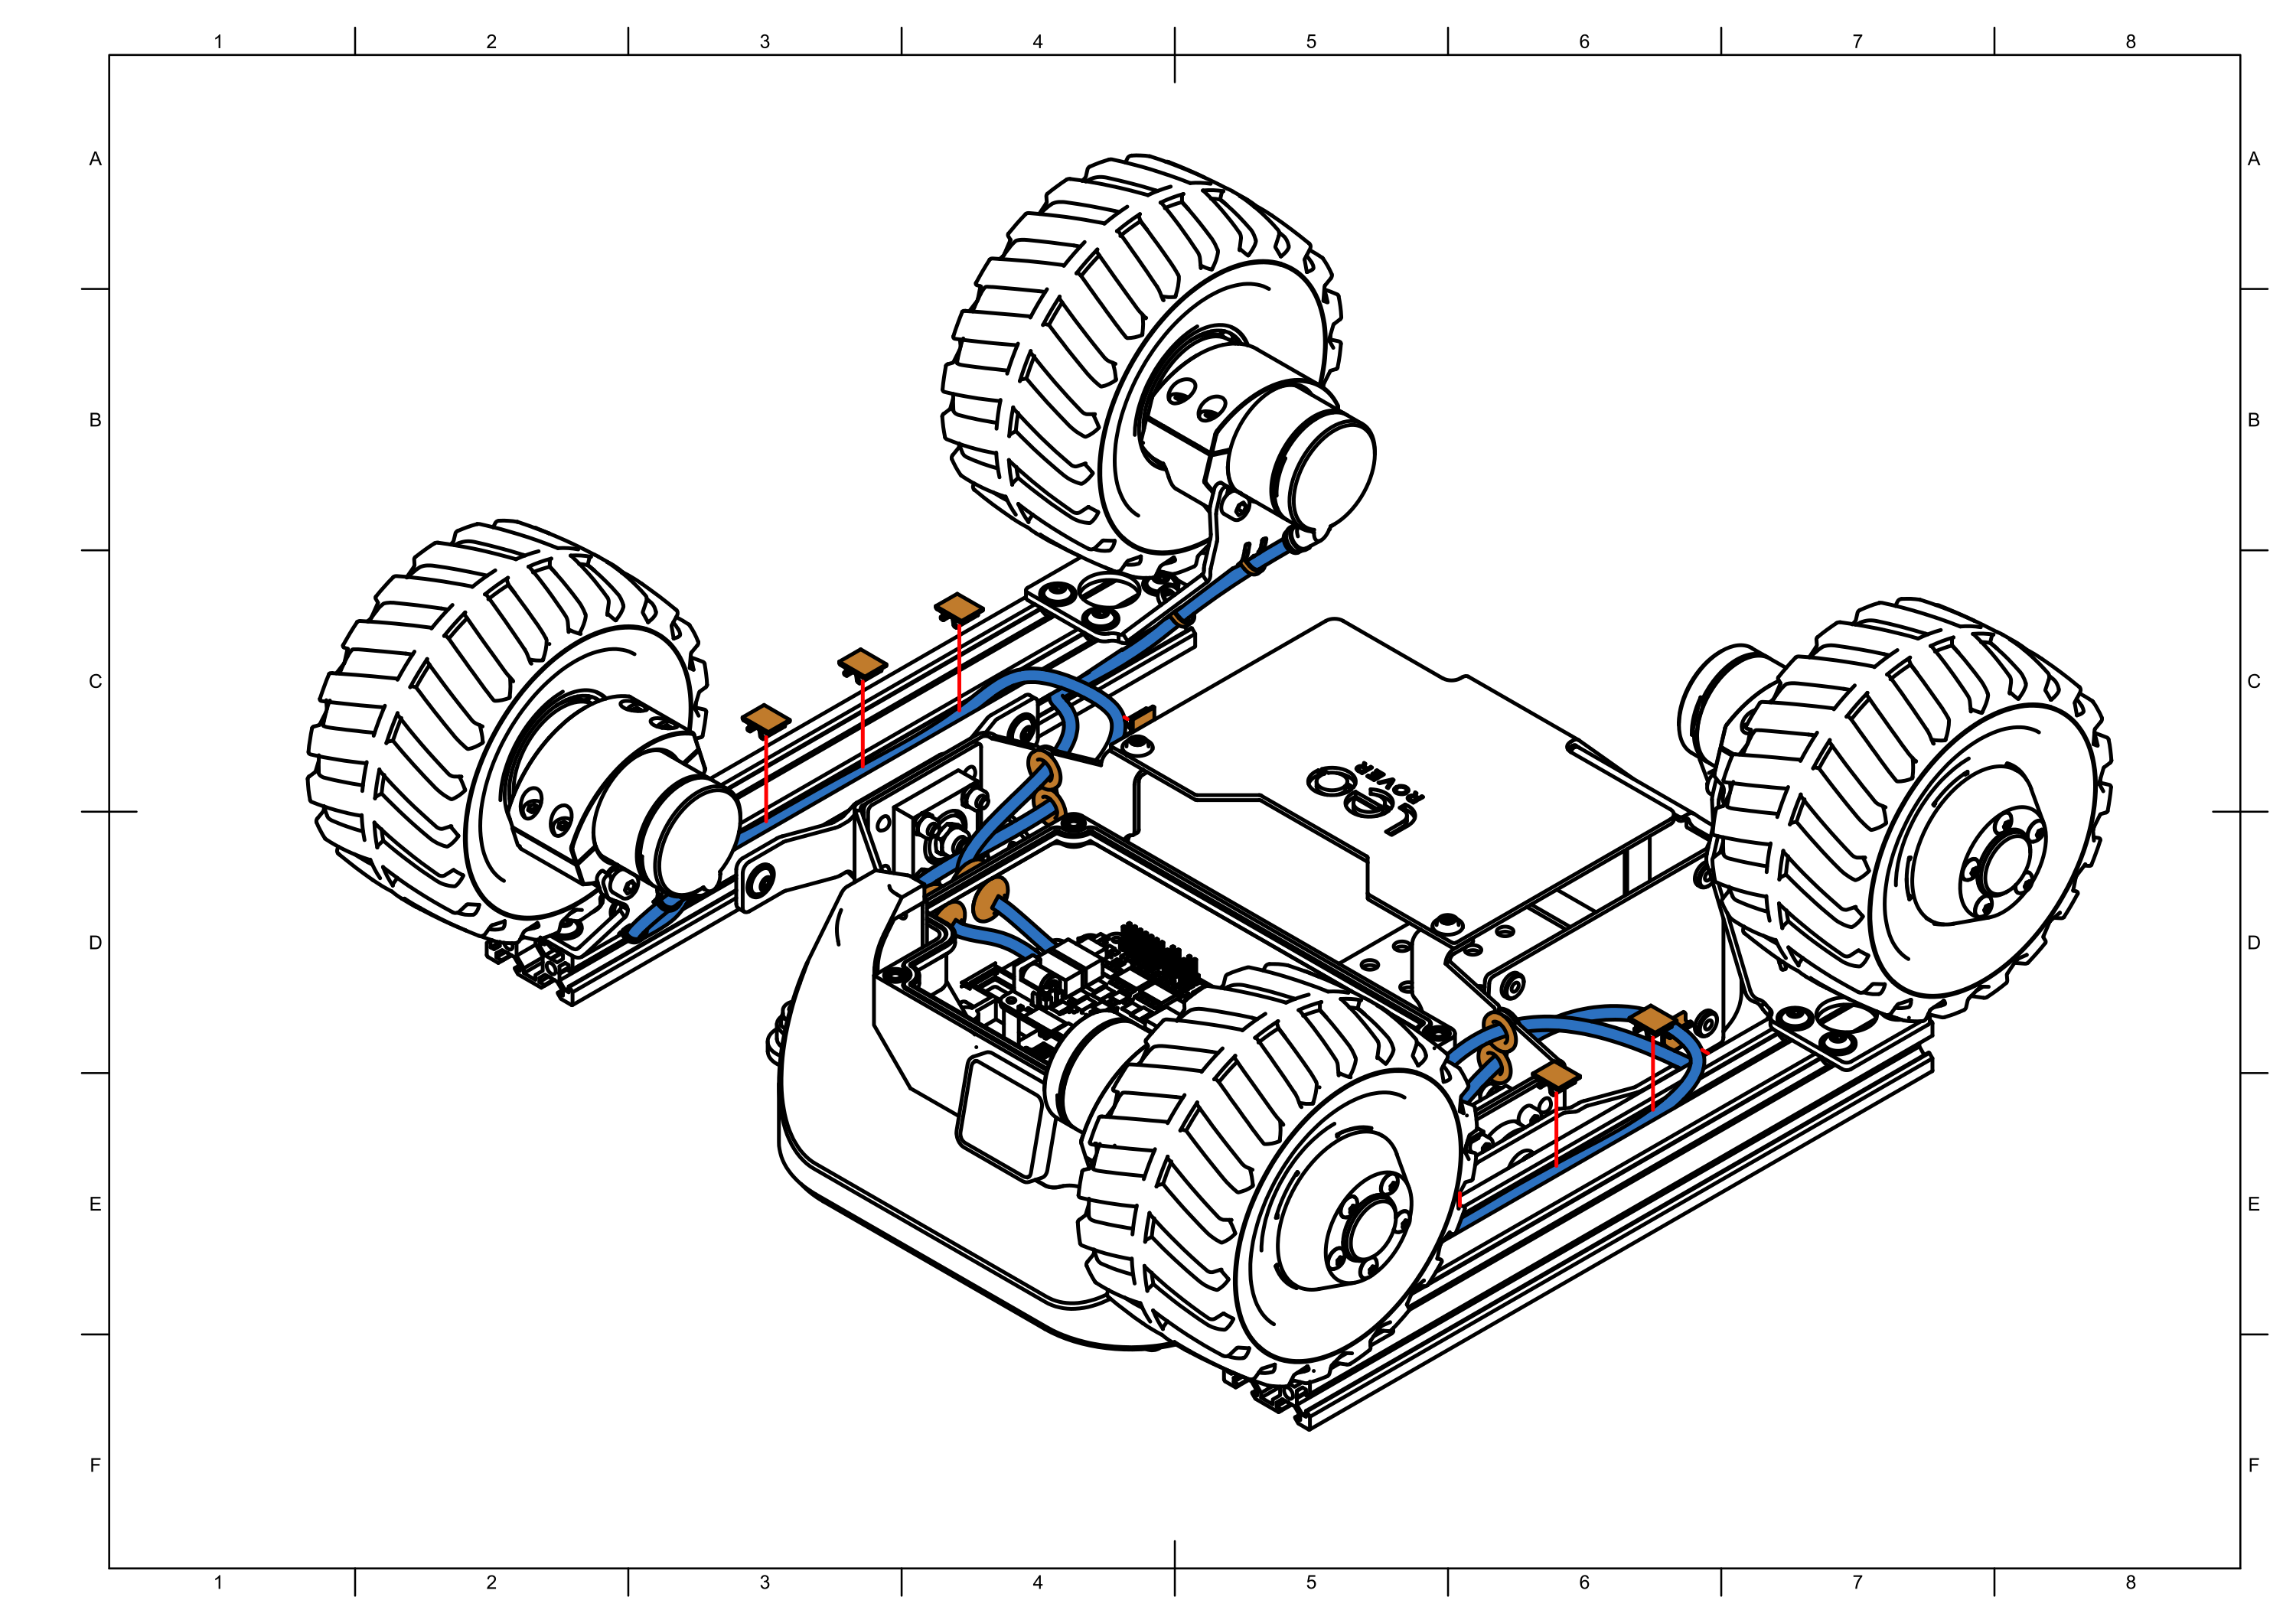
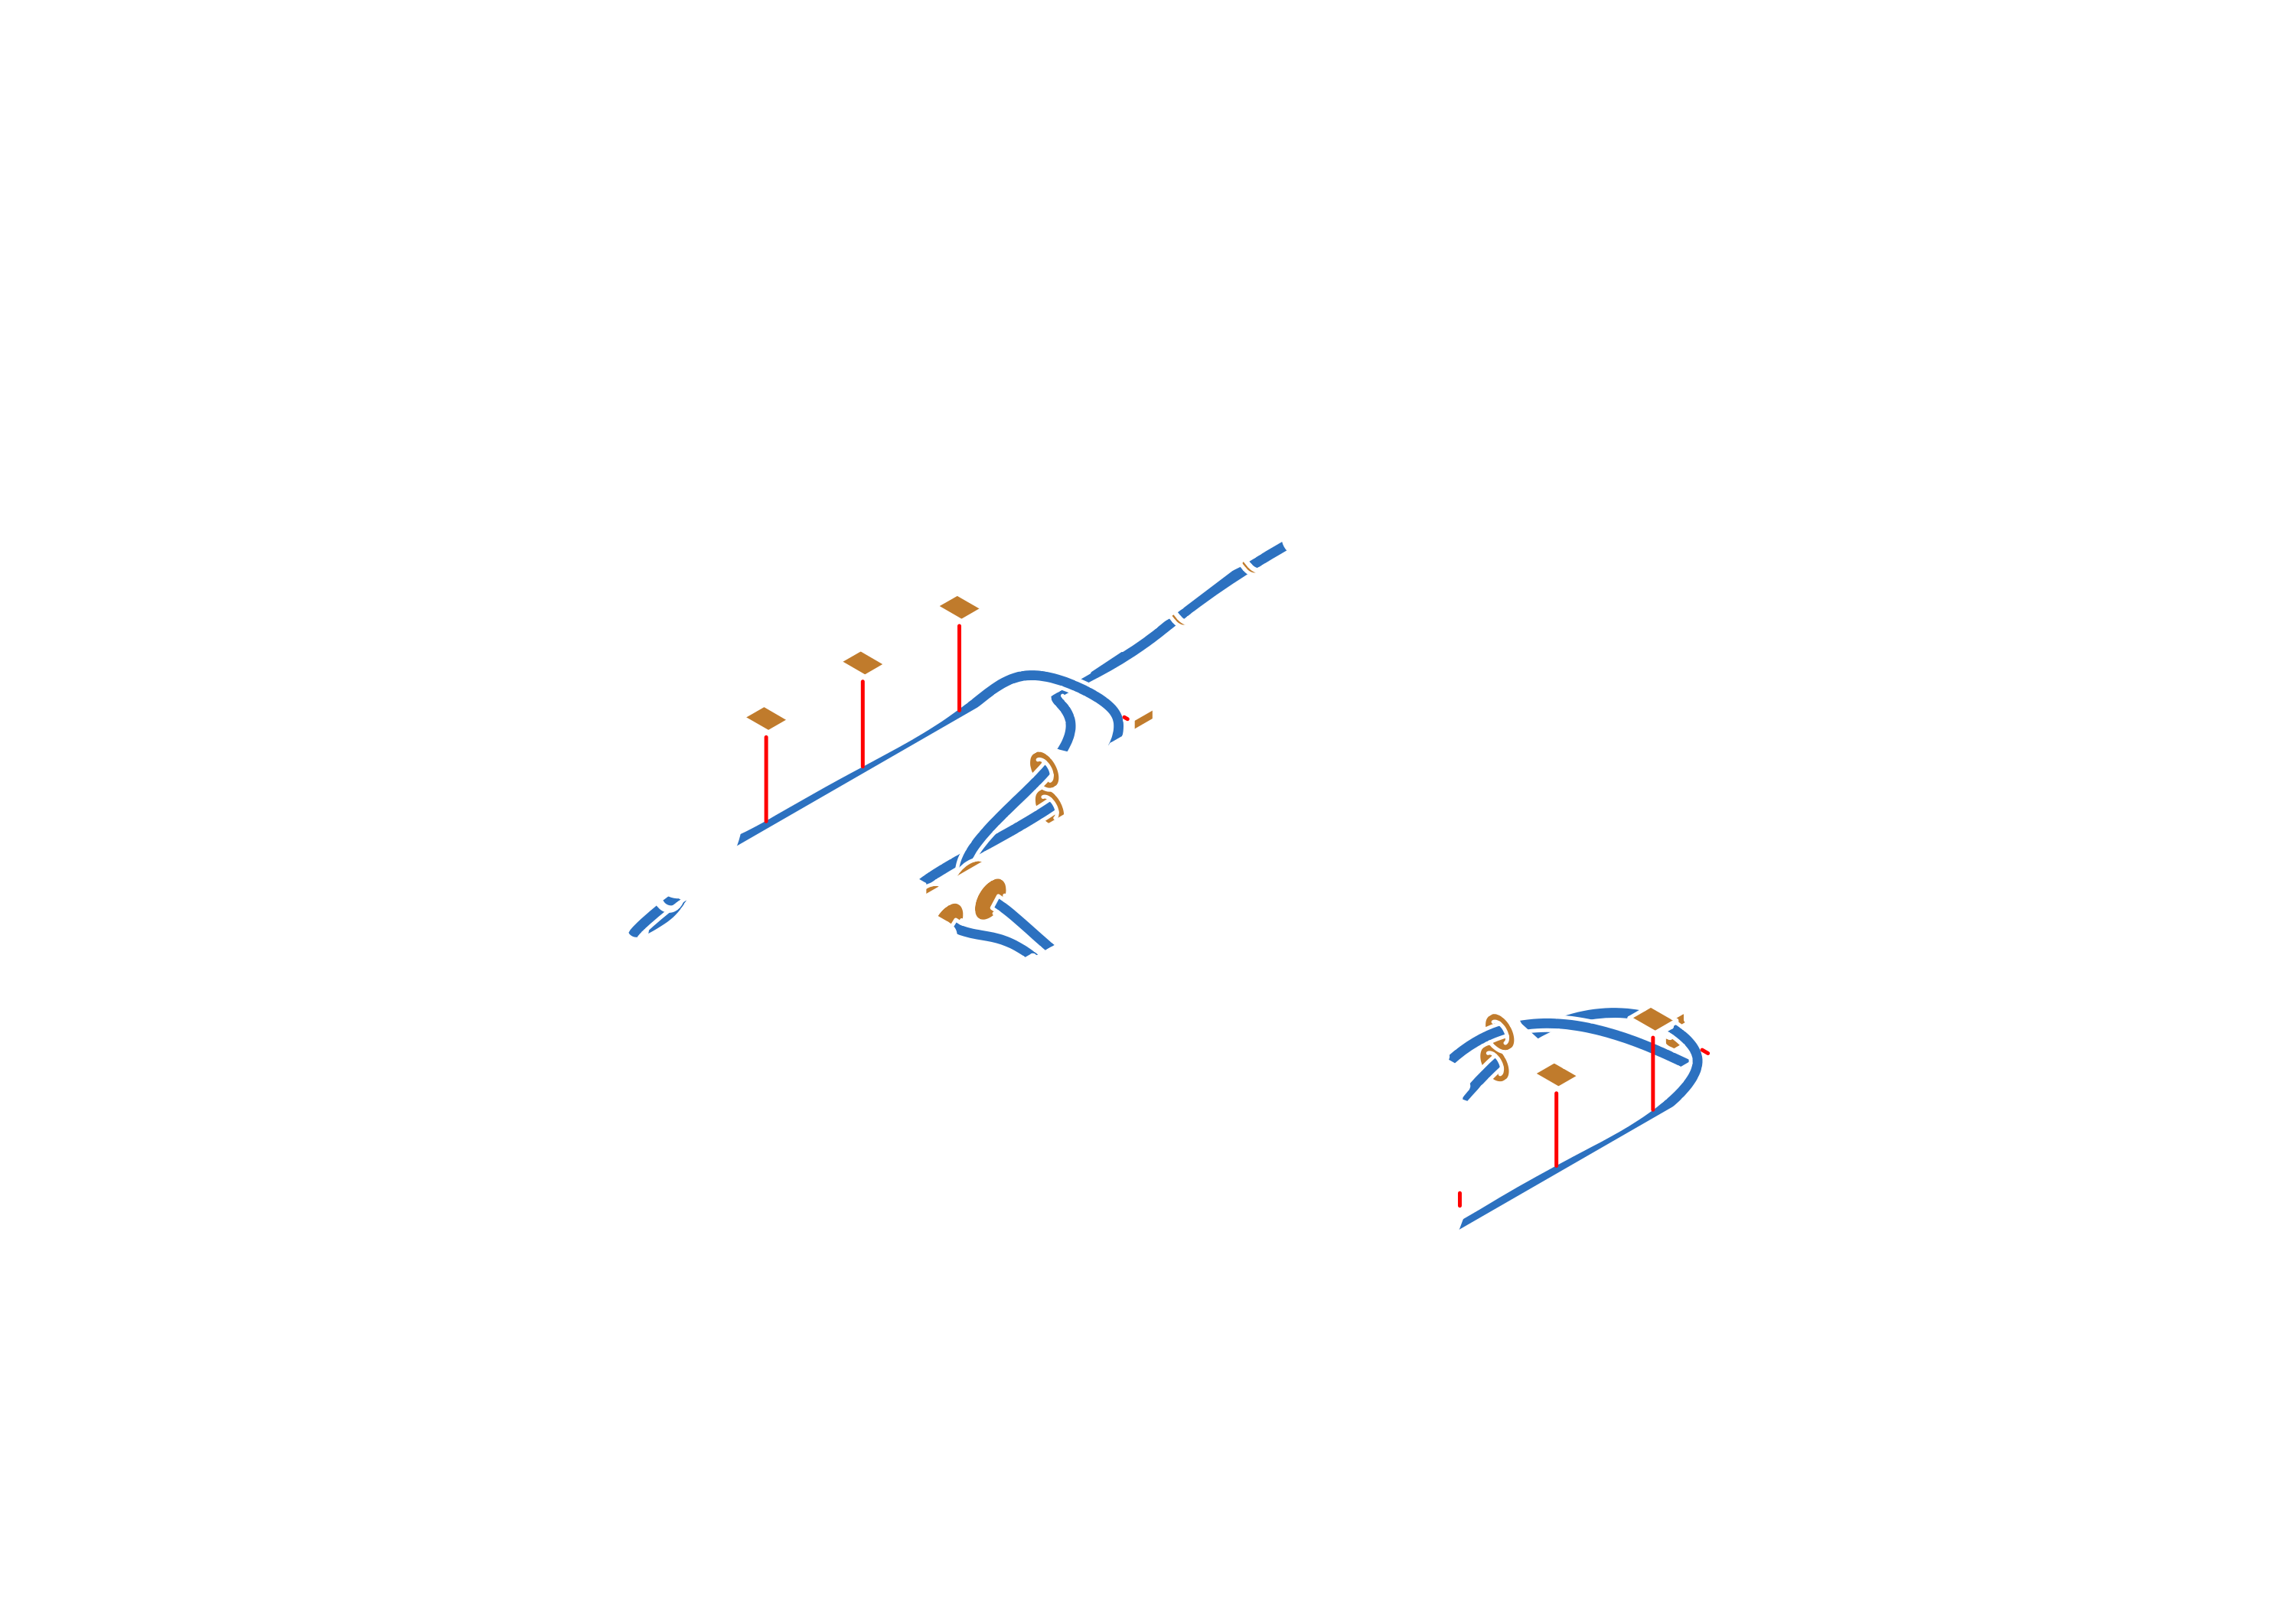
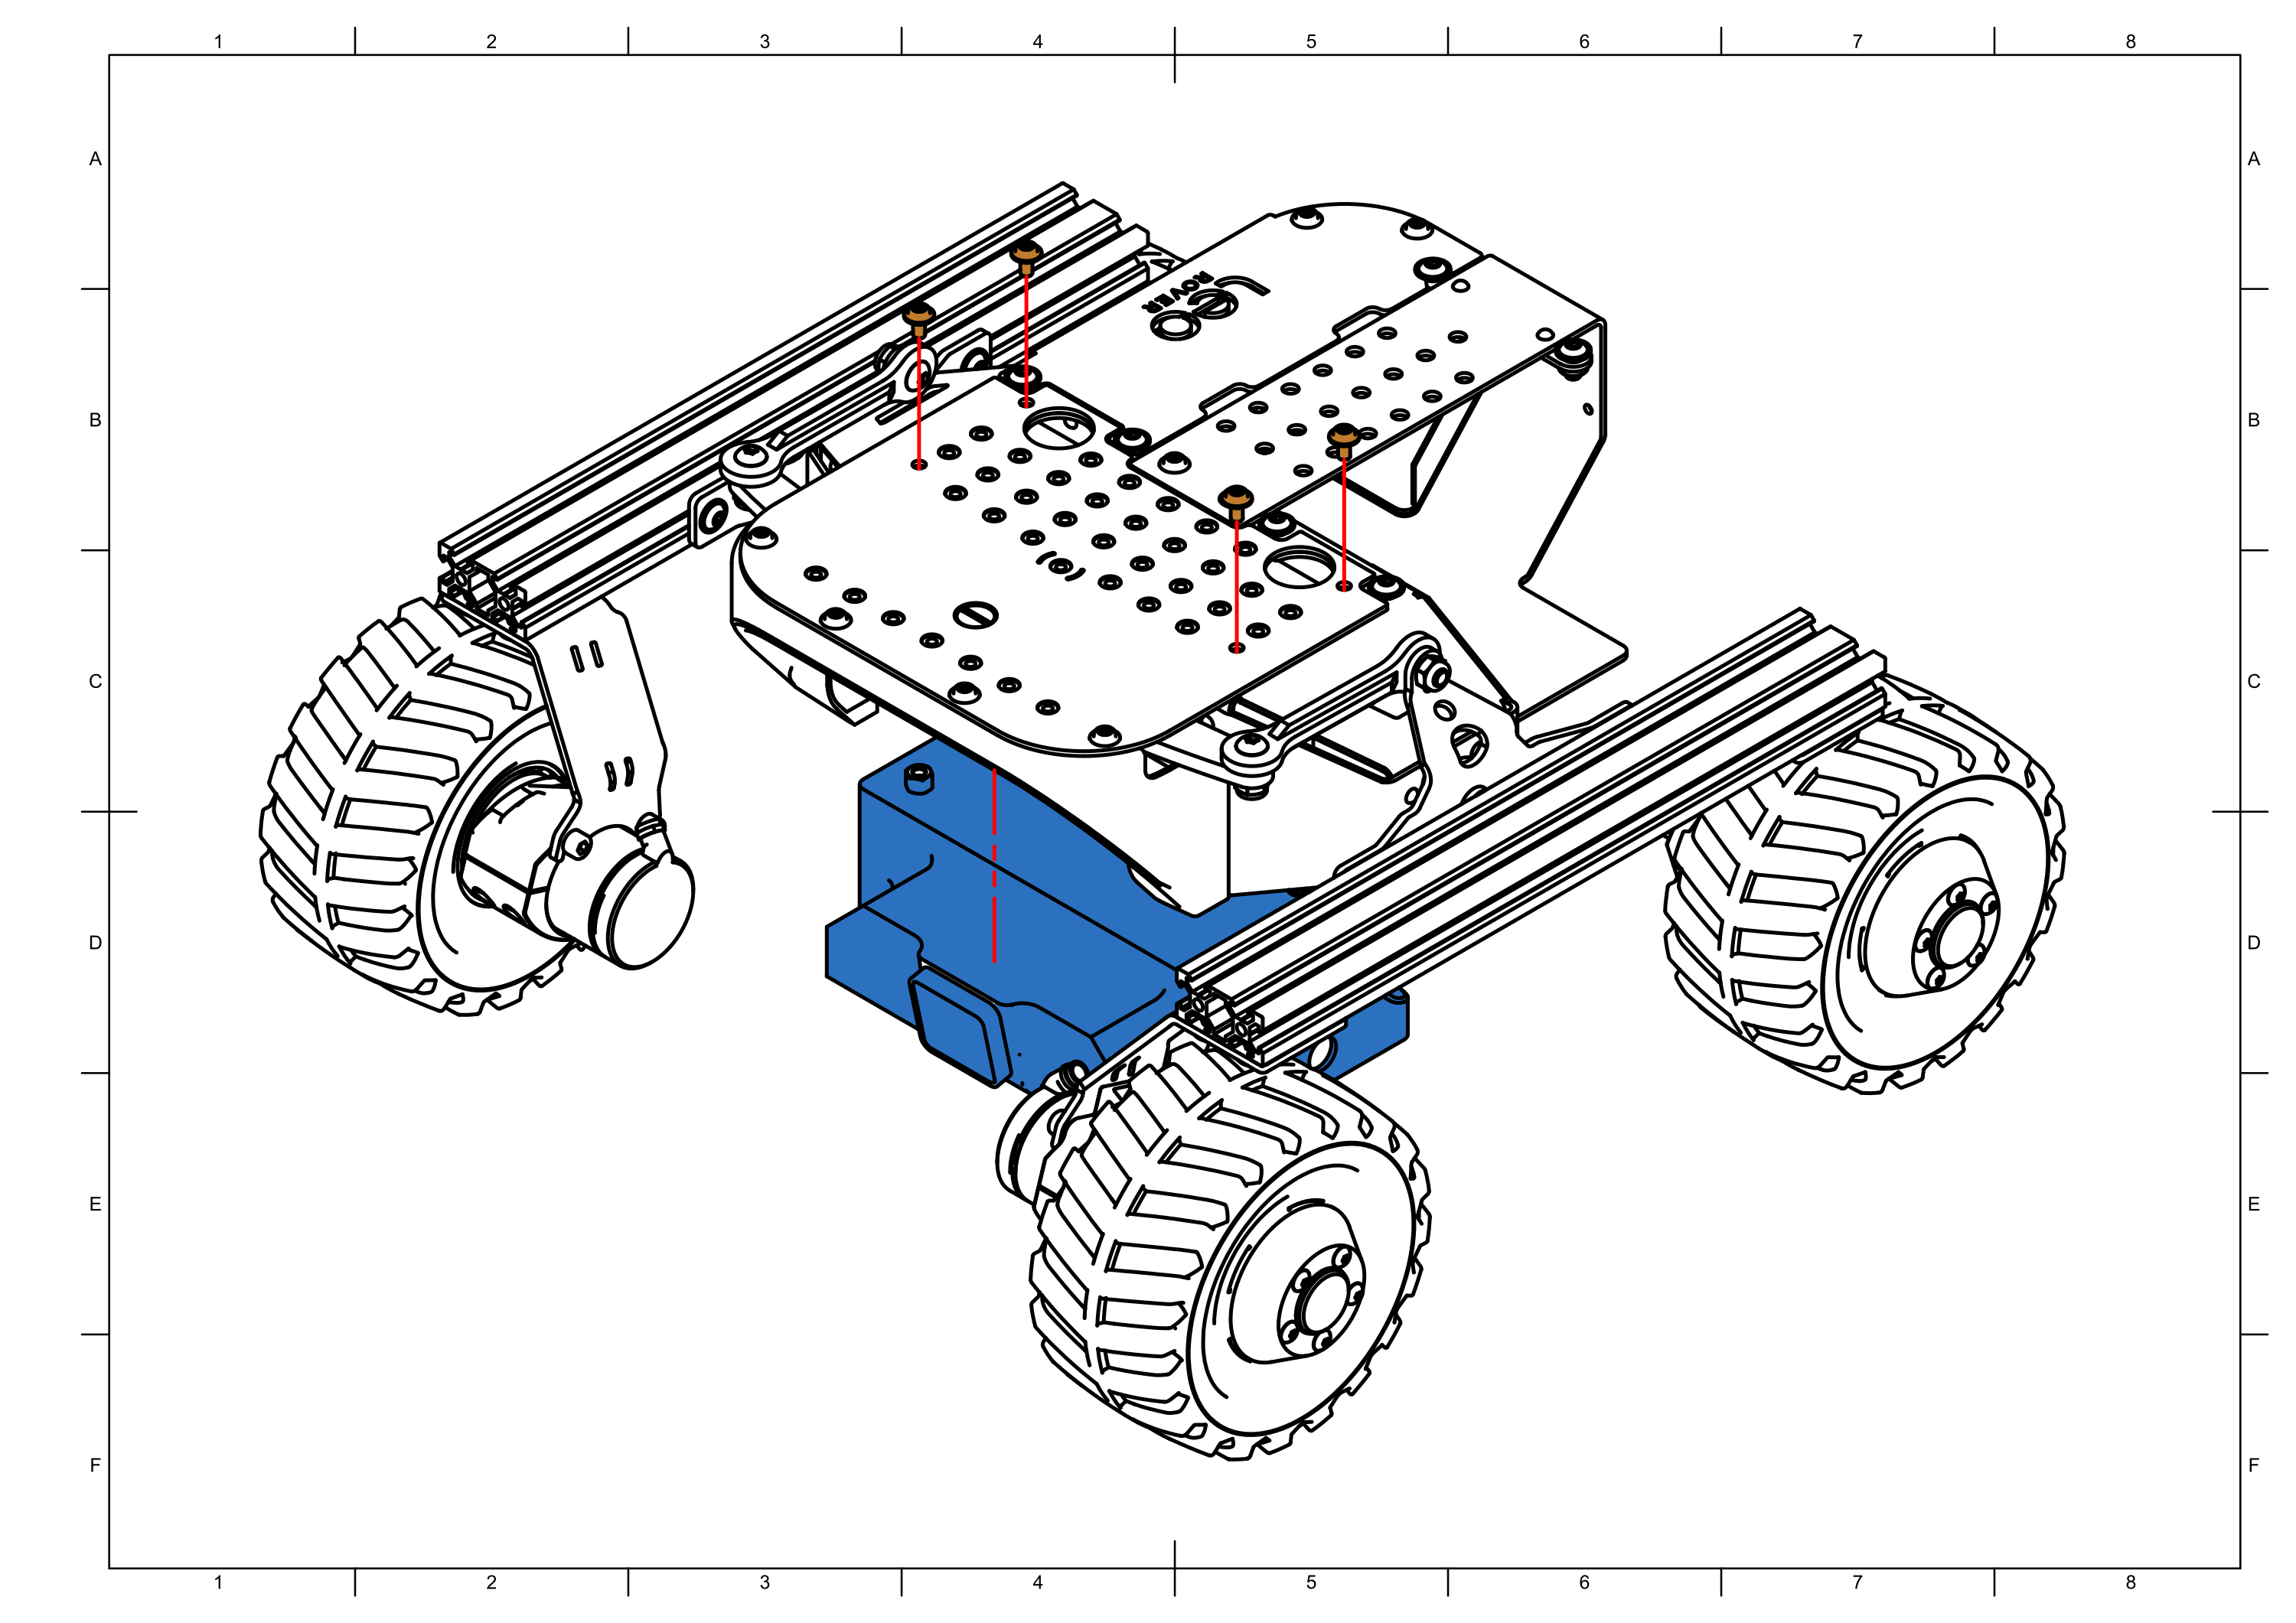
📄Task 5: Combining subassemblies
Detailed instructions for finalizing the assembly of a Leo Rover.
Step 9
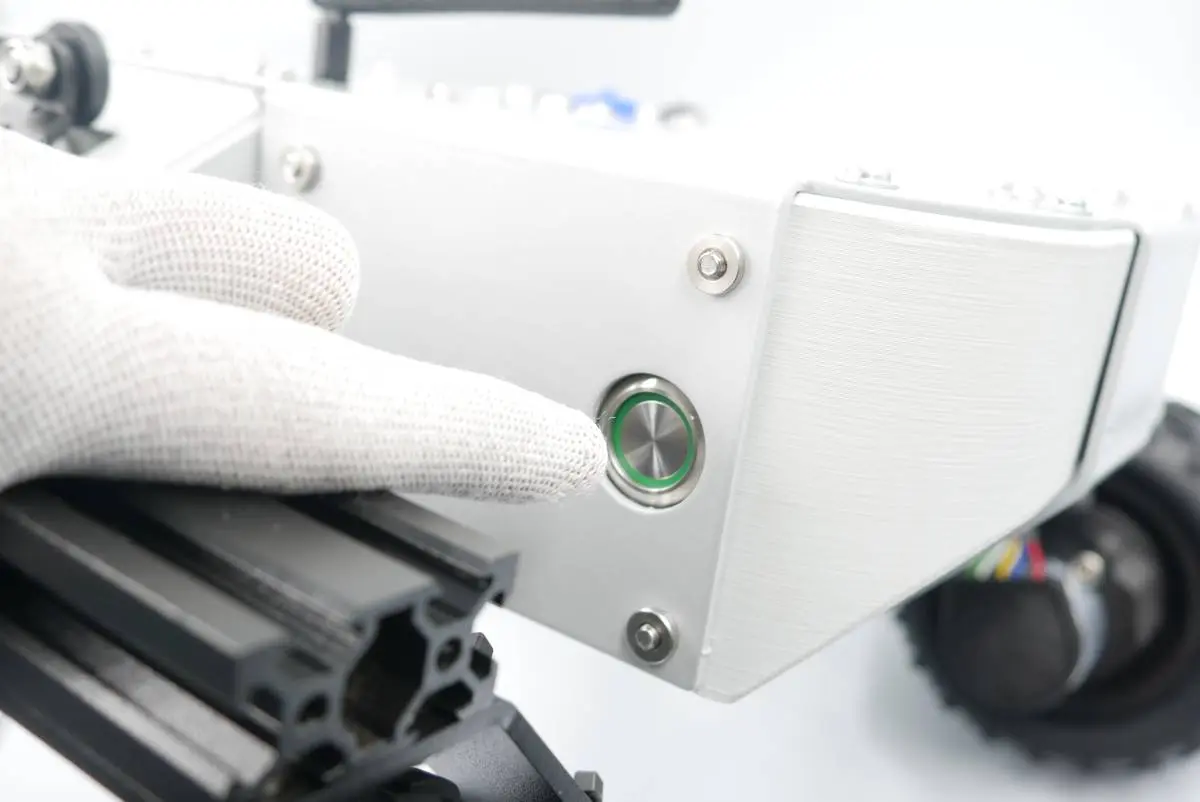
📄Task 6: Boot and firmware
First boot of an assembled Leo Rover - firmware flash.
success
Good job!