Legacy Assembly - Task 10: First Boot
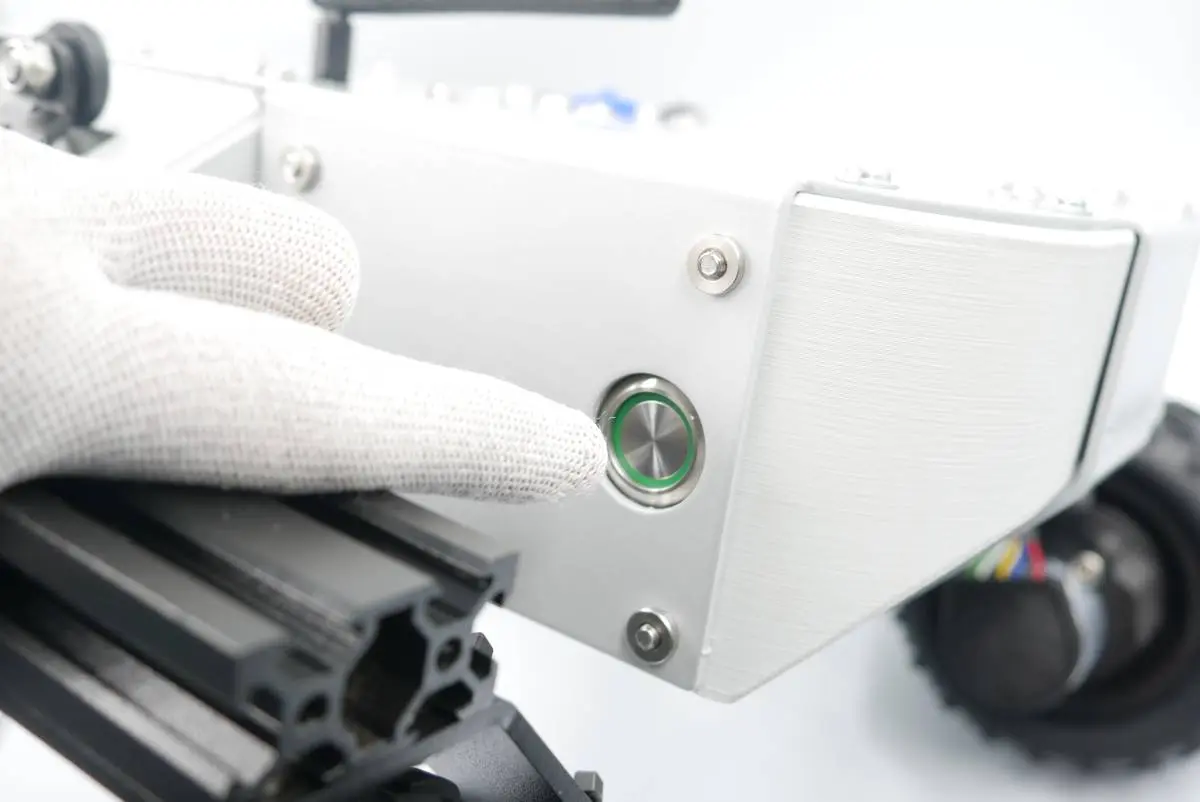
Step 1: Turn on and connect to Leo Rover
Prepare:
- Step 9 assembly
- external computer
To connect to Leo Rover, see:
📄Connect to Rover AP
A step-by-step guide on how to connect your host device to the Leo Rover's built-in Wi-Fi access point using the default network credentials.
note
This time you won't see the battery LED flashing. It will work only after successfully performed Step 2.
Step 2: Flash the firmware
Refer to:
📄Firmware update
A step-by-step guide on how to update the Leo Rover firmware directly from the Raspberry Pi using the leo_fw ROS 2 package via an SSH connection.
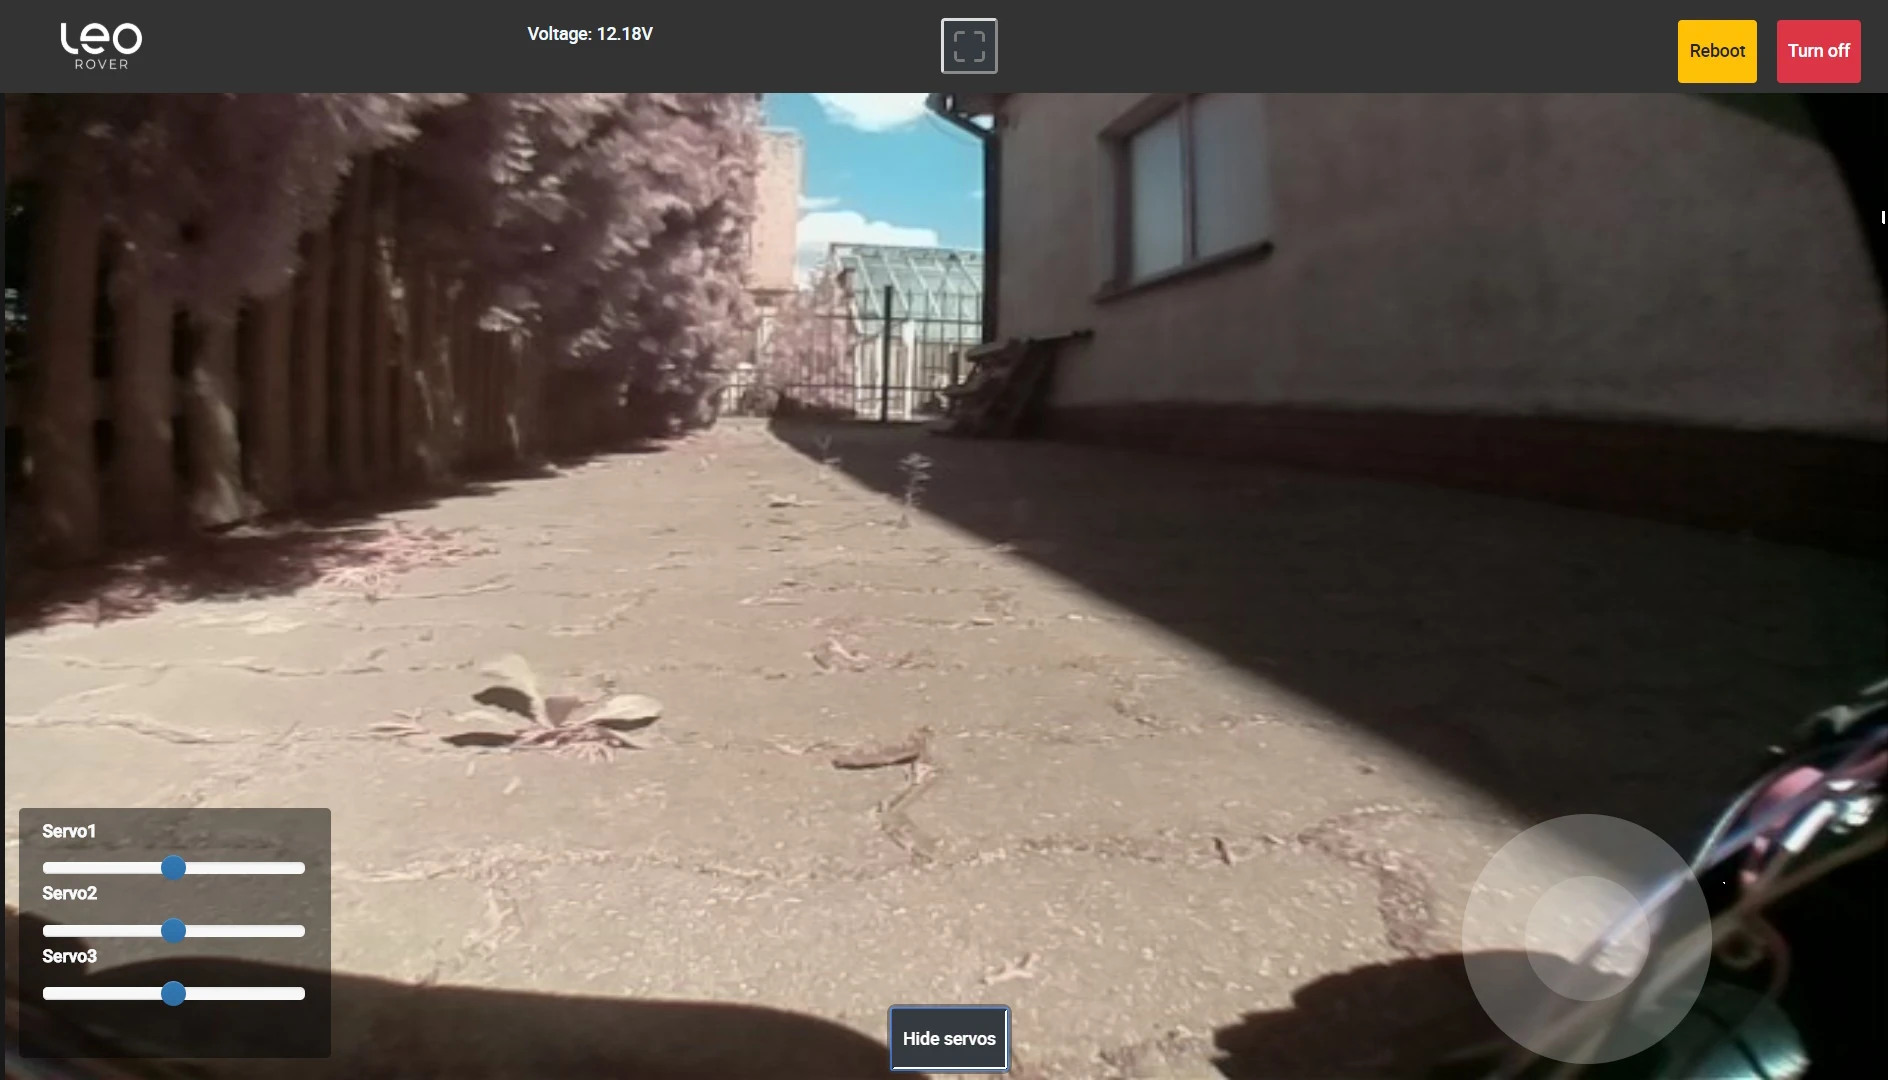
Step 3: Access the Leo Rover UI
Open any web browser and type:
10.0.0.1