Getting started with Raph Rover
Unboxing
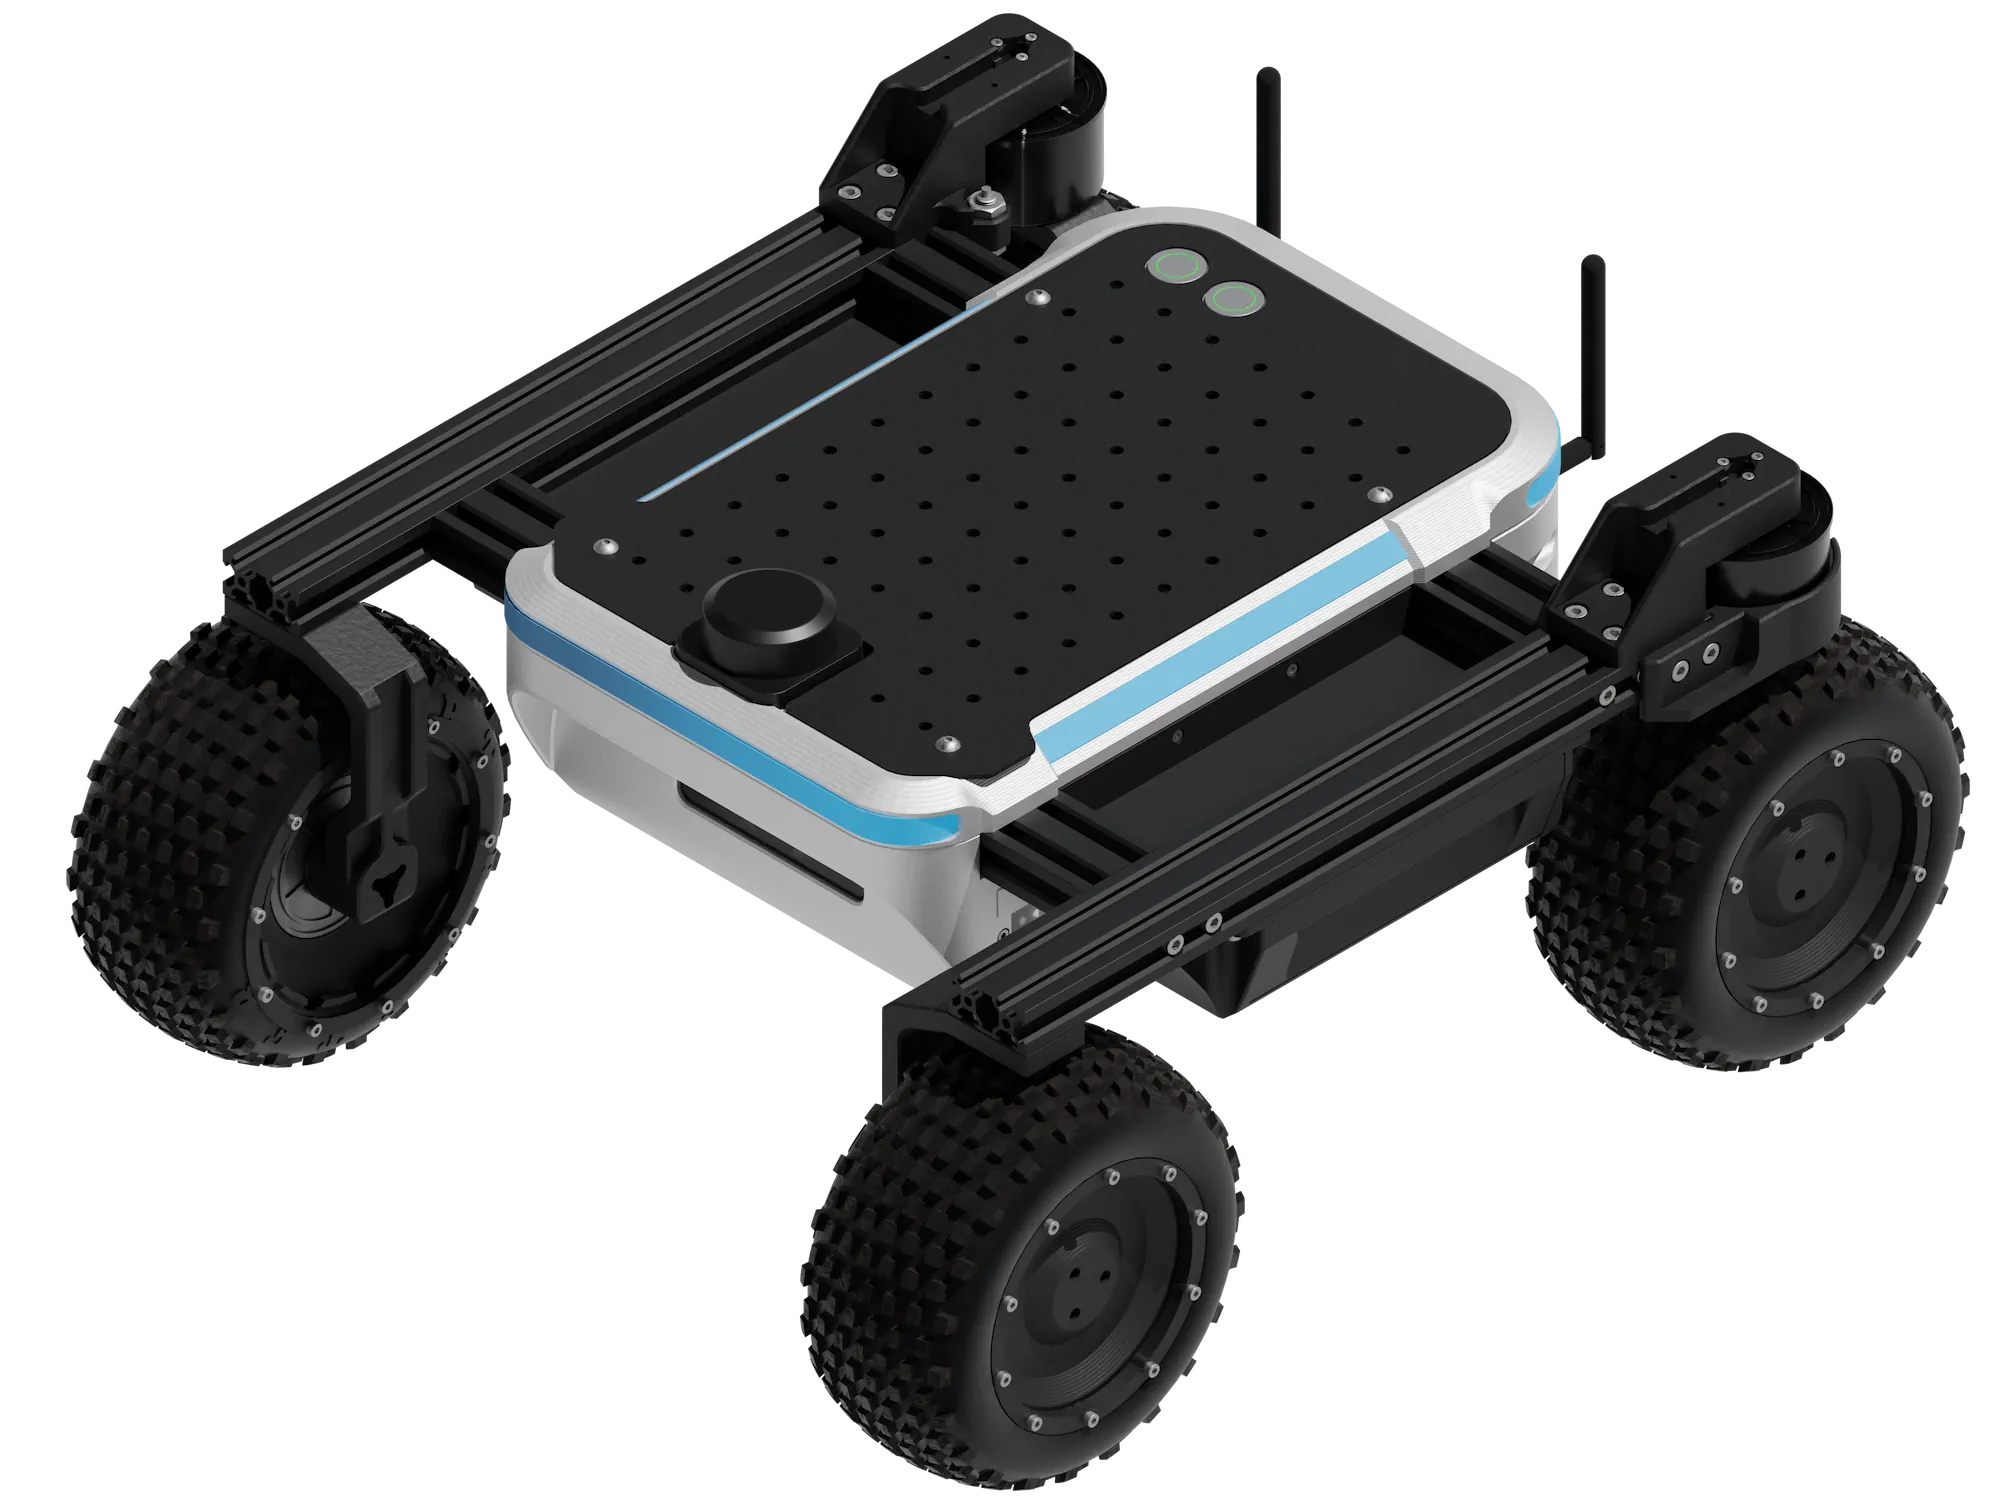
Currently, Raph Rover comes only in assembled version. All essential components are pre-installed and ready for use out of the box.
Before attempting to power on the rover, unbox the robot from protective foam package and verify that all accessories listed in the package contents are present and undamaged.
| Item | Count |
|---|---|
| Raph Rover | 1 |
| Raph Rover battery pack | 2 |
| Raph Rover battery charger | 1 |
| Li-Ion charger 6S 4A | 1 |
| Tools | 1 |
Rover buttons
Raph Rover is equipped with 2 physical buttons that we will reference in this guide. Power button is located next to the left battery slot. Second, control button is located at the rear of the robot.
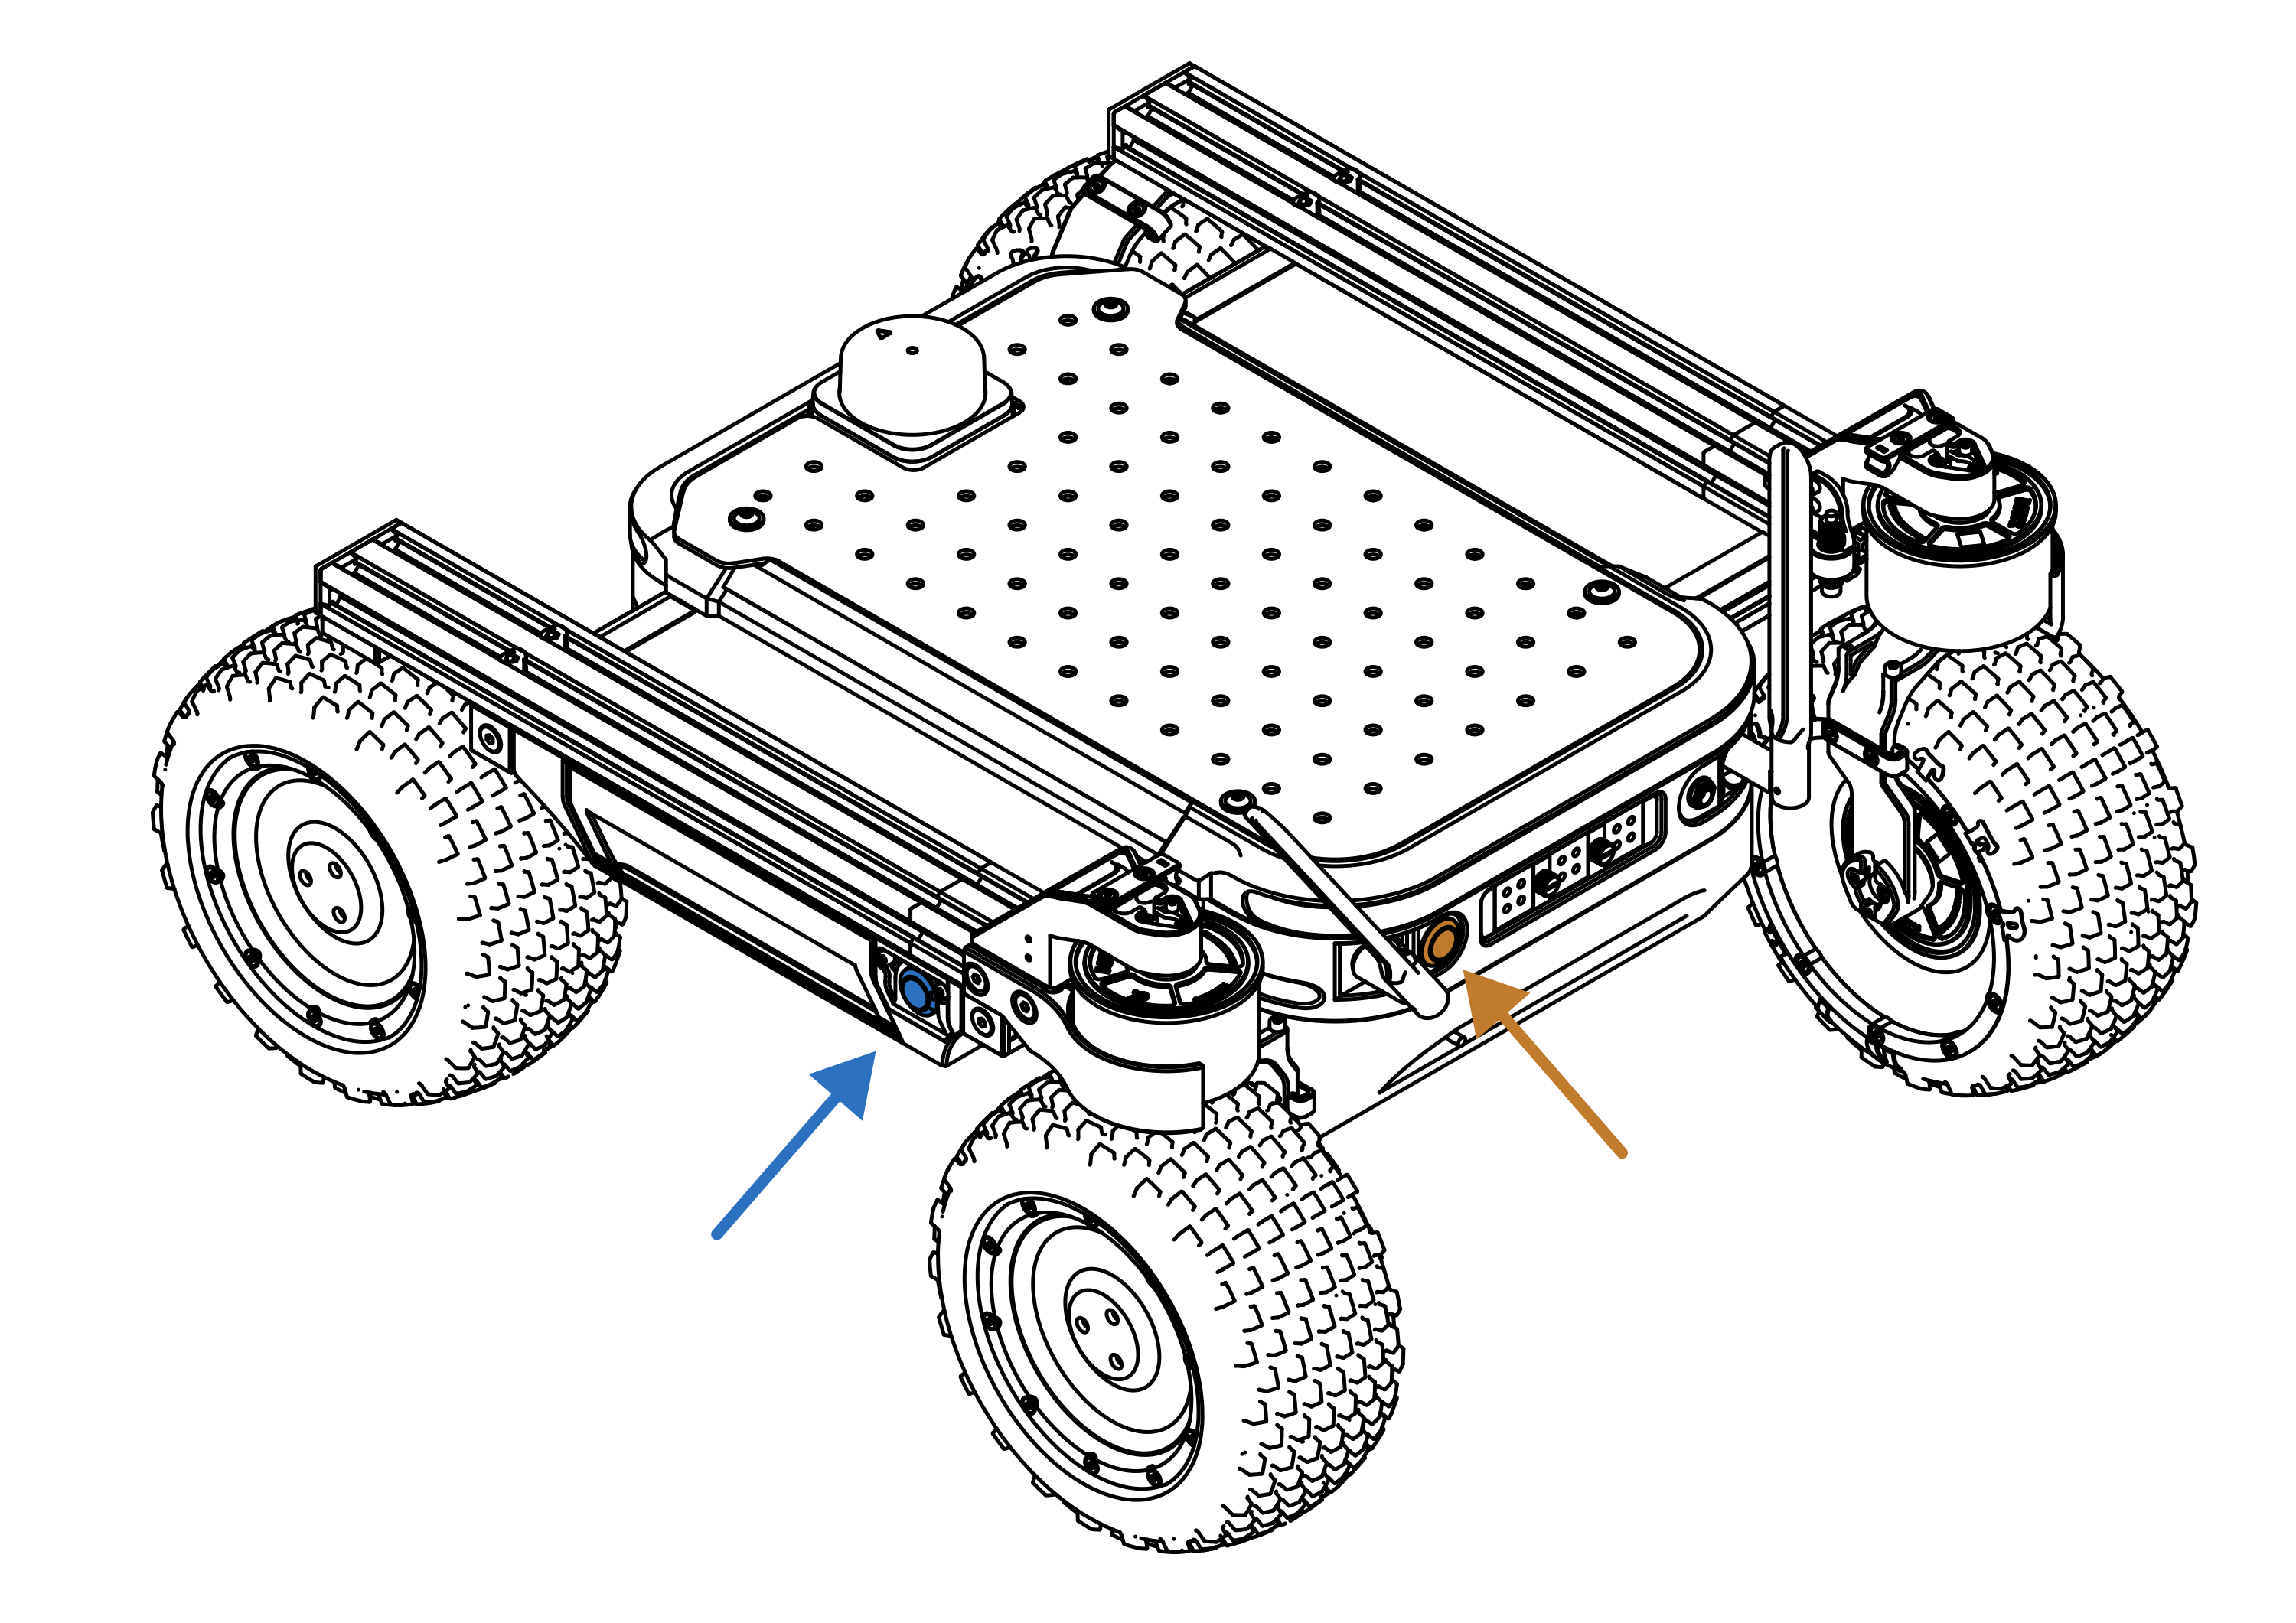
| Button | Placement |
|---|---|
| POWER | Left |
| CONTROL | Rear |
Each button has a different function. What it does depends on the robot's state.
| Condition | Button | Function | Action |
|---|---|---|---|
| Any | POWER | Check battery charge | Click |
| Rover off | POWER | Turn on | Hold - 1.5s |
| Rover on | POWER | Turn off | Hold - 5s |
| Rover on | CONTROL | Toggle maintenance mode | Click |
| Rover on | CONTROL | Calibrate servos | Hold - 2s |
Connecting batteries
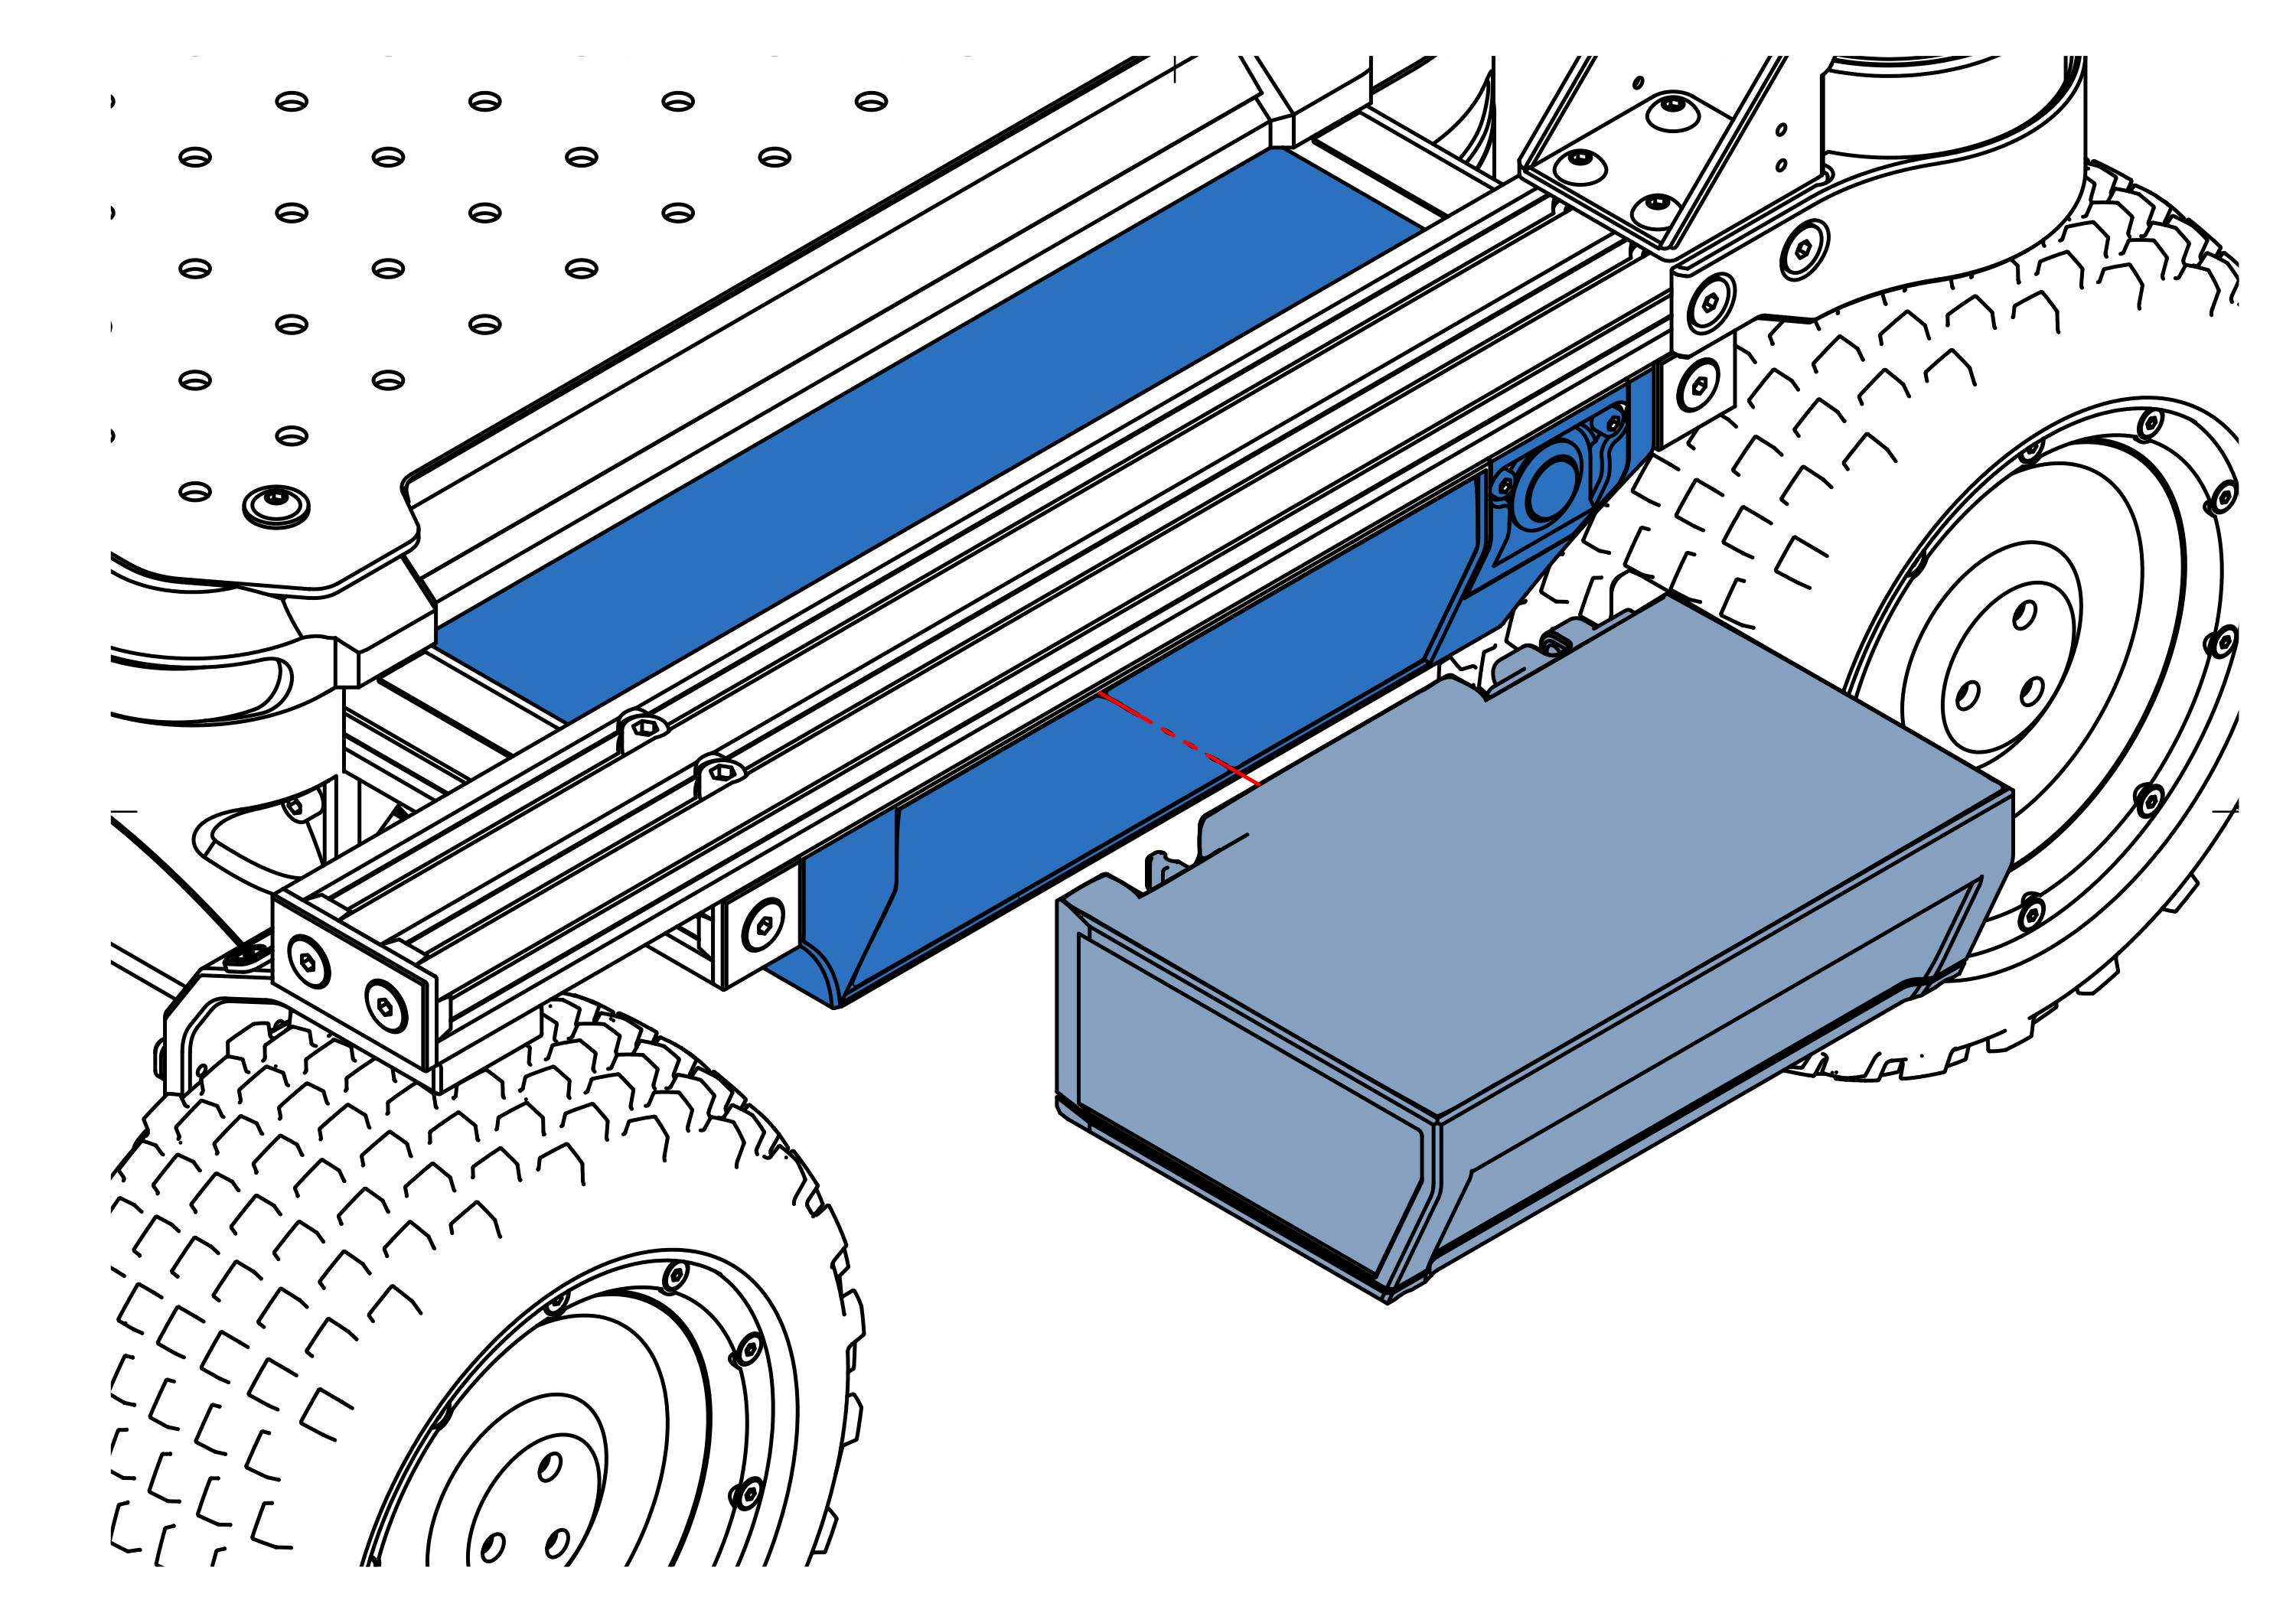
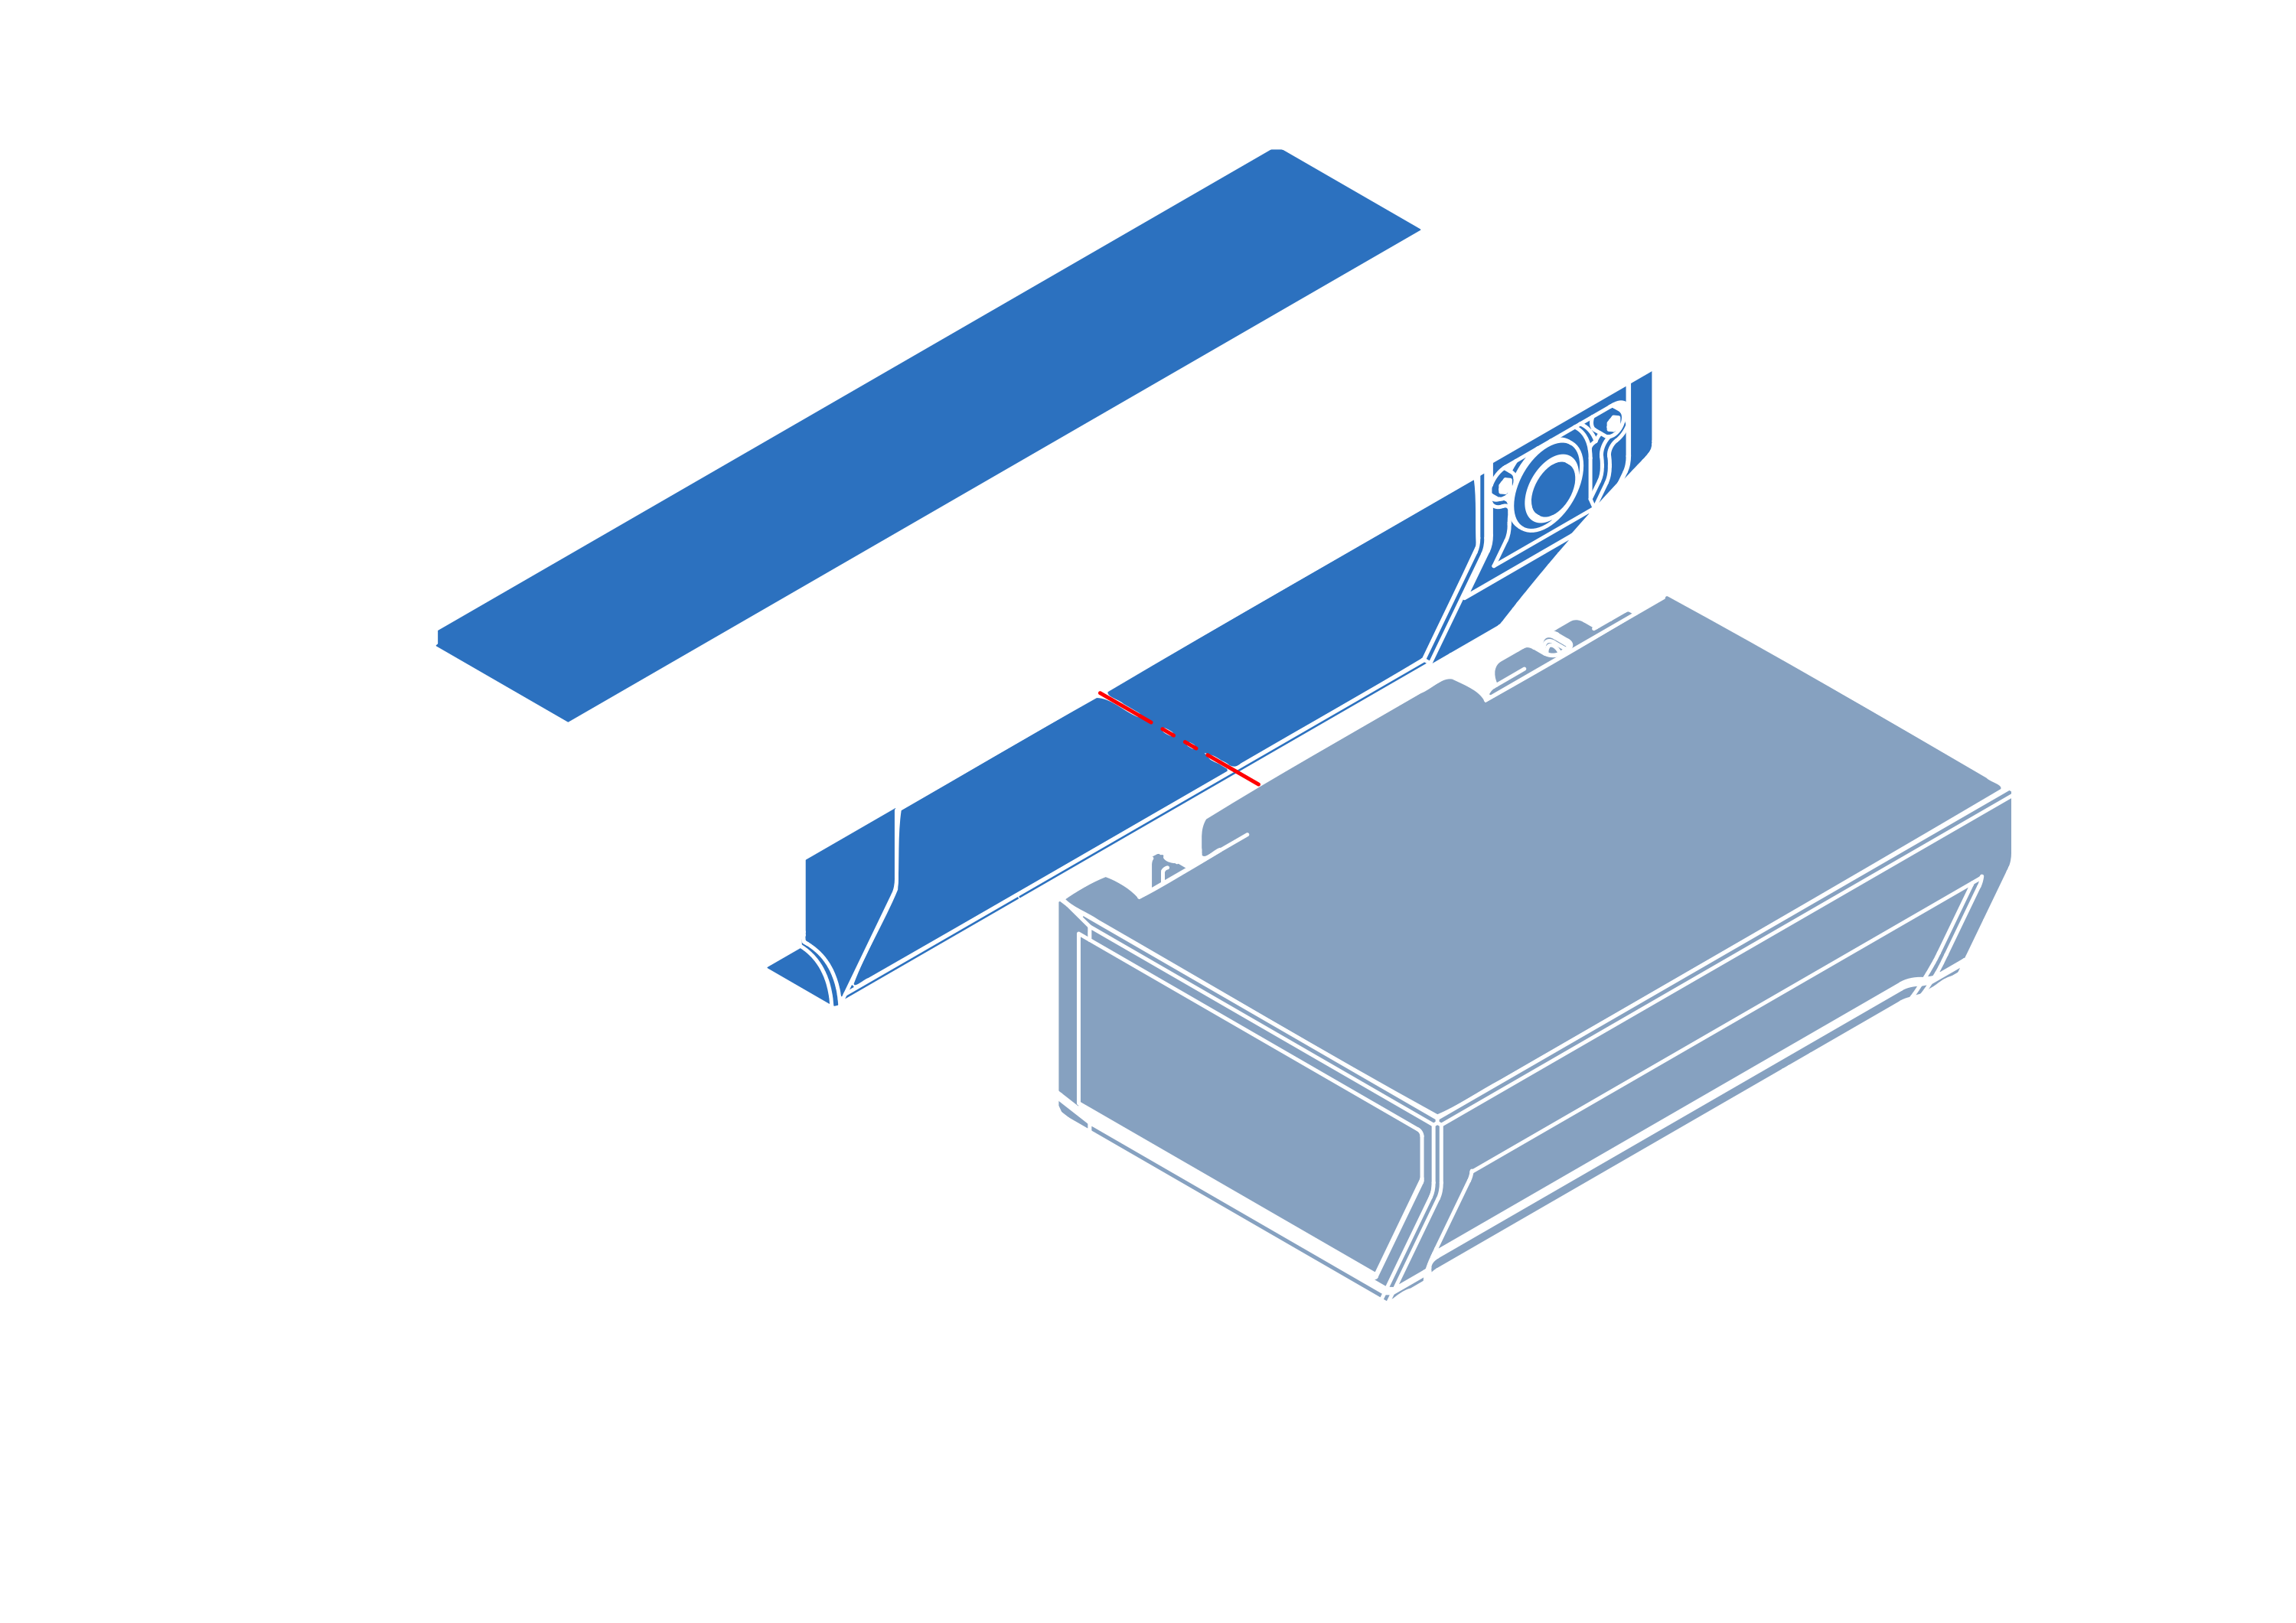
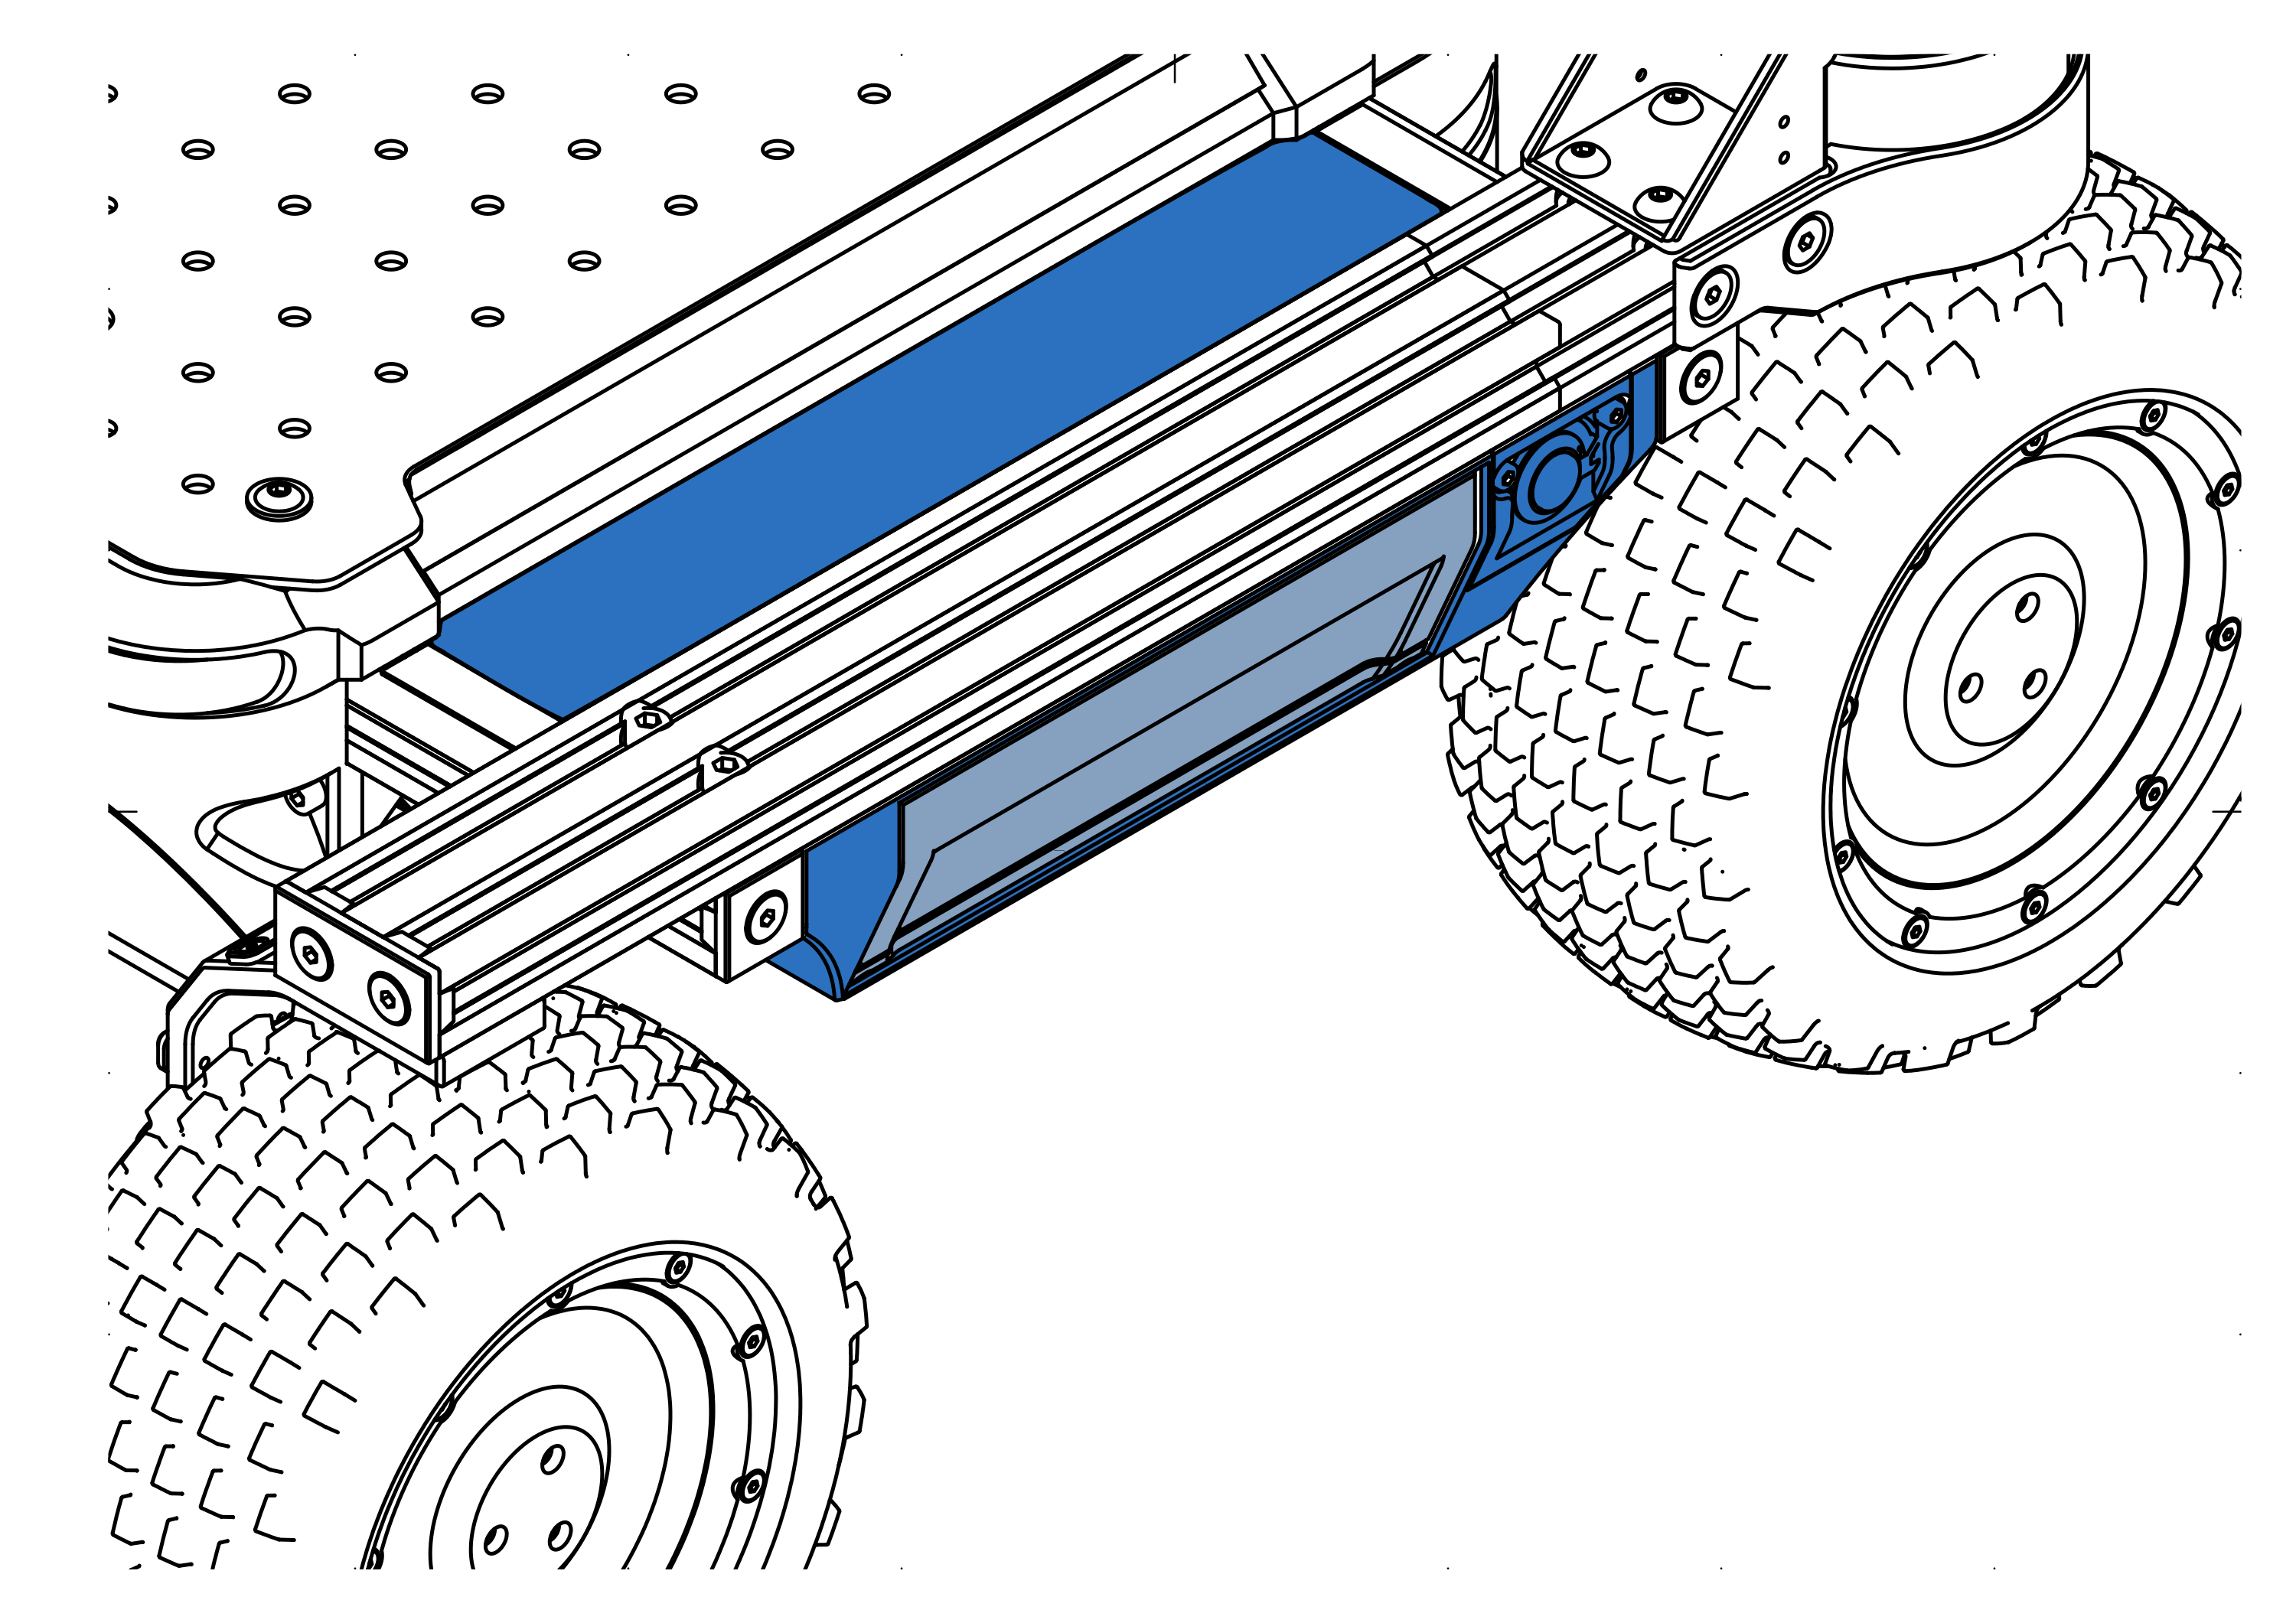
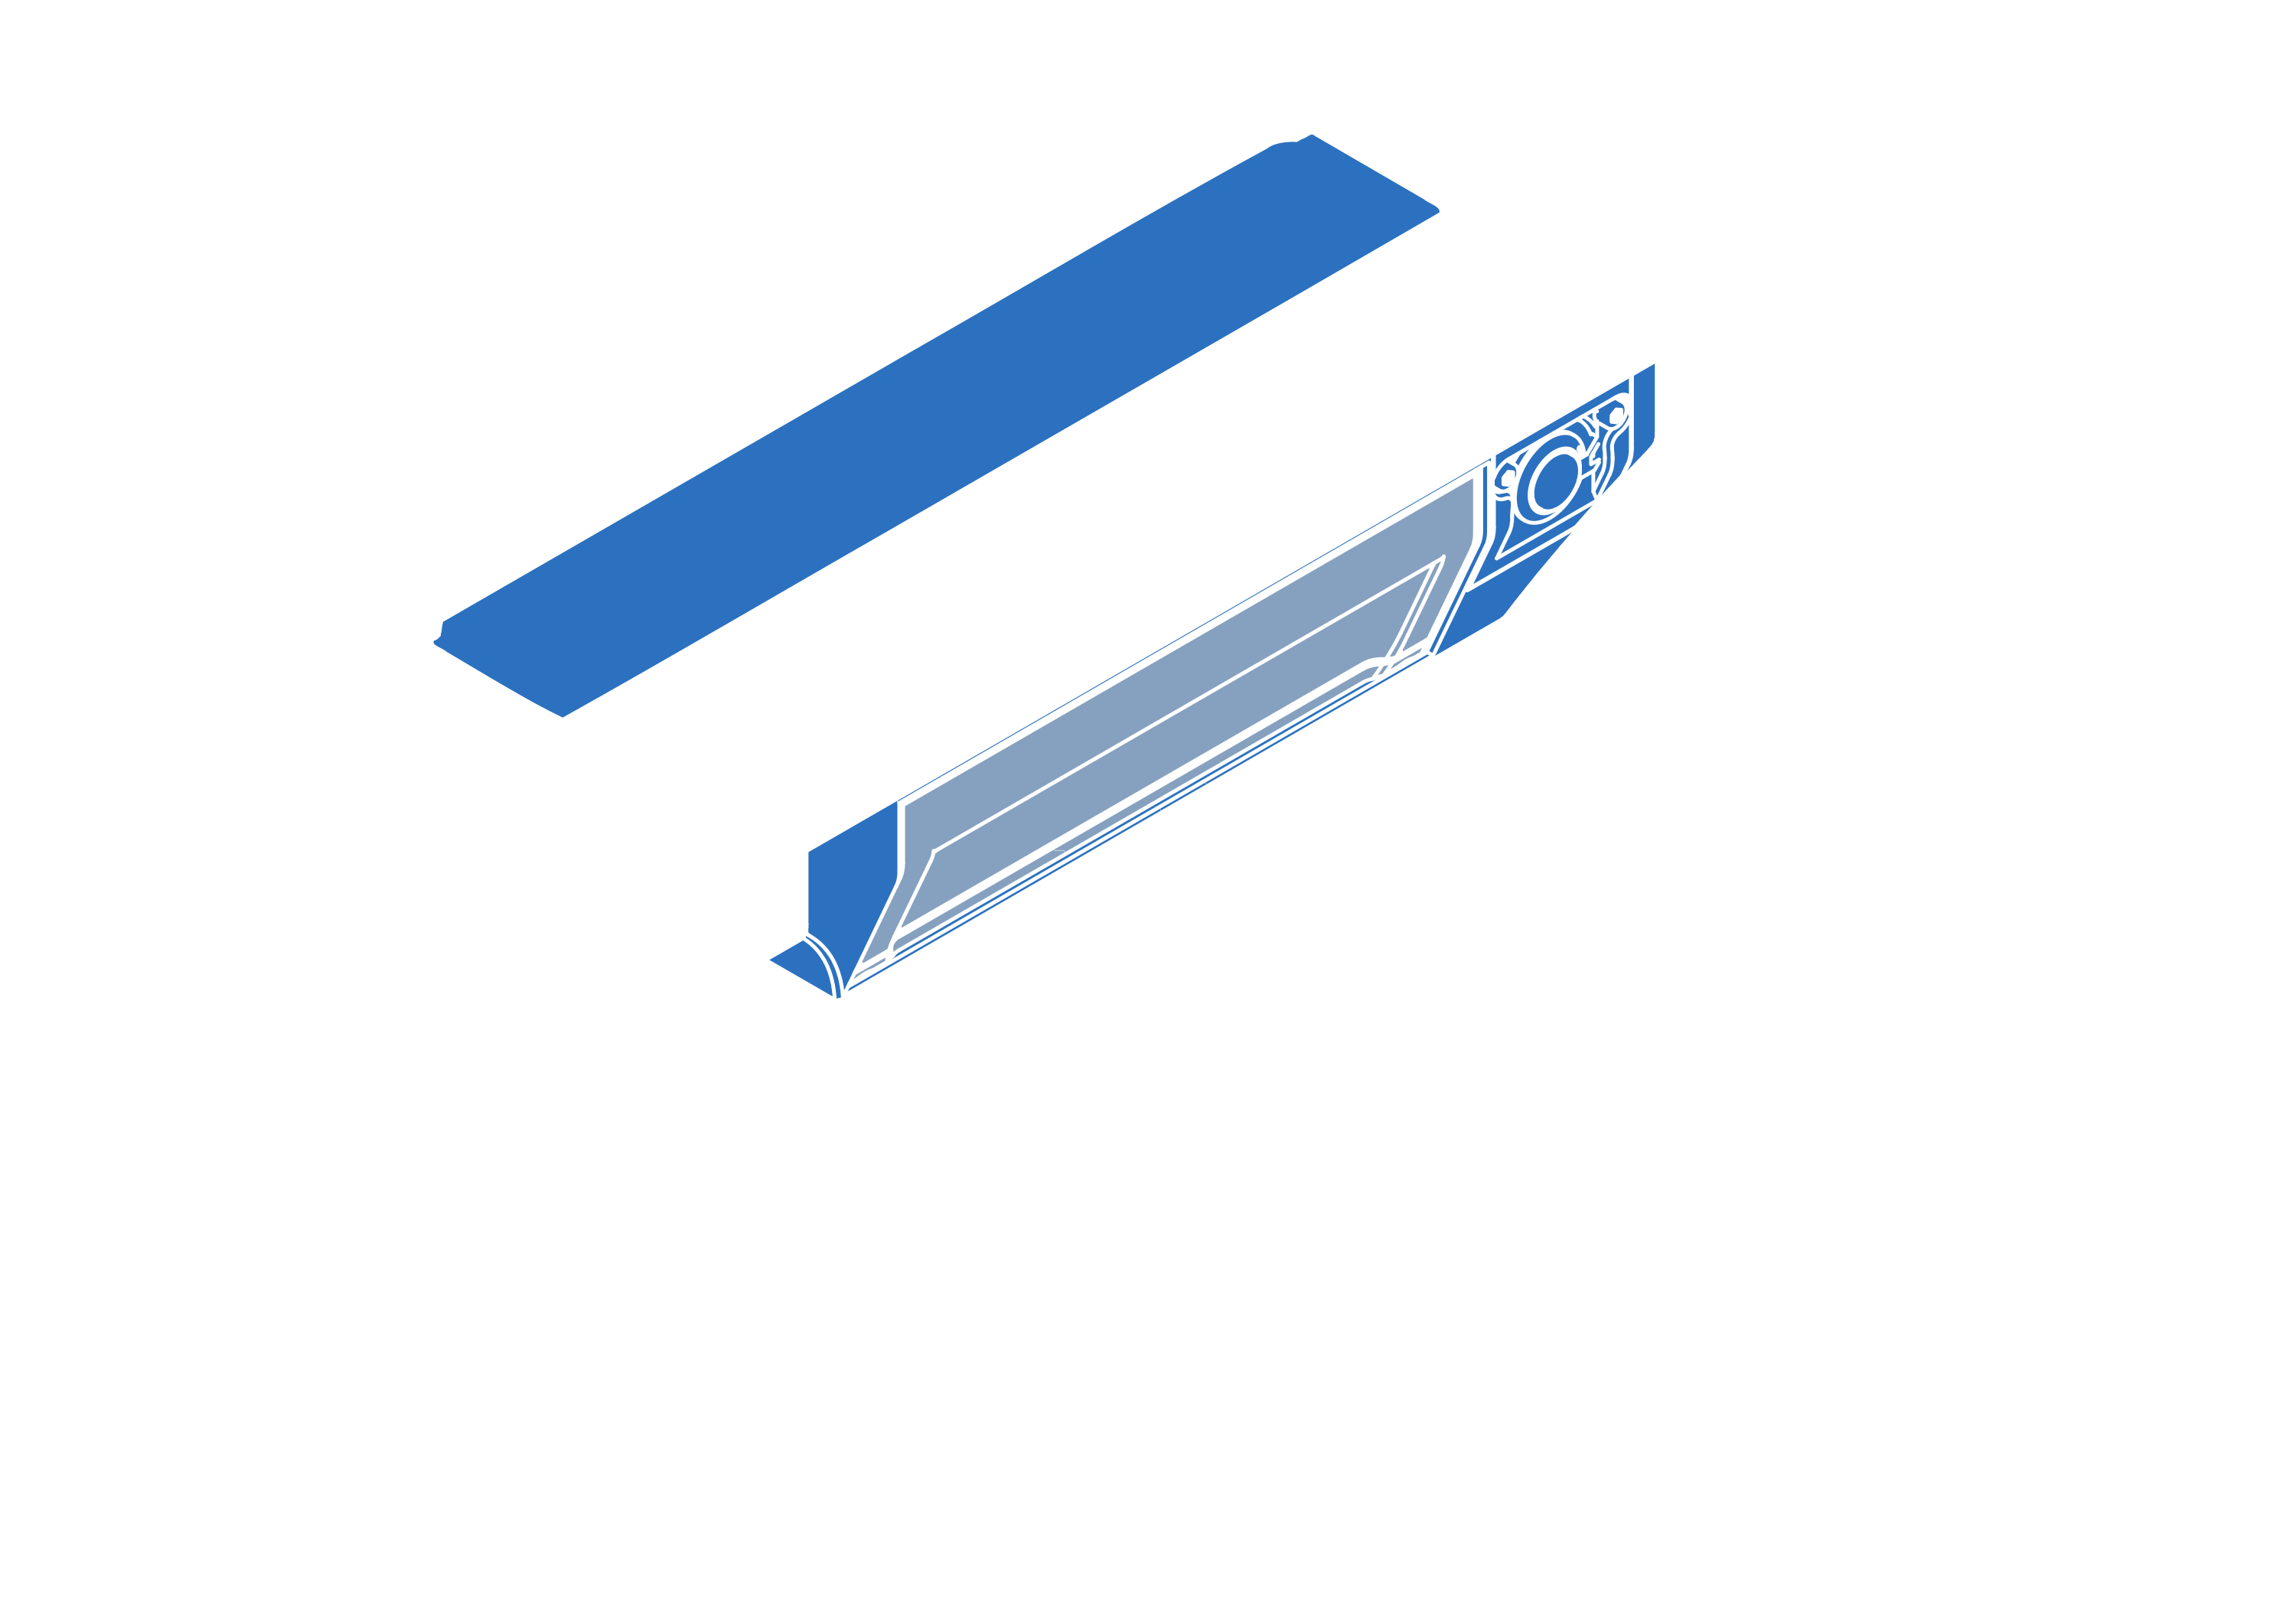
Each Raph Rover is equipped with two dedicated 6S (22.2V) Li-Ion battery packs. As long as at least one charged battery is plugged into the rover all of the functionality is available. It is allowed to hot-swap batteries (replace discharged ones with new ones without turning the rover off for the process).
To power the rover, insert at least one battery pack into its designated slot located on either side of the rover.
Make sure that there is no debris inside the slots or in the battery connectors!
The batteries are secured by ball catches, which provide slight resistance during insertion and removal. A properly inserted battery should be fully nested within the slot.
You should hear a click when the batteries are fully inserted.
To verify proper battery insertion, press the power button once.
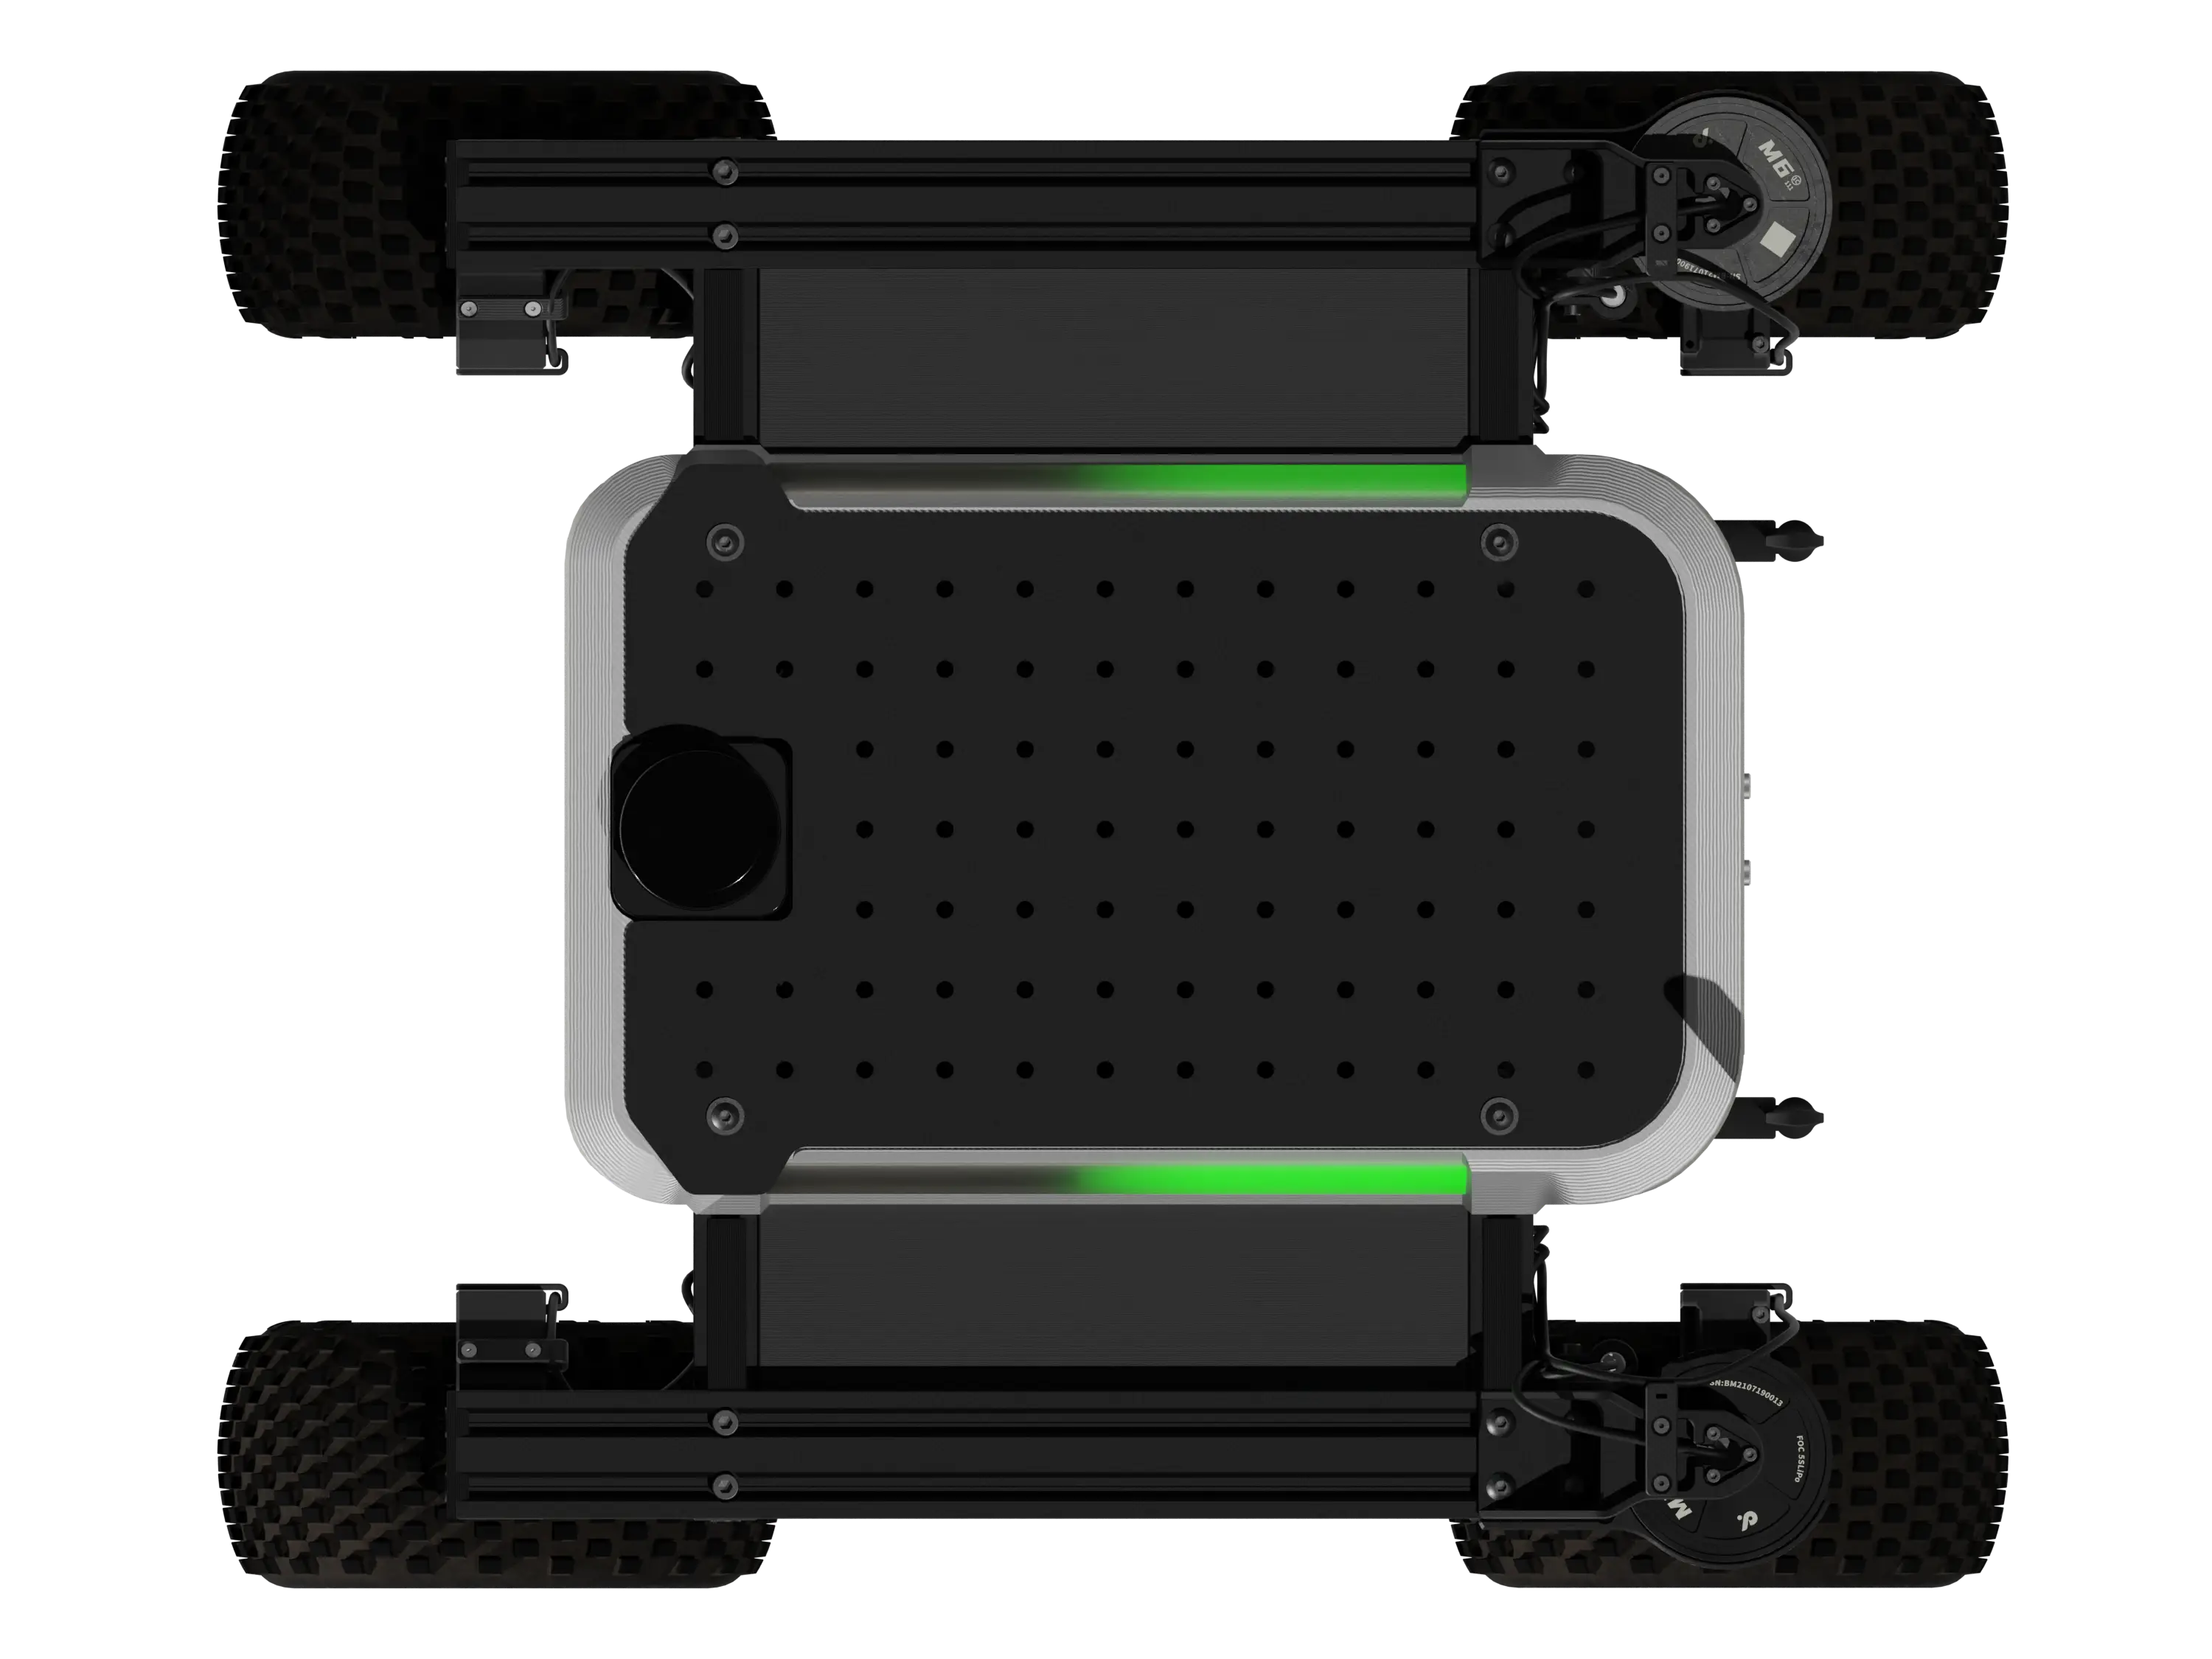
If the batteries are properly connected (and have any charge left) the LEDs on the sides of the rover will display current battery charge level.
First power on
First, with the charged battery connected, you can switch on the rover. Simply press and hold the Power button for 1.5 seconds. You'll see the rear LED panel gradually turn green as you hold the button. A quick, single green flash across all LED panels confirms the rover is successfully powered on.
In just one to three minutes, the Raph rover will set up its Wi-Fi network for you to connect to.
- SSID 2.4 GHz:
Raph-XXXX-2G - SSID 5 GHz:
Raph-XXXX-5G - Password:
fictionlab
Where XXXX is the ID of the robot.
Wheel calibration
Before driving the robot is is required to calibrate the rear steering wheels. This process is initiated using the CONTROL button positioned at the back of the rover. Hold it for 2 seconds until the LED strips shines blue.
Wheels will begin to rotate inwards to locate the induction sensor, then bump into the frame to set zero position. This 2-step process ensures that the wheels are calibrated without obstruction.

Every time the Raph Rover is switched off, it looses the steering wheel position. Because of this, it is required to calibrate the steering wheels each time you turn it back on.
Web interface
Raph Rover has dedicated web interface that you can connect to from any device like mobile phone or PC. It allows to test basic robot functionality like driving, preview stream from on-board camera.
To access it, open your web browser and navigate to 10.10.0.2.
From here, you can control the rover using keyboard and on-screen joystick, access the camera feed, and configure various settings.
To find out more about using the Web UI, visit the documentation page below:
What's next
After initial testing, you can explore what else Raph Rover has to offer. Start developing your own robotic application with help of our tutorials:
Support
If you get stuck or run into any issues with the robot, remember: you are not alone! Join our Discord community to access a private support channel directly with Fictionlab employees. Alternatively, you can simply contact us by email.